HubSpot messaging
The Infobip Messaging app connects your HubSpot customer engagement with Infobip’s SMS and WhatsApp channels, enabling you to send messages directly from HubSpot.
With this integration, you can:
- Engage in two-way conversations in HubSpot Inbox
- Track message delivery and read status with the contact’s activity log
In HubSpot Automation, you can:
- Use a workflow action to send SMS messages. This action includes a sender selection, a text field for message content, and options like URL shortening and regional settings (for example, India, Türkiye)
- Use a workflow action to send WhatsApp messages. This action includes a sender and template selection, fields for message content (placeholders, media URLs), and URL shortening
- Trigger automations based on SMS delivery reports
- Trigger automations based on WhatsApp delivery and read reports
- Trigger automations when an end user sends a WhatsApp message
What you will need
- An Infobip account. If you do not have one you can create one (opens in a new tab). See Create an Account for more information on Infobip accounts.
- A HubSpot account with Admin permissions
- An SMS sender. To get a dedicated sender, use the instructions for obtaining sender numbers.
- A WhatsApp sender. To get a dedicated sender, use the instructions for request sender registration (opens in a new tab).
Installation
To install the Infobip Messaging app:
- Go to the HubSpot App Marketplace and sign in with your Admin account credentials.
- Locate the Infobip Messaging app and continue with the installation.
- When you are redirected to the Authorize screen, click Authorize Infobip app to get access to the HubSpot account.

- On HubSpot OAuth, choose the HubSpot account you want to give access to.
- After connecting accounts, a Thank-you message appears and then you click Go to settings.
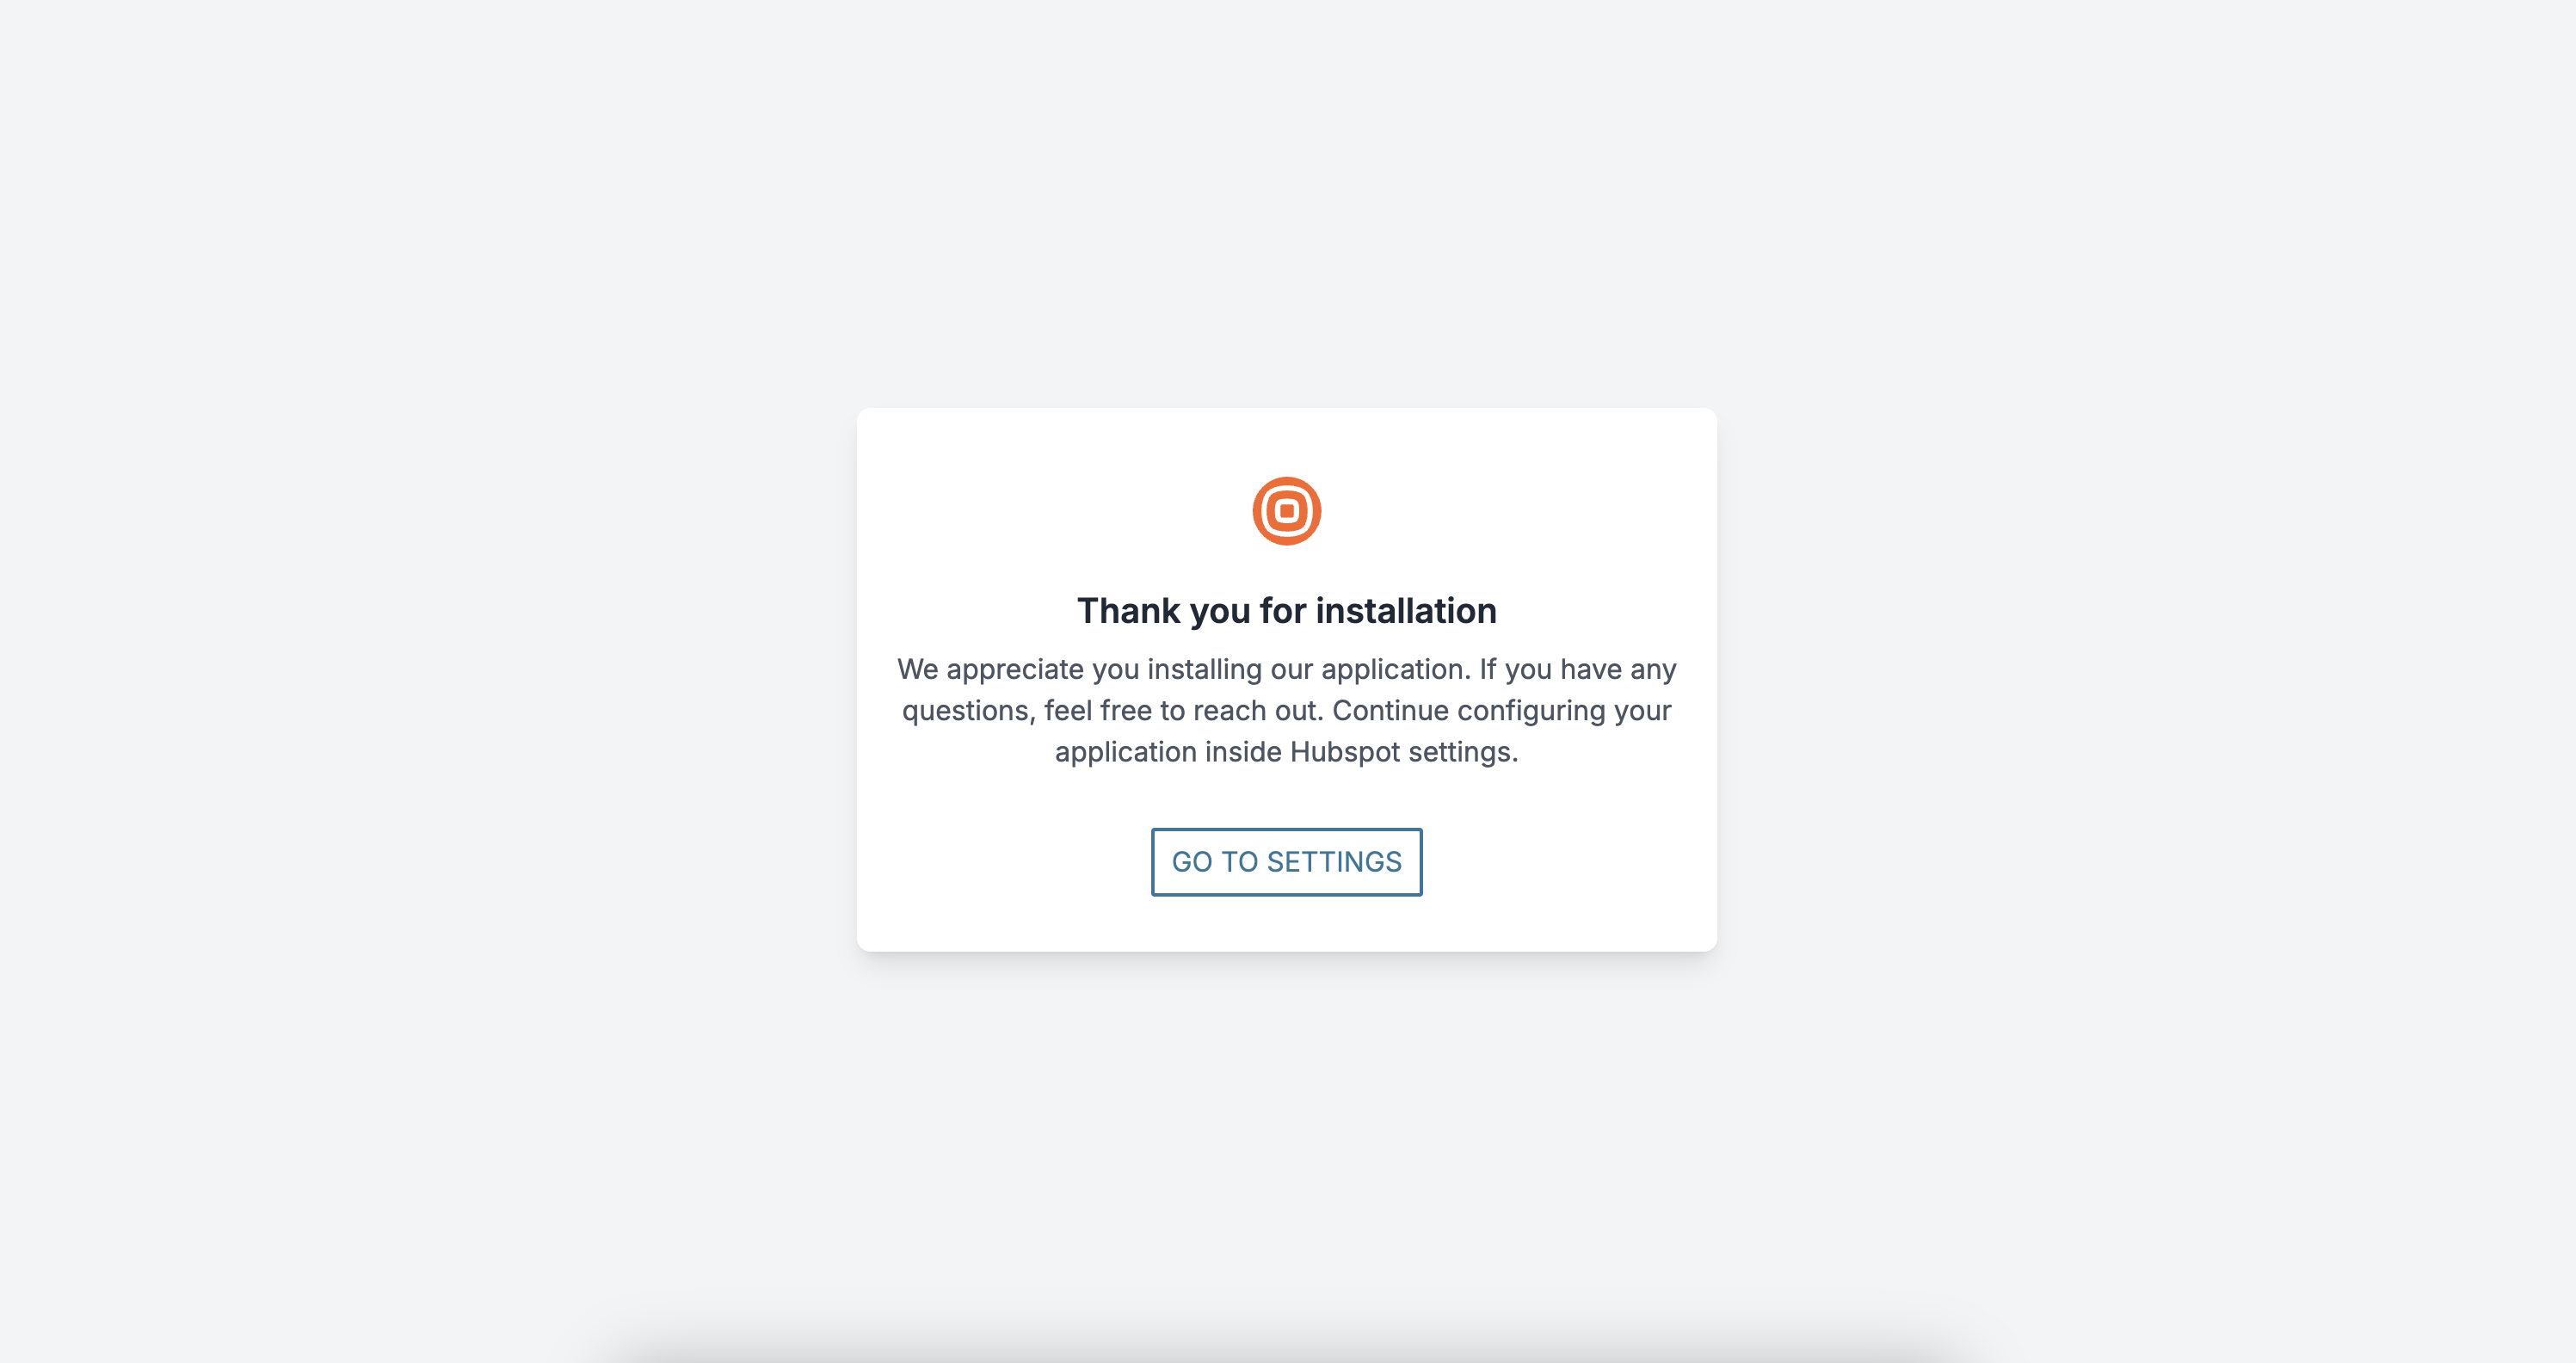
- On the HubSpot Settings page, continue with configuration.
Configuration
Once you have installed the app, and you have your Infobip account, you can configure the general settings.
Use the general settings to configure the accounts, channels, and numbers.
-
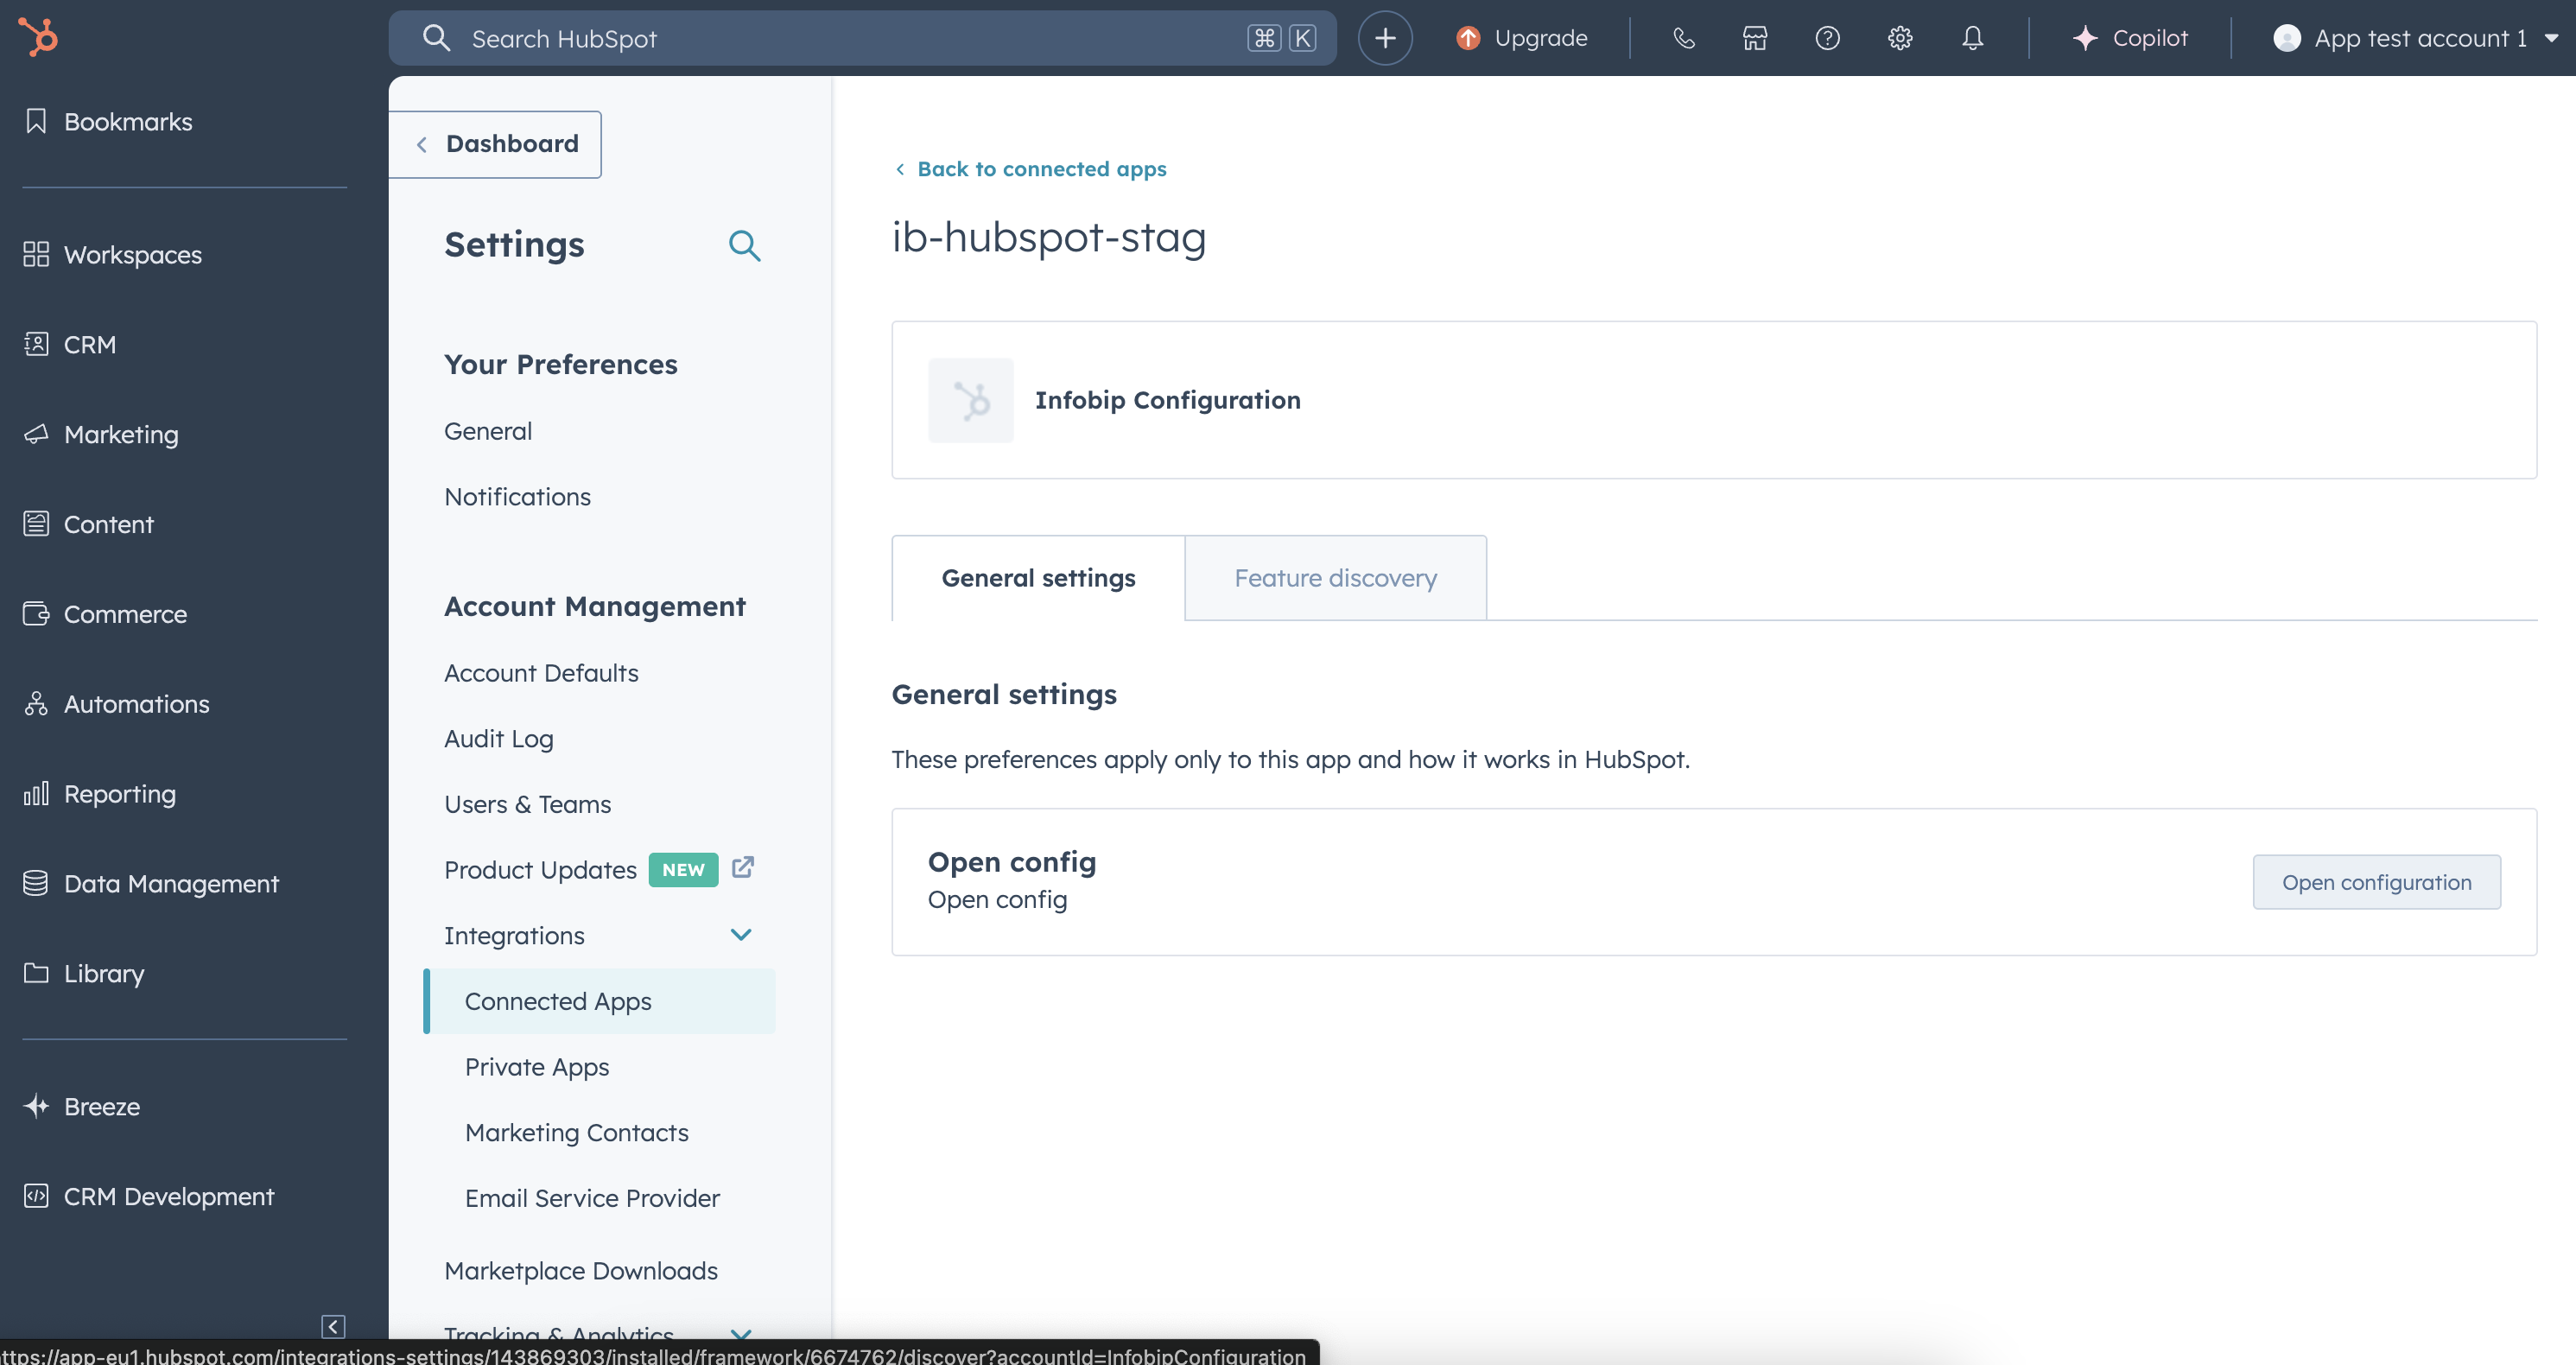
On the Settings page, go to Integrations > Connected Apps. You see a screen with two tabs: General settings and Feature discovery.
-
On General Settings, click Open configuration to start the process.
-
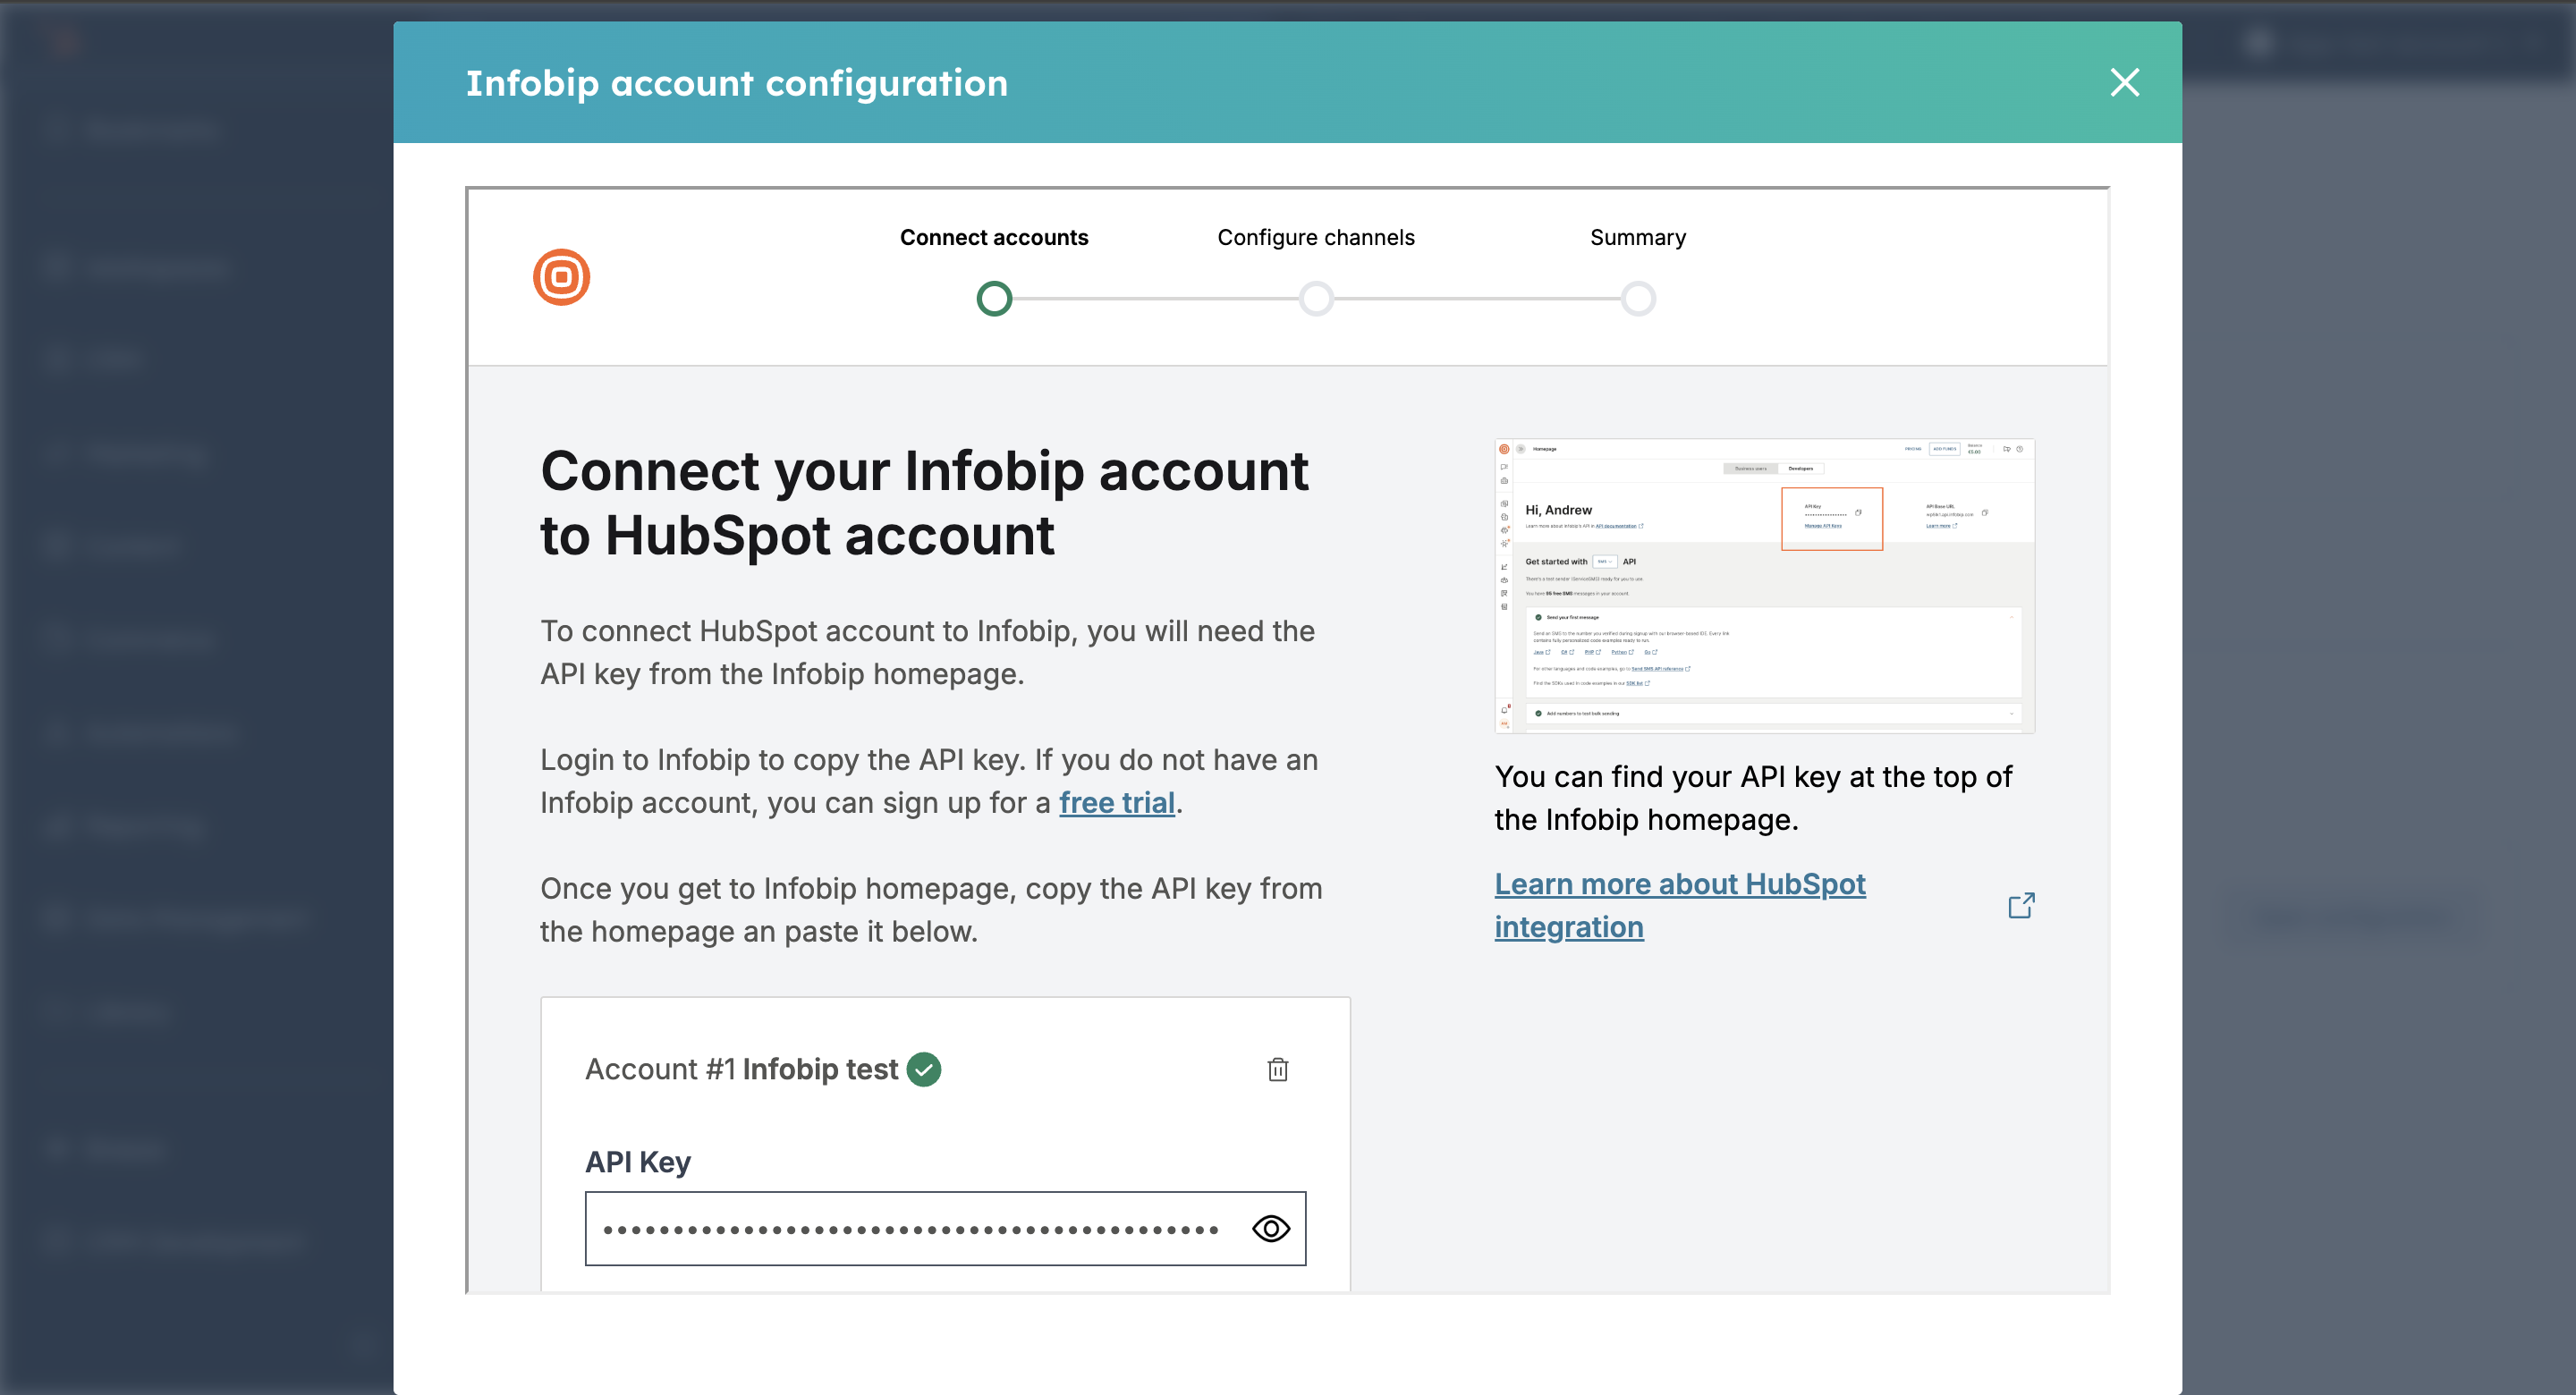
For the Connect accounts step, you can add multiple accounts with your API key and API base URL. To remove an account, click the bin icon.
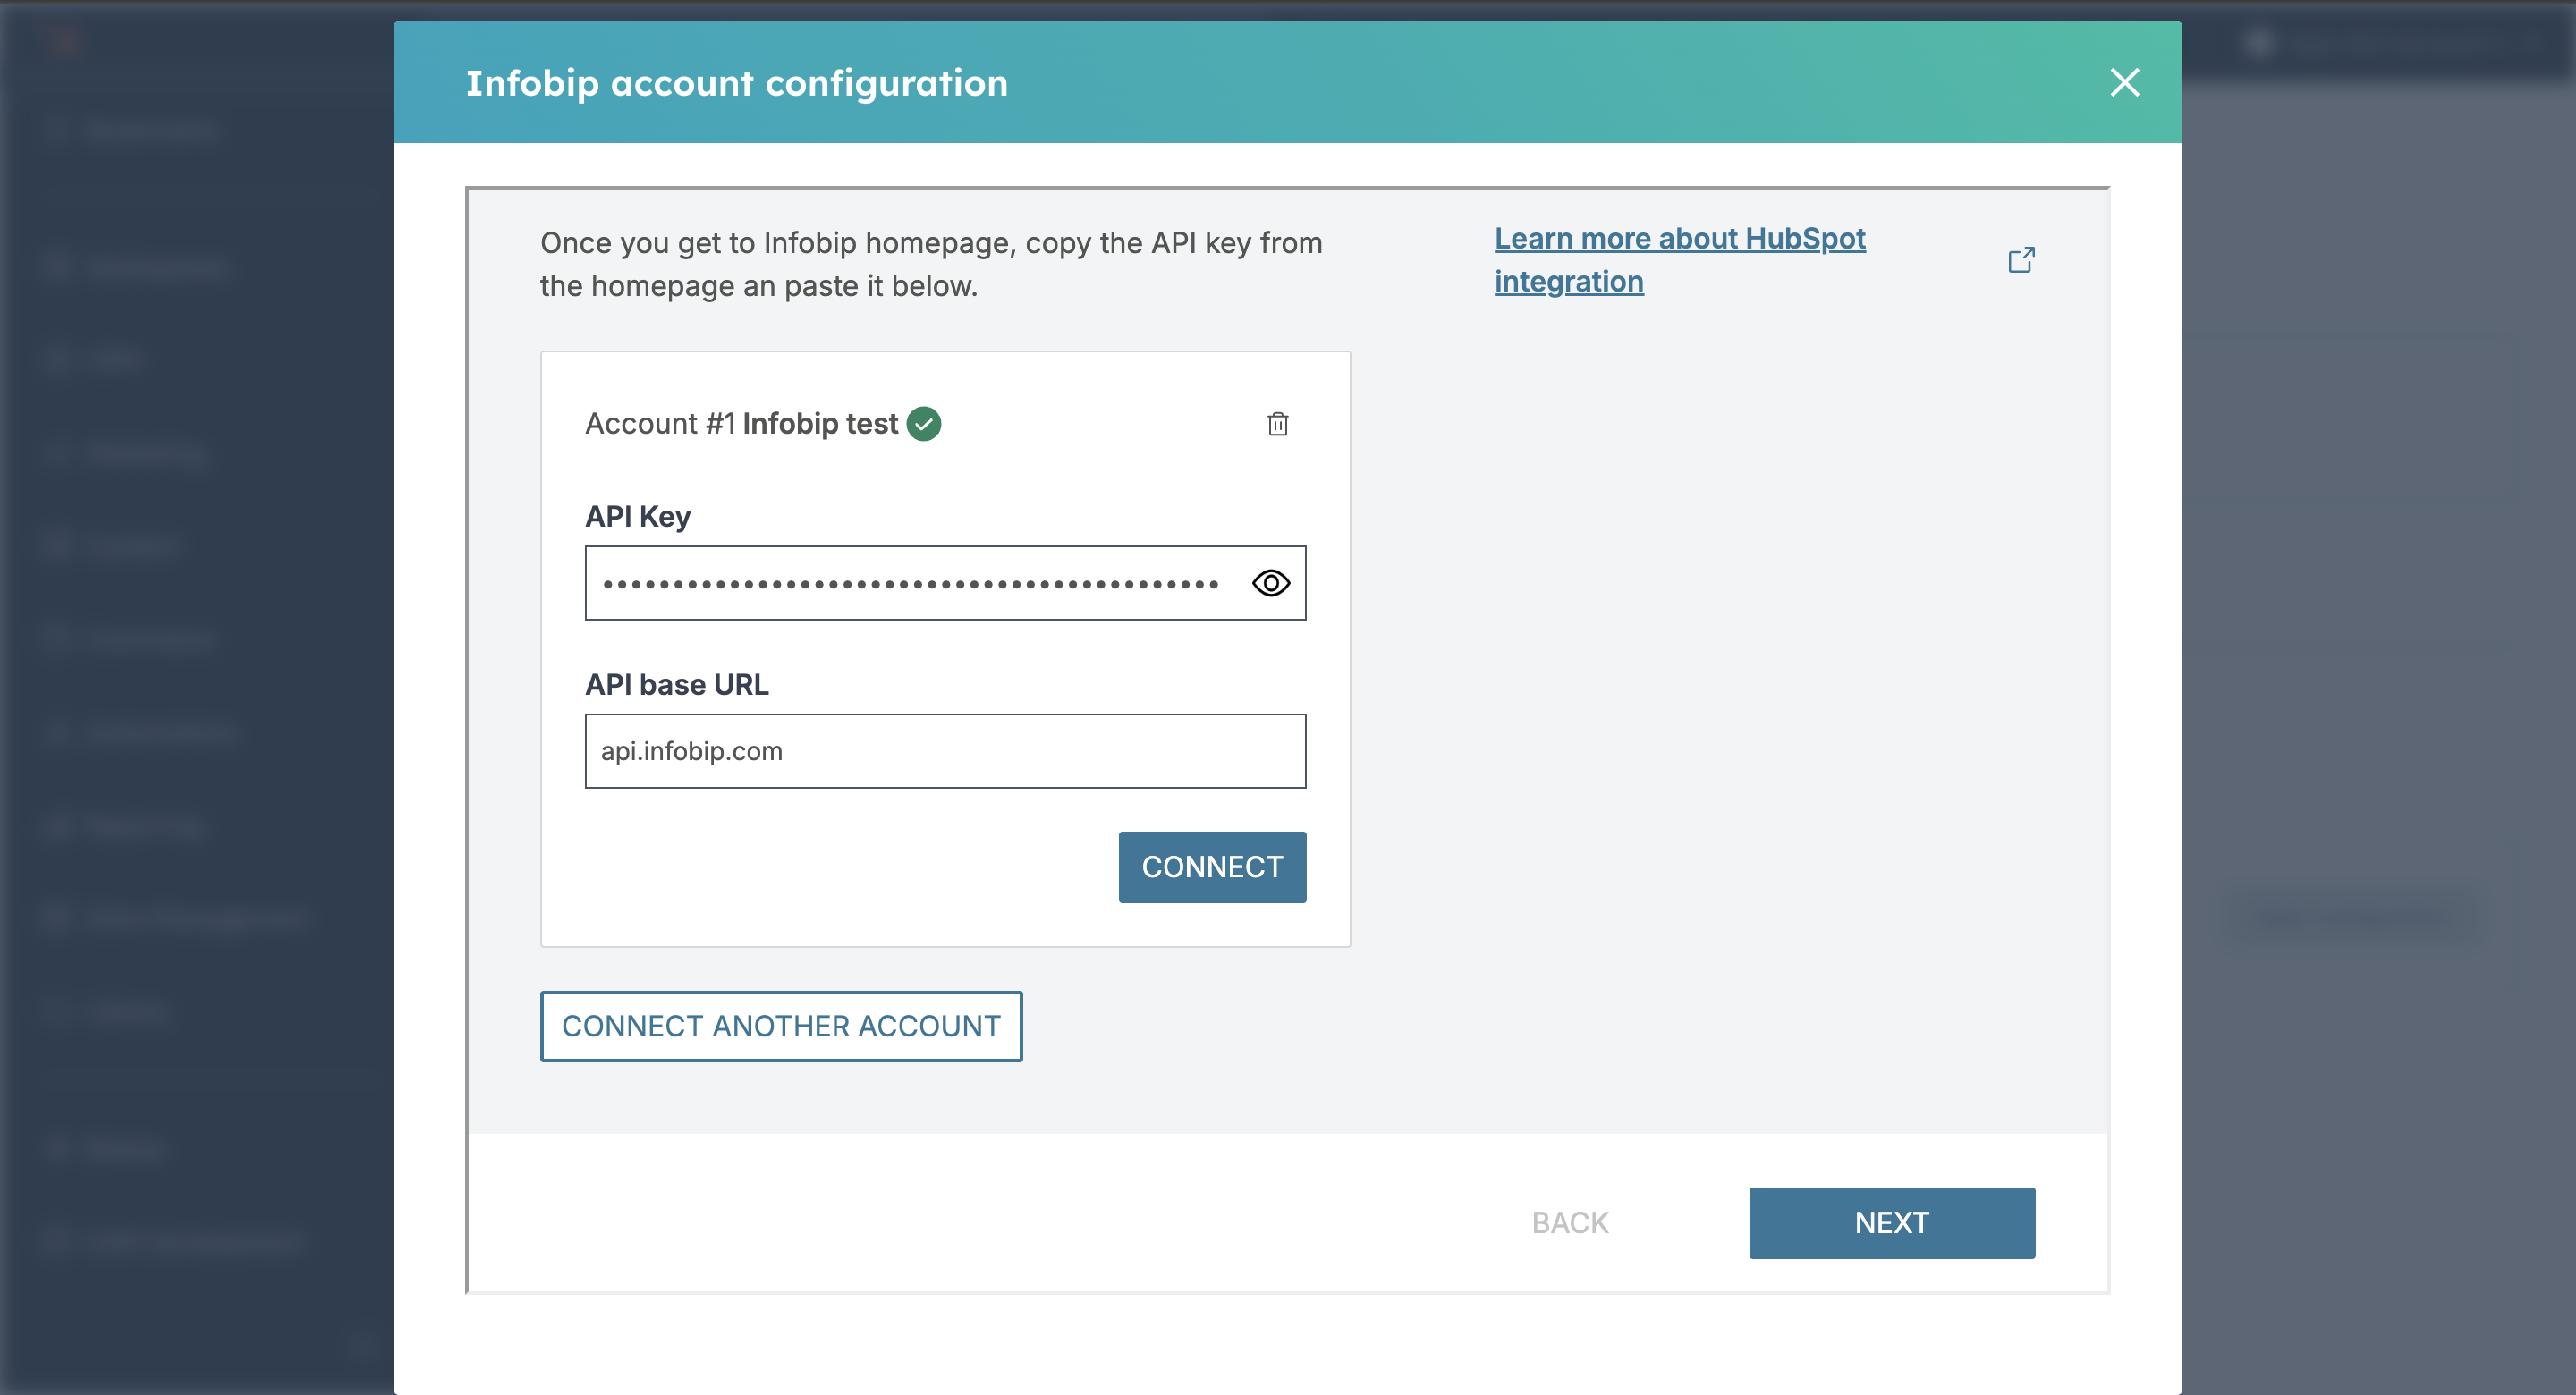
-
Ensure that your API key has the following API scopes enabled:
inbound-message:read message:send account-management:manage numbers:manage whatsapp:manage subscriptions:manage application-entity:manage -
Click Next to continue to the next step.
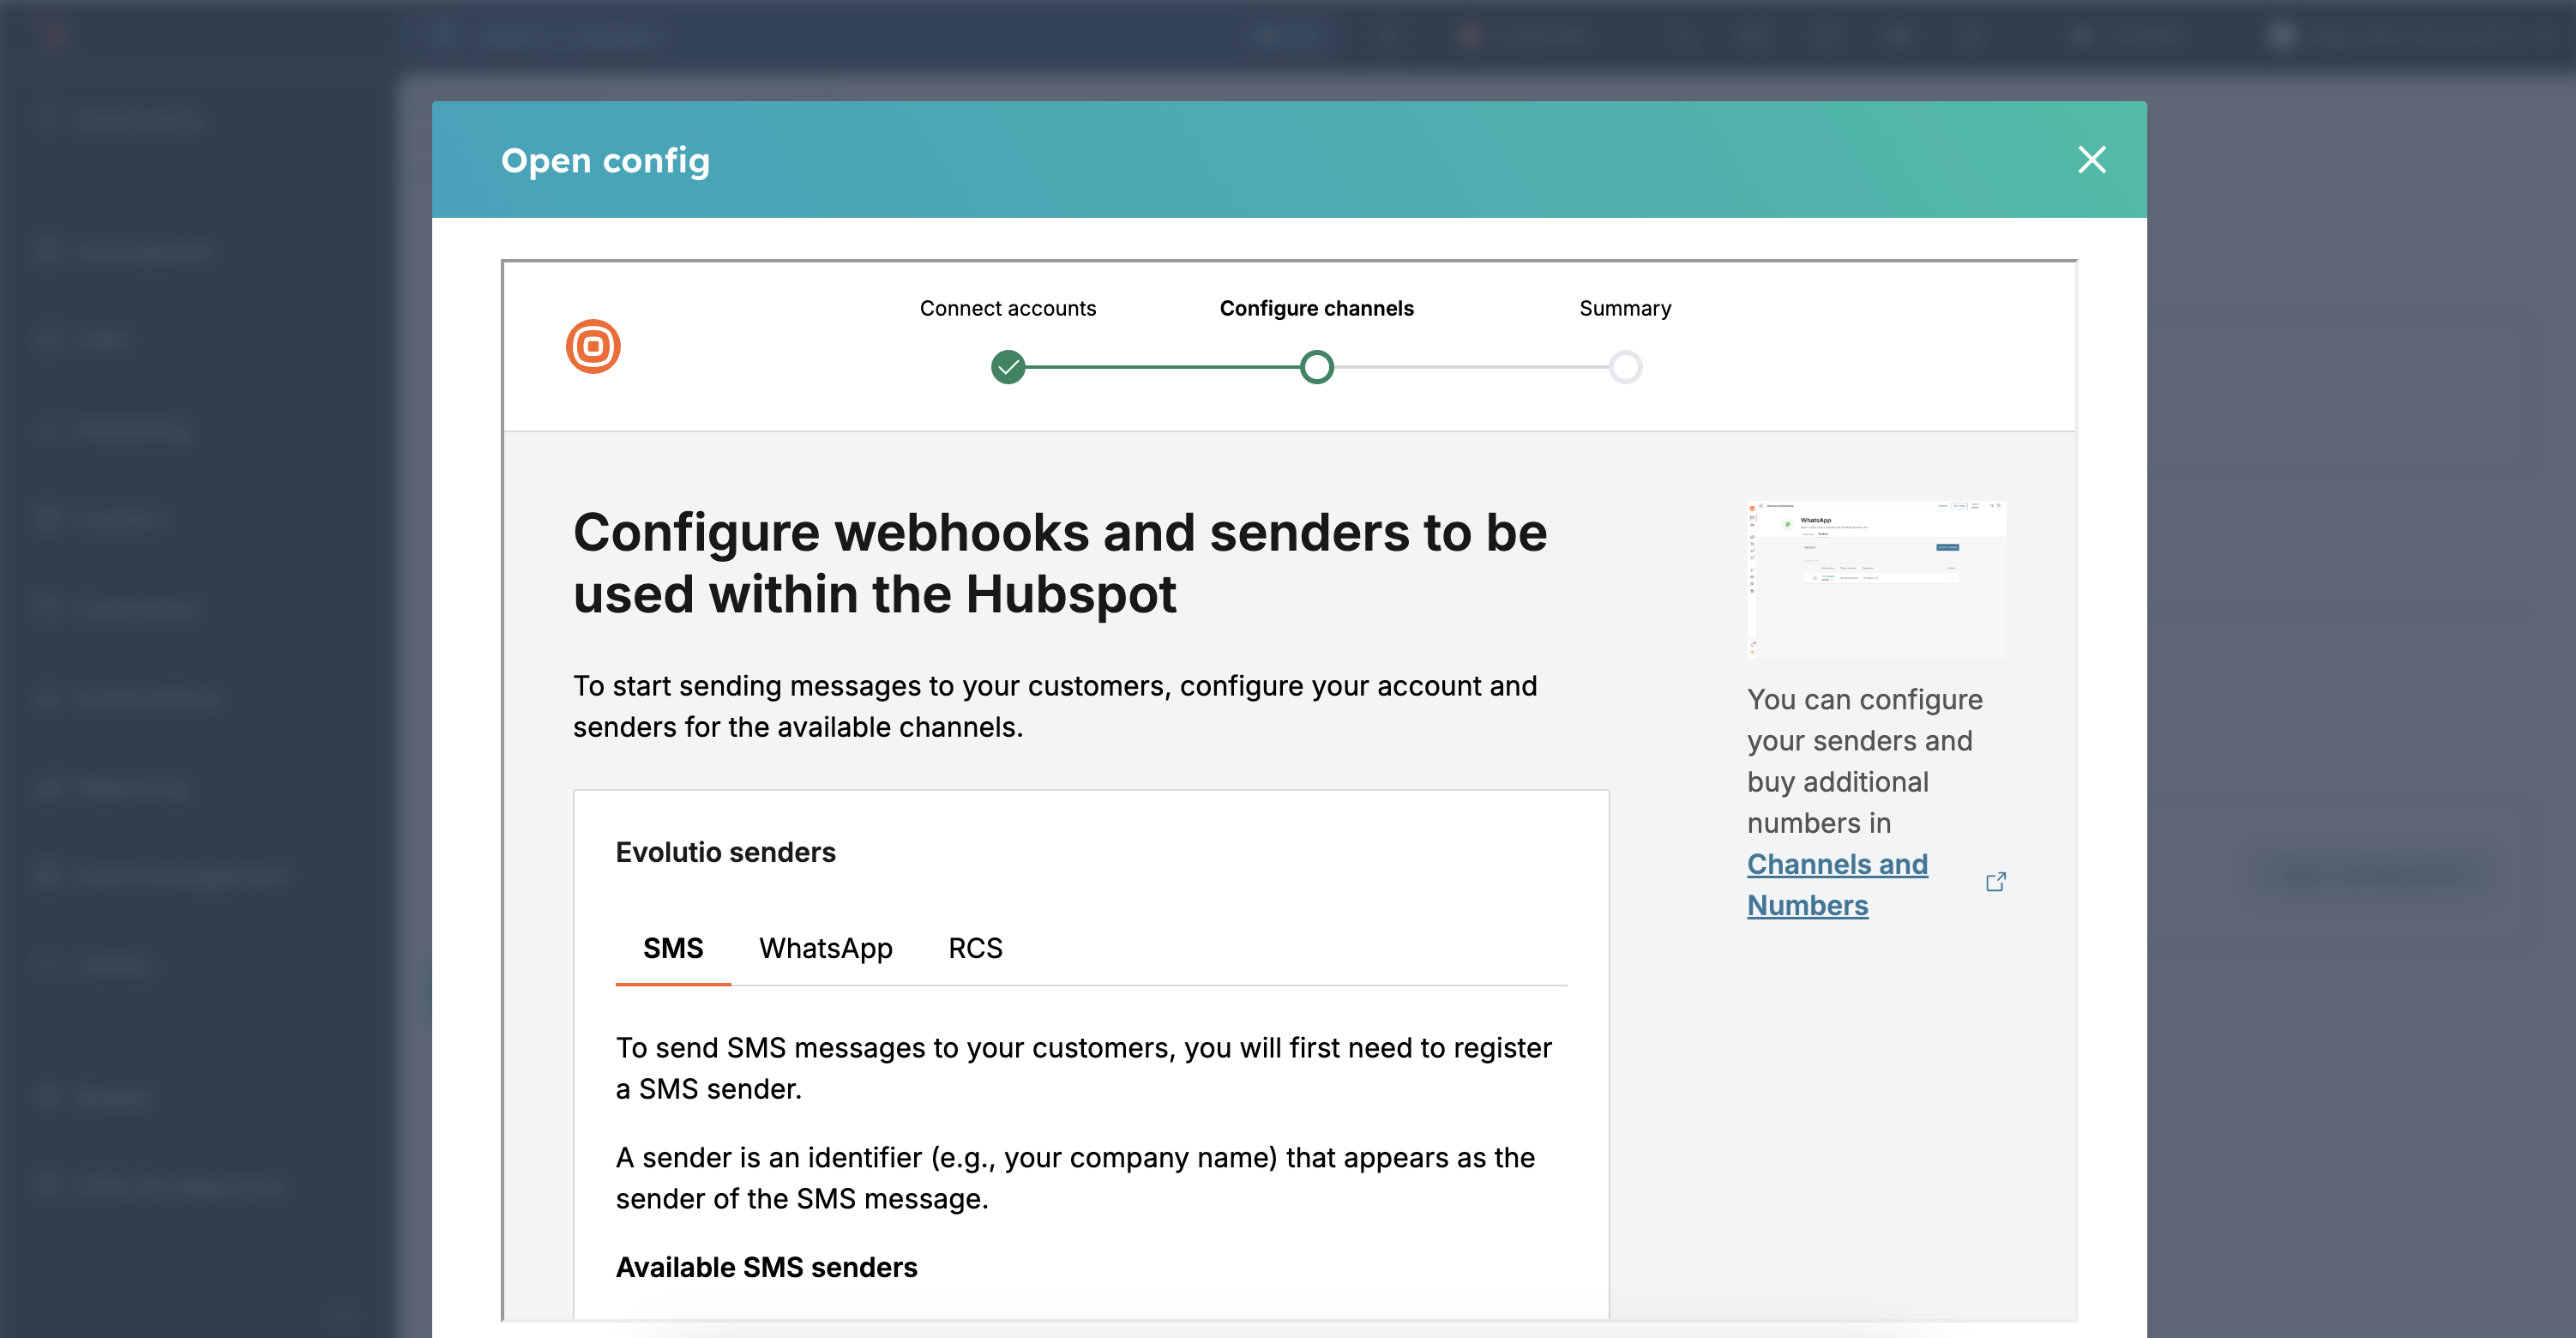
-
For the Connect Channels step, you can see what numbers are available on each channel.
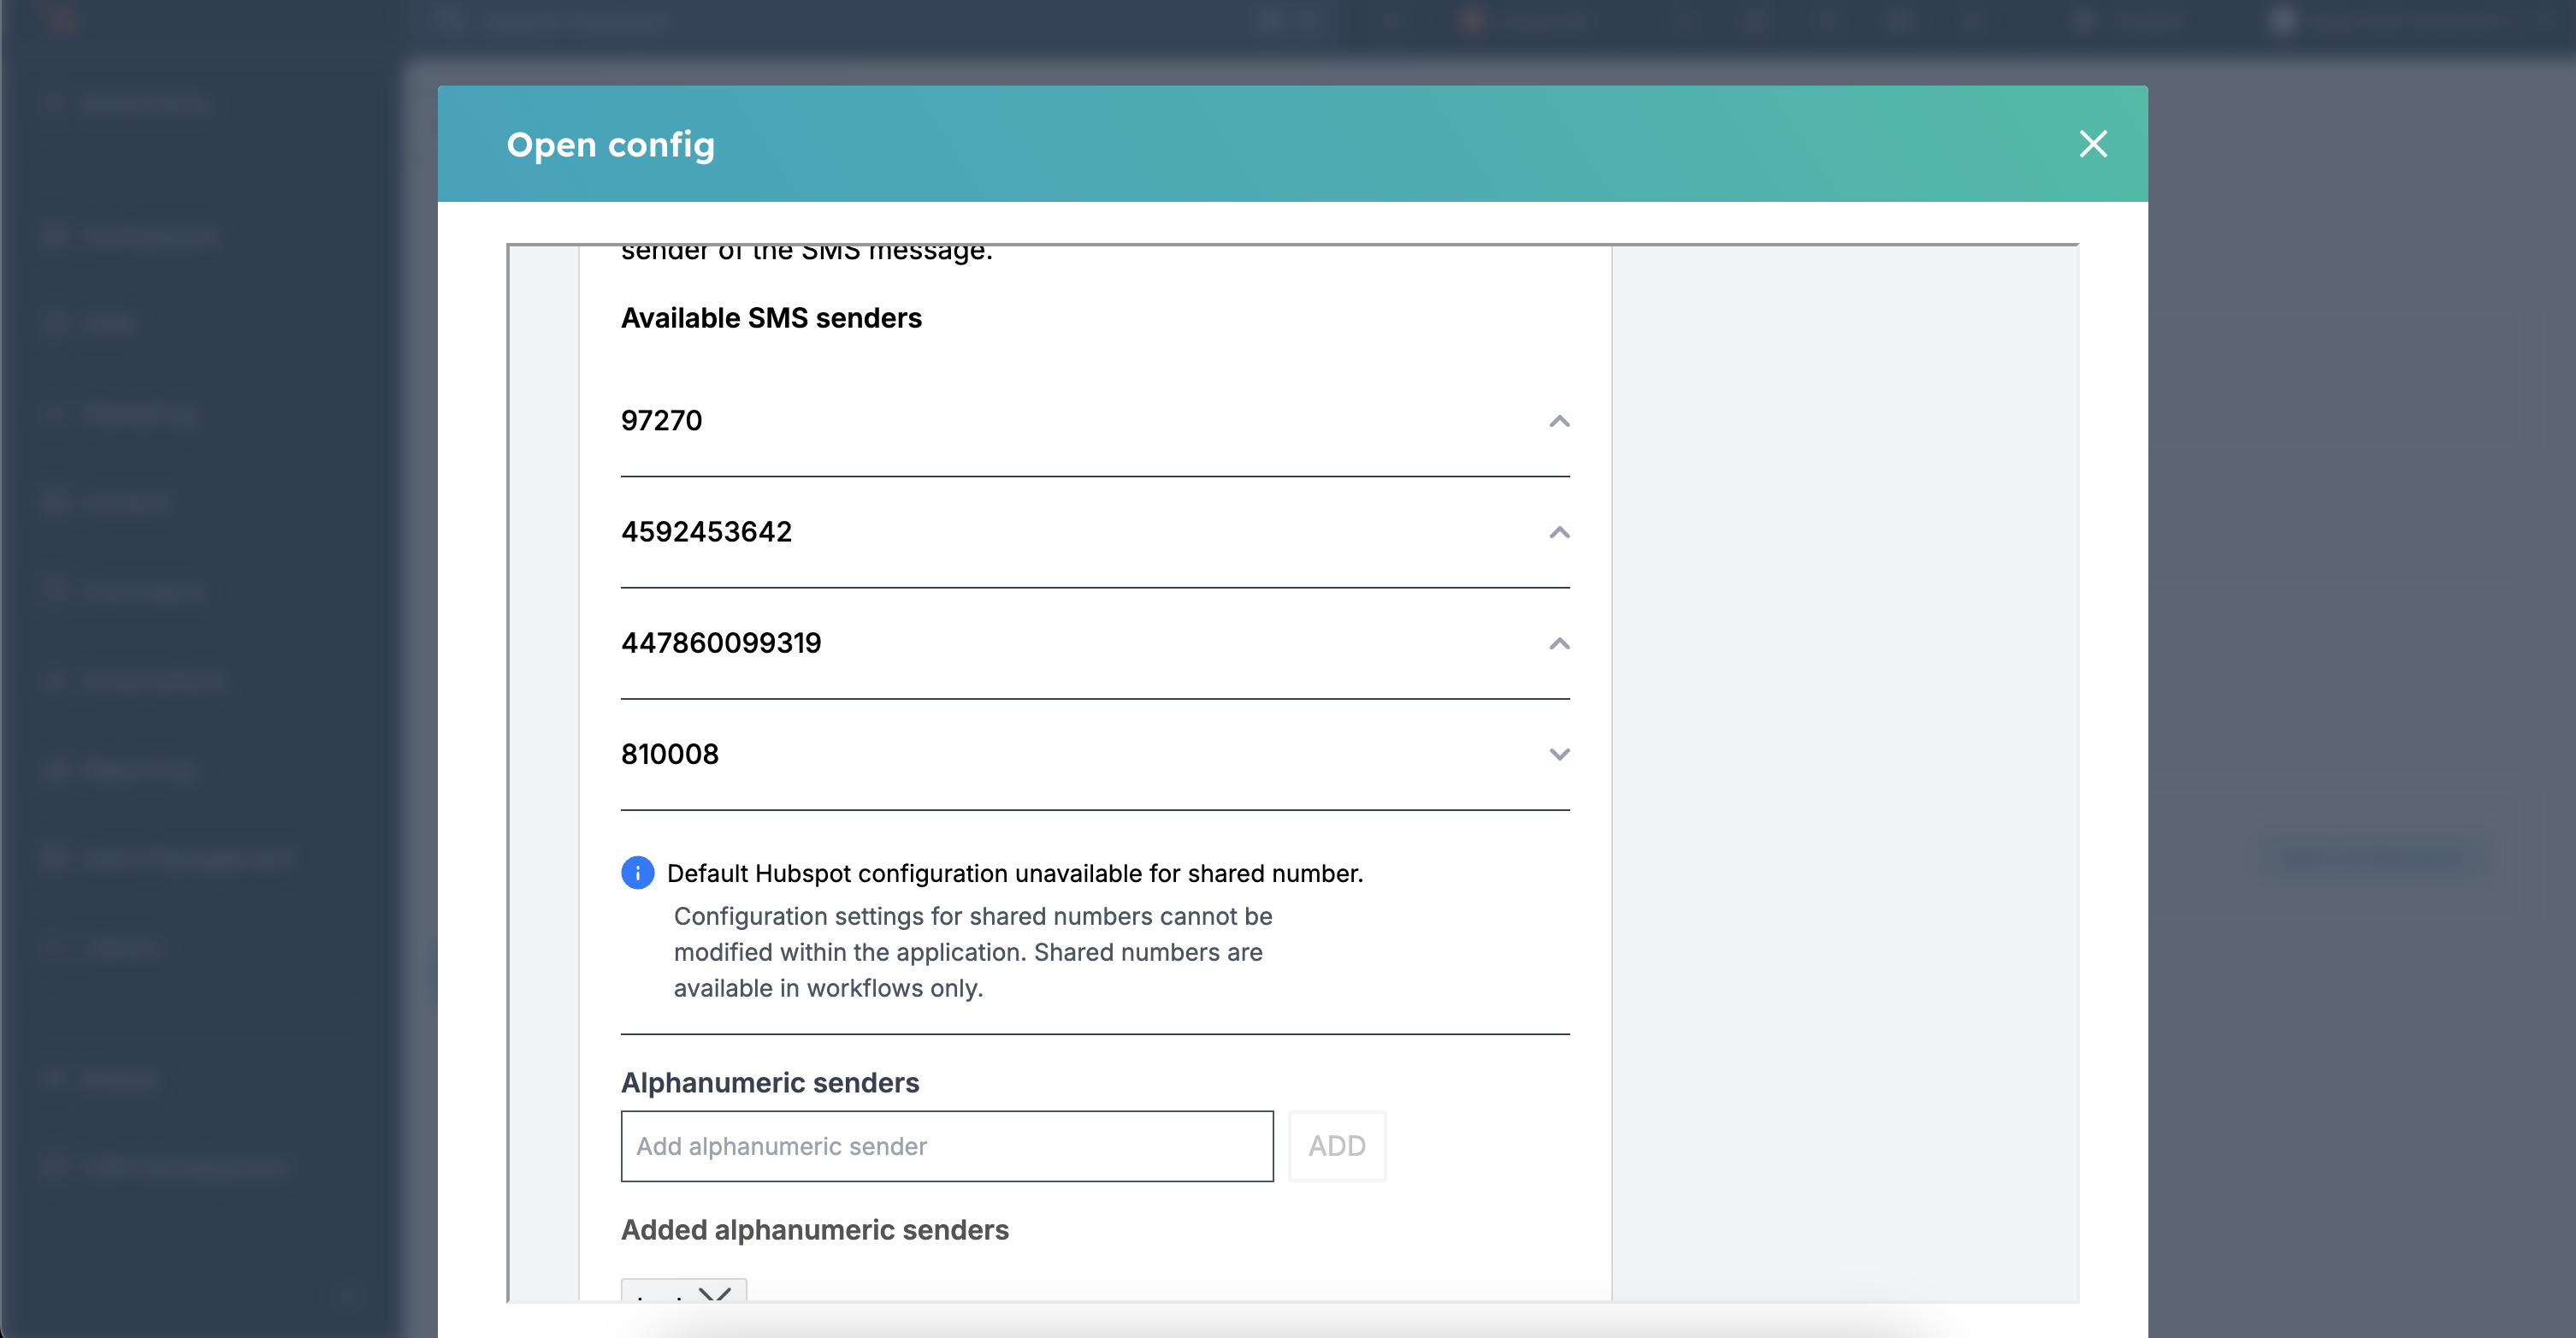
-
Click on a sender number to open the Status section. The following is an example of a shared number where no inbound configuration is possible and no keyword communication.
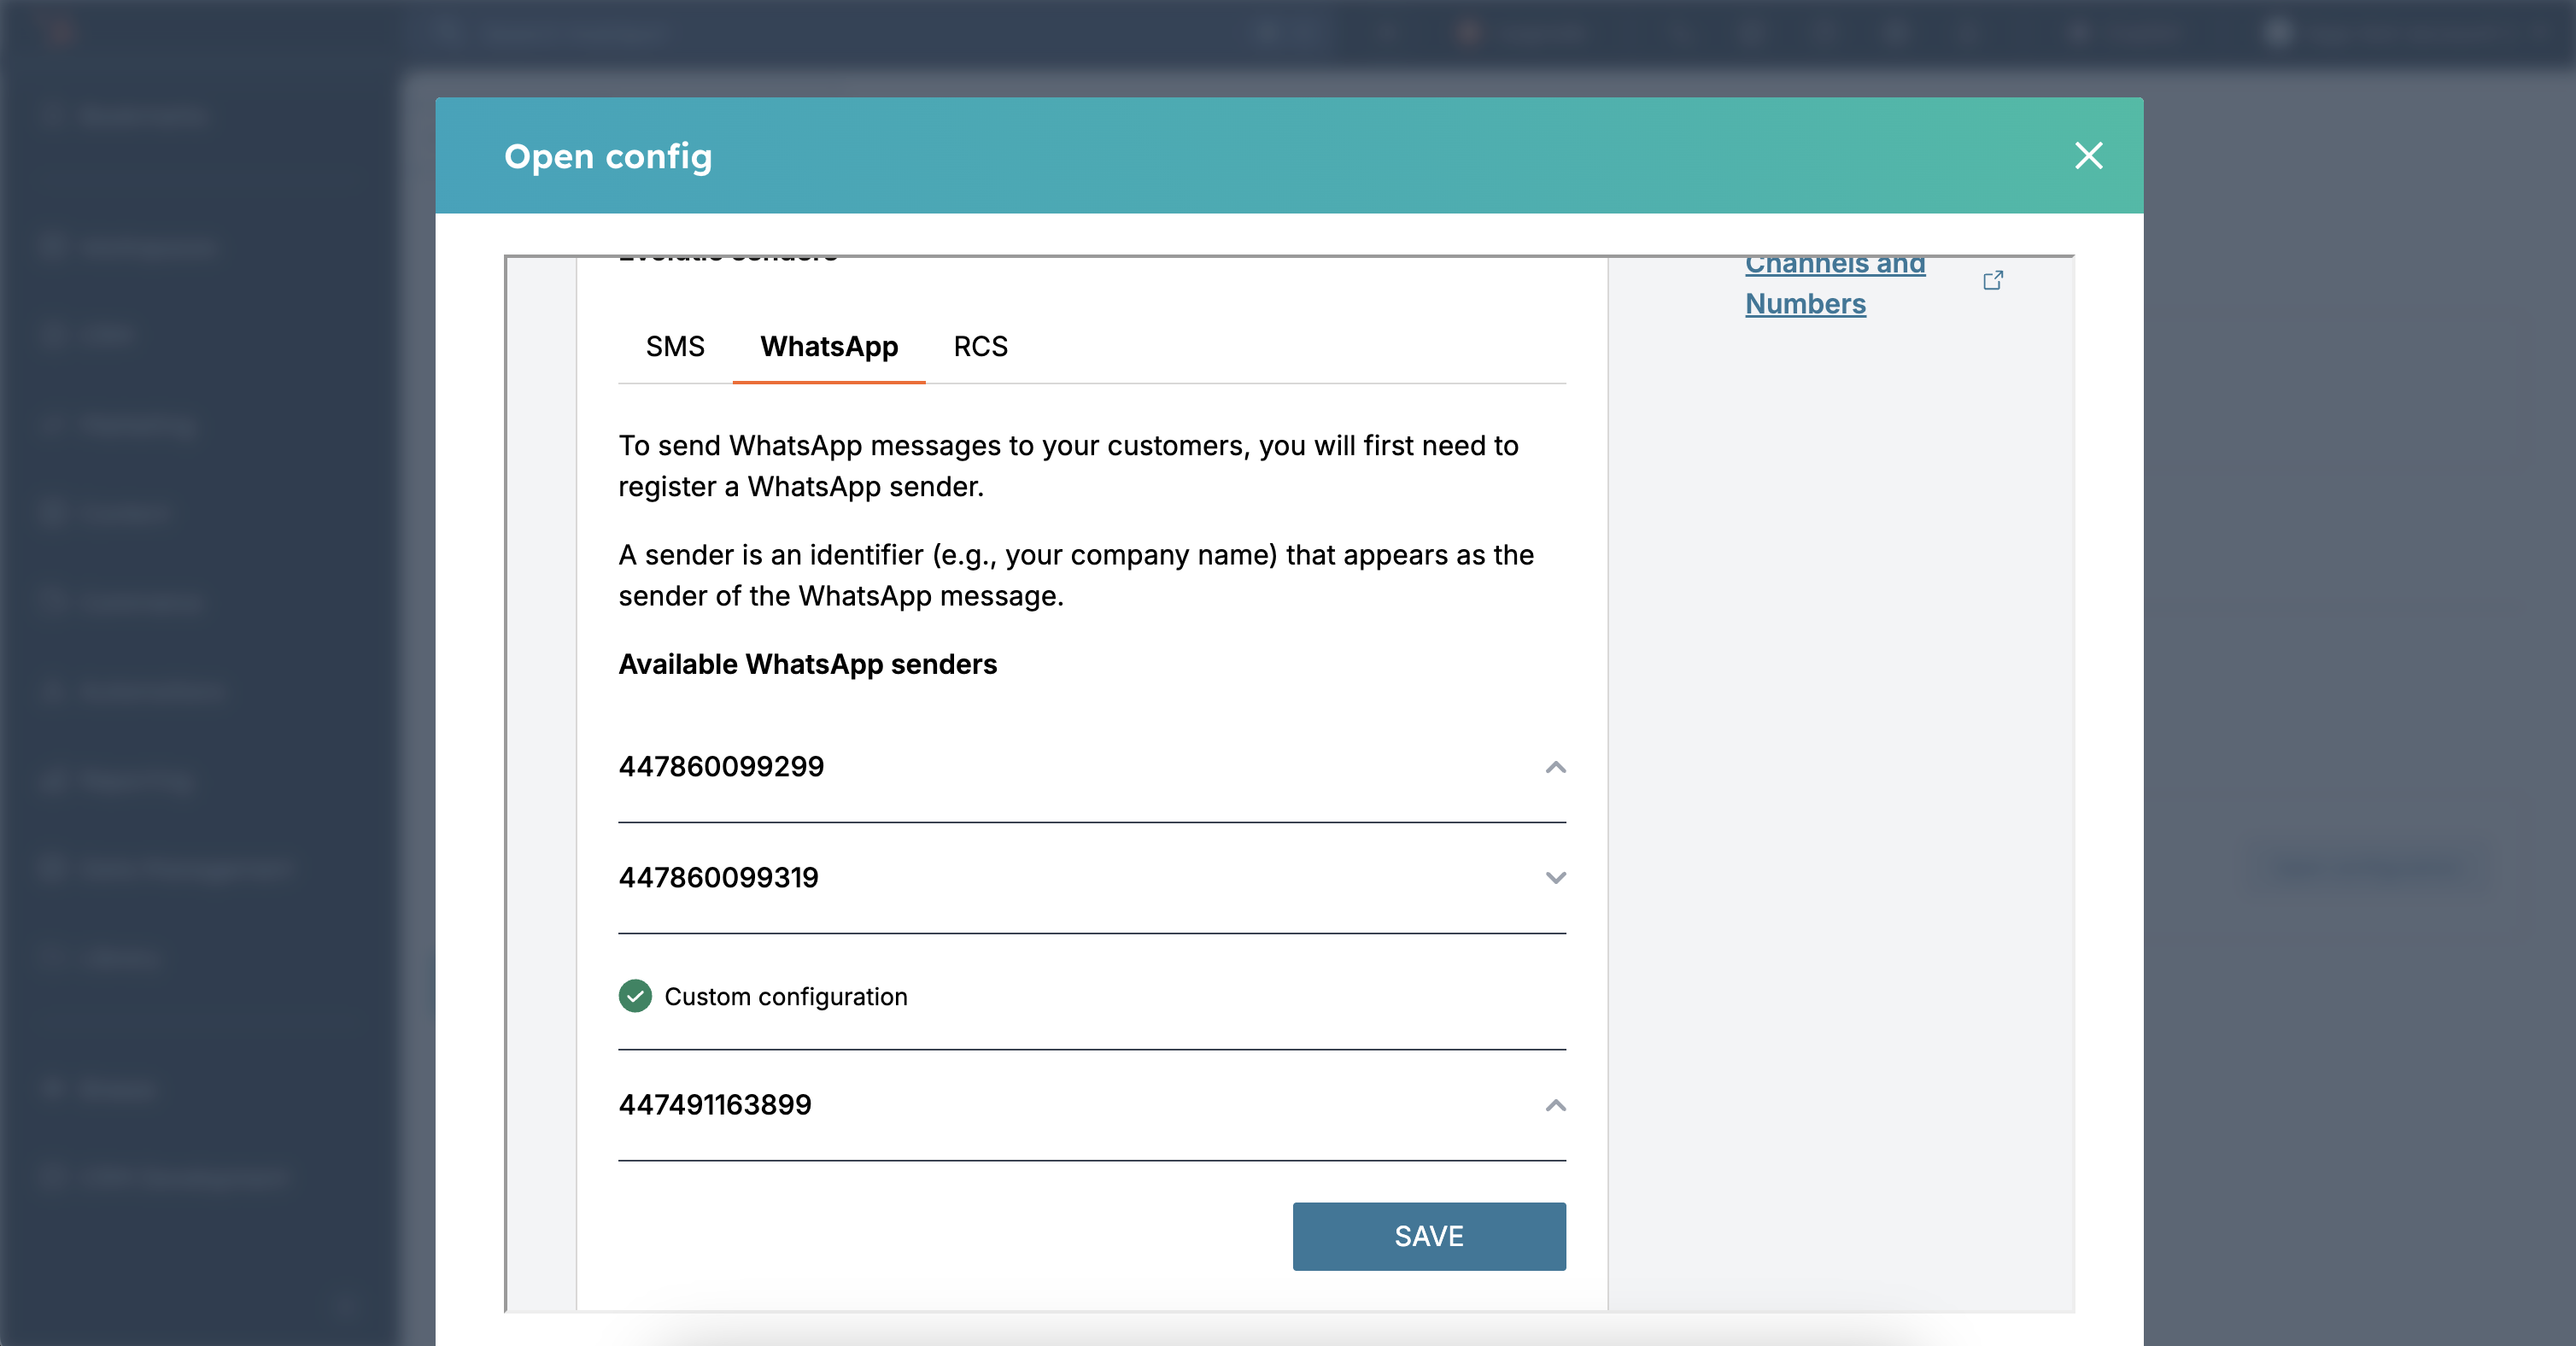
-
For custom configuration, it means that some other configuration has been configured but not to HubSpot and it is shown as default HubSpot configuration.
-
Add Alphanumeric senders. These are available on some numbers (in all channels).
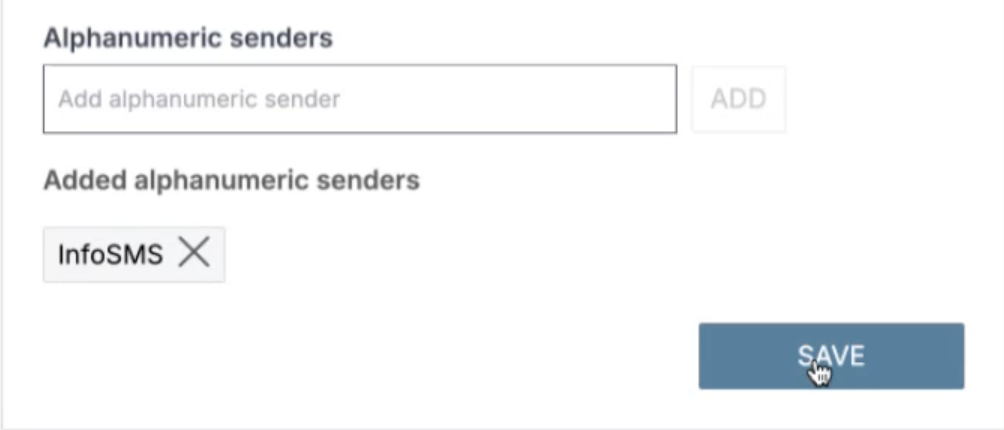
-
When you have finished the changes on the sender number, click Save, and then click Next.
-
For the Summary step, you can see a summary of all the information you have configured.
-
Click Finish to end the configuration.
Use the Feature Discovery tab to find out how to use the Infobip messaging features with HubSpot tools. There are two features:
- Workflows
- Inbox
Workflows
The Workflows feature lets you create automation workflows and send SMS, WhatsApp, RCS, and other messages.
Setup new workflow
- Click Go to workflows. The workflows dashboard opens.
- In top-right corner, click the Create Workflow drop-down menu and select the from scratch option. On the new screen, you see a default blank workflow option that is contact-based.
- Click Next.
- On the workflow creation screen, select Edit > Edit enrollment trigger to setup triggers.
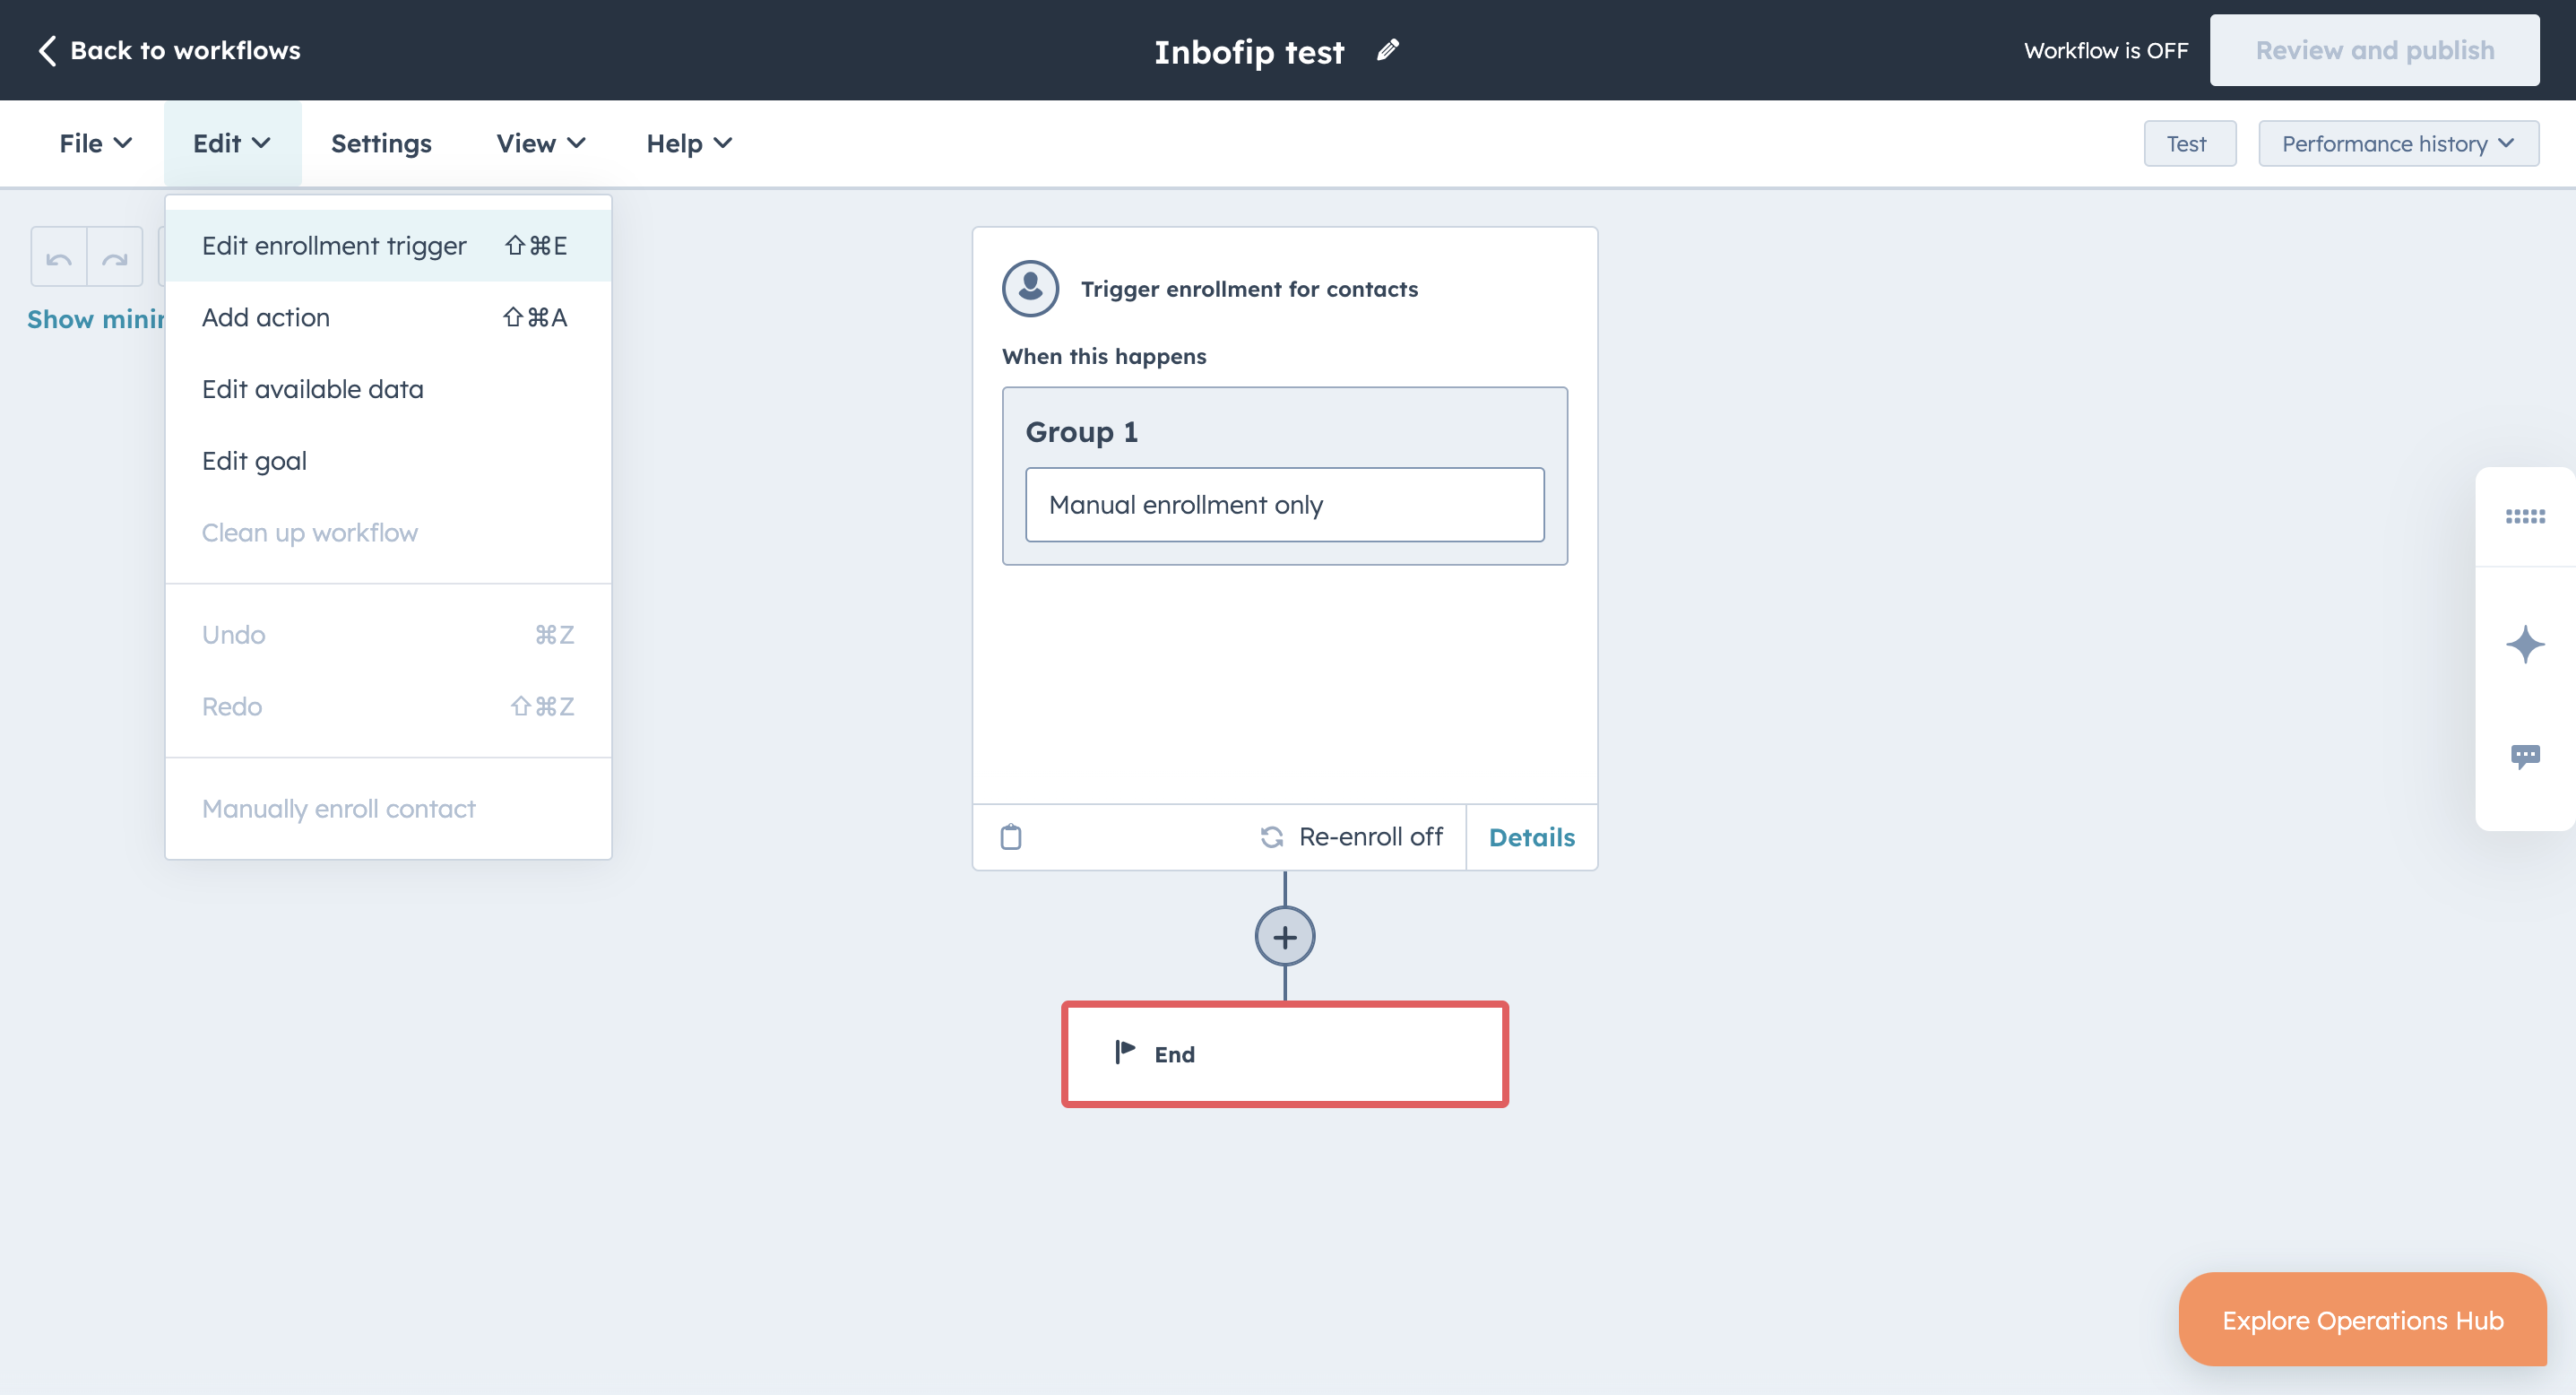
- On the Re-enrollment tab, select the toggle switch to ON to allow contacts to re-enroll after completing setup.
- Click Save.
- Close the sidebar panel, and then click the plus sign below the trigger setup box. The Choose an action panel opens at the side, where you can scroll down to the Integrated apps section.
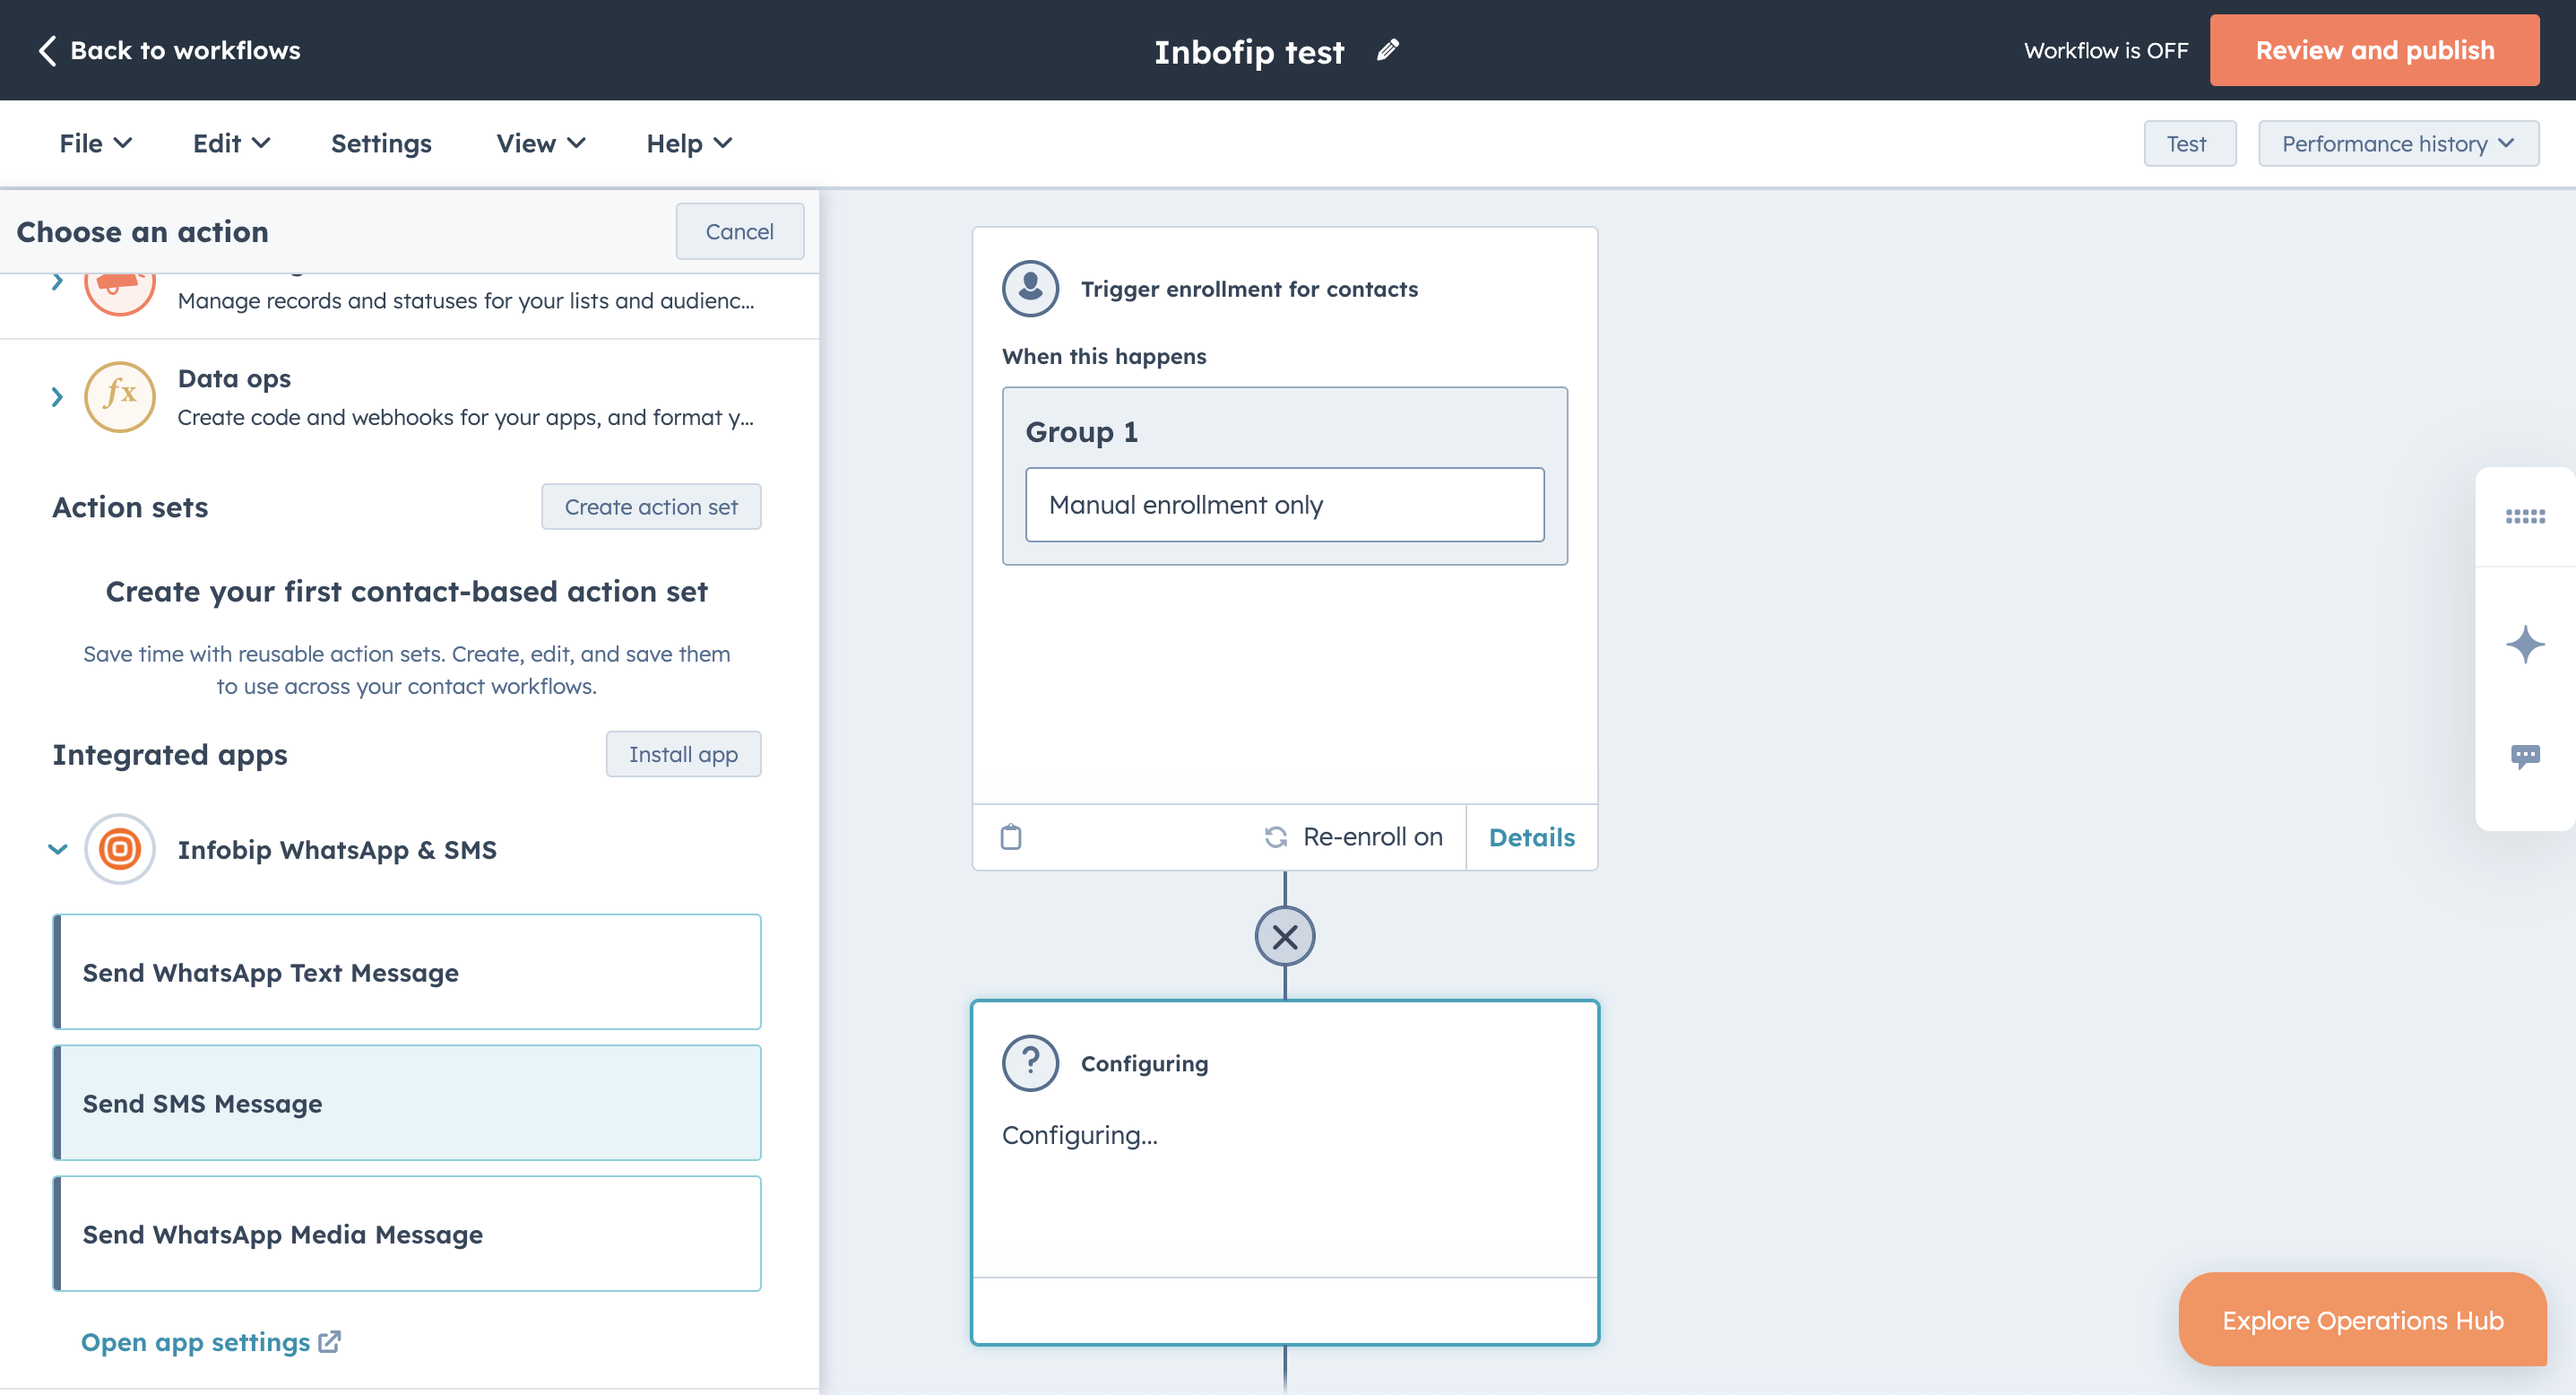
For actions, there are three options:
- Send SMS
- Send WhatsApp Text Message
- Send WhatsApp Media Message
Send SMS action
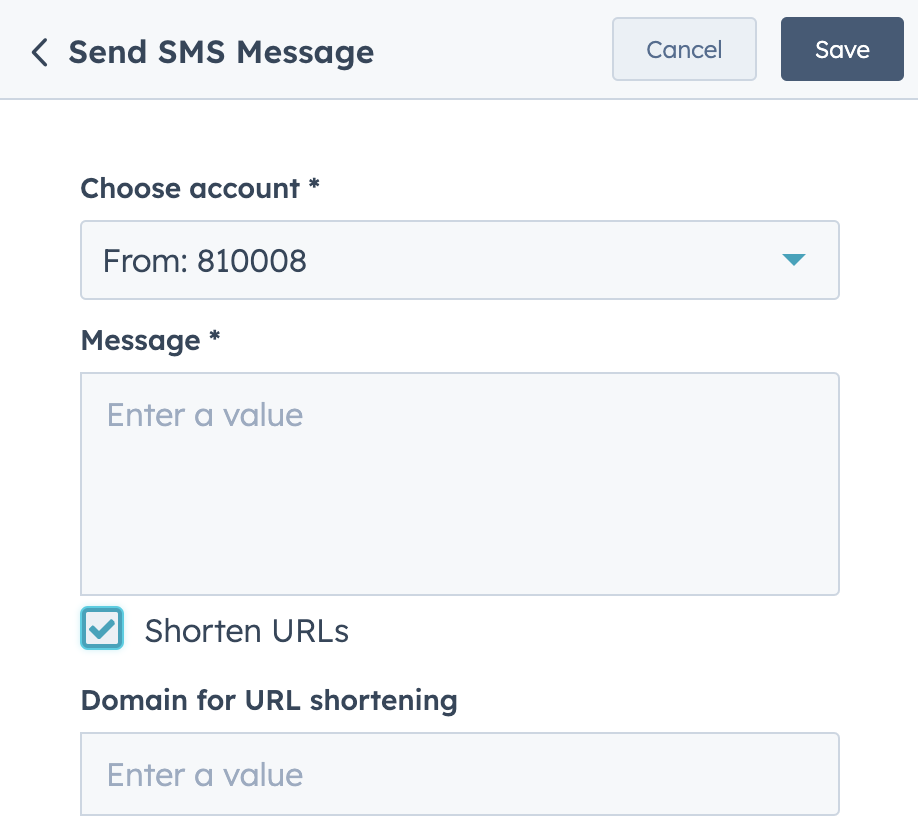
Send SMS action is the simplest option that you can use. You need only to define the number you want to use for sending messages and the content that you want to send to your users. Every message can be personalized with customer data by adding Contact tokens to the message.
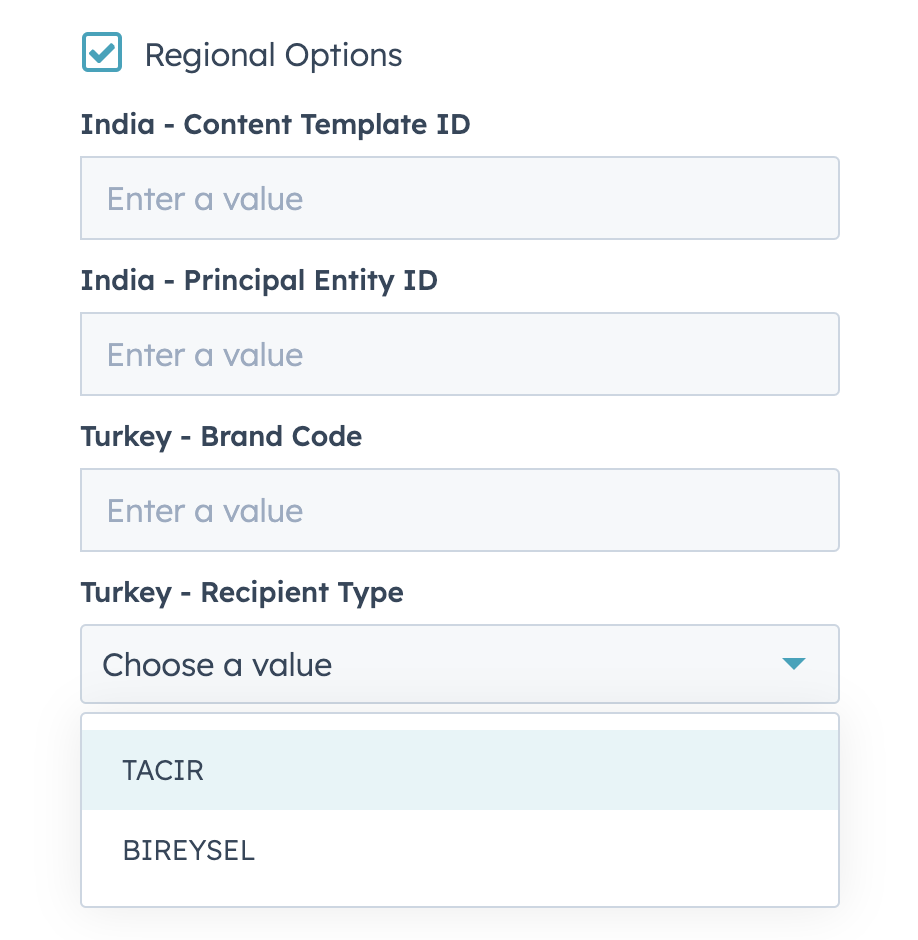
To include regional options for India and/or Türkiye, select the Regional Options checkbox and include the respective values from your Infobip account.
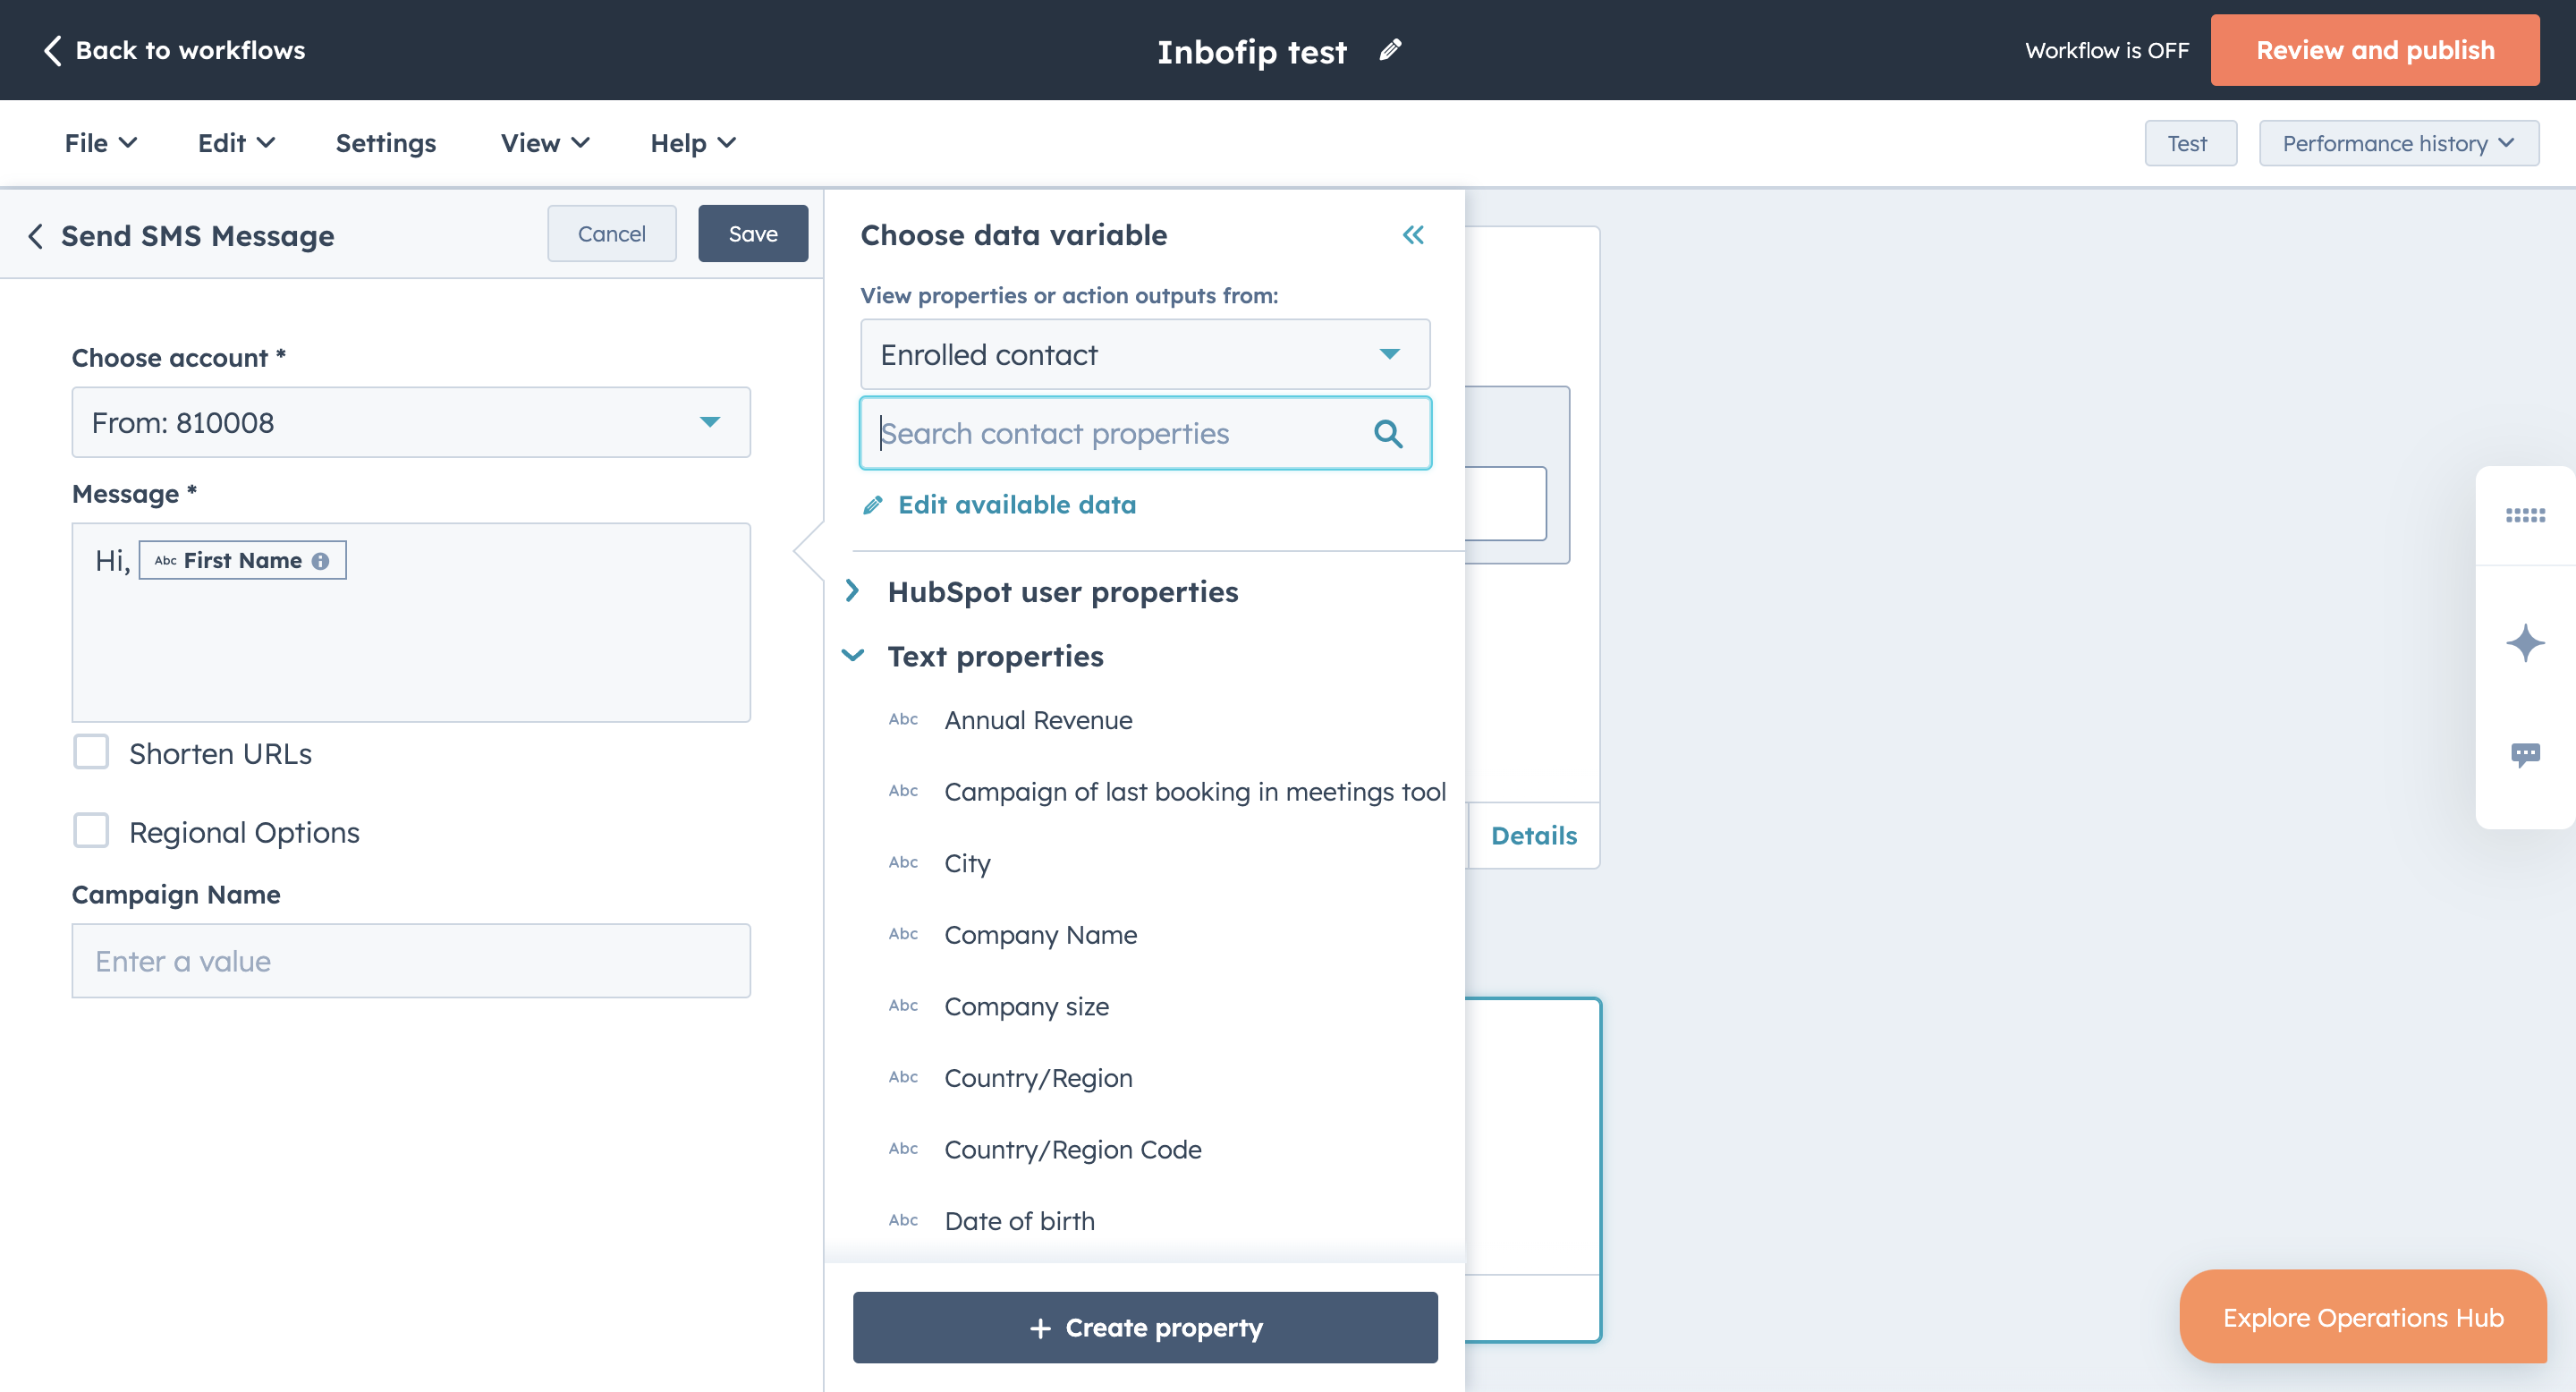
Add a name to your campaign for easier tracking.
Send WhatsApp actions support the ability to send text and media templates to users. To learn more about sending WhatsApp messages, see the Message Types documentation (opens in a new tab).
Depending on the template you want to send to your users, a form is loaded where you can fill out placeholder content or media if you are sending media templates.
After completing the fields and creating a workflow, click Review and publish in the top right corner. On the panel on the right, you see workflow step. To go to the next step, click Next. When you get to the last step, click Turn on workflow to publish your workflow.
Once the workflow is activated, you can check whether your contacts have received your messages from their profile's timeline.
The following options are available for the actions.
URL Shortening
URL shortening is available for all actions. To enable it, select the URL shortening option. Additionally, if you want to use a custom domain and you have registered it with Infobip, you can add it to the domain for the URL Shortening field. If it is left empty, one of the default domains will be used.
See the URL shortening documentation for more information.
Regional options
When sending SMS messages to certain areas, some parameters are imposed by local law regulation. To enable these regional settings, select the Regional Options checkbox and add the required information. This is currently available for India (Distributed Ledger Technology (DLT) specific parameters) and Turkey (IYS).
Send WhatsApp text message
These instructions lead you through the process of sending WhatsApp messages.
There are two types of WhatsApp messages:
- Text
- Media
Text messages
Choose the account (the sender) from which you want to send a message and set the remaining fields:
- Select a template
- Define the number of parameters
- Add an optional campaign name
You can also select the Shorten URLs option.

Media messages
Choose the account (the sender) from which you want to send a message and set the remaining fields:
- Select a template
- Define the number of parameters
- Add an optional campaign name
You can also select the Shorten URLs option.
After completing the fields and creating a workflow, click Review and publish in the top right corner. On the panel on the right, you see a workflow step. To go to the next step, click Next. When you get to the last step, click Turn on workflow to publish your workflow.
URL Shortening
URL shortening is available for all actions. To enable it, select the URL shortening option. Additionally, if you want to use a custom domain and you have registered it with Infobip, you can add it to the domain for the URL Shortening field. If it is left empty, one of the default domains will be used.
Inbox
You can create custom channels to build a bridge between an external message service and HubSpot's inbox or help desk features. You can then publish your custom channel app in the HubSpot App Marketplace for other HubSpot admins to install and use in their own accounts.
This also bridges the gap between custom communication channels and HubSpot contacts. In previous versions of the application, CRM cards with custom dashboards were being used for two-way messaging. Updates to messages would be received as timeline events which was problematic for agents to keep track of.
Once a channel is registered inside a marketplace application, customers can install and enable it from a list.
Configure your inbox
You can configure your inbox when you want to connect to a custom channel.
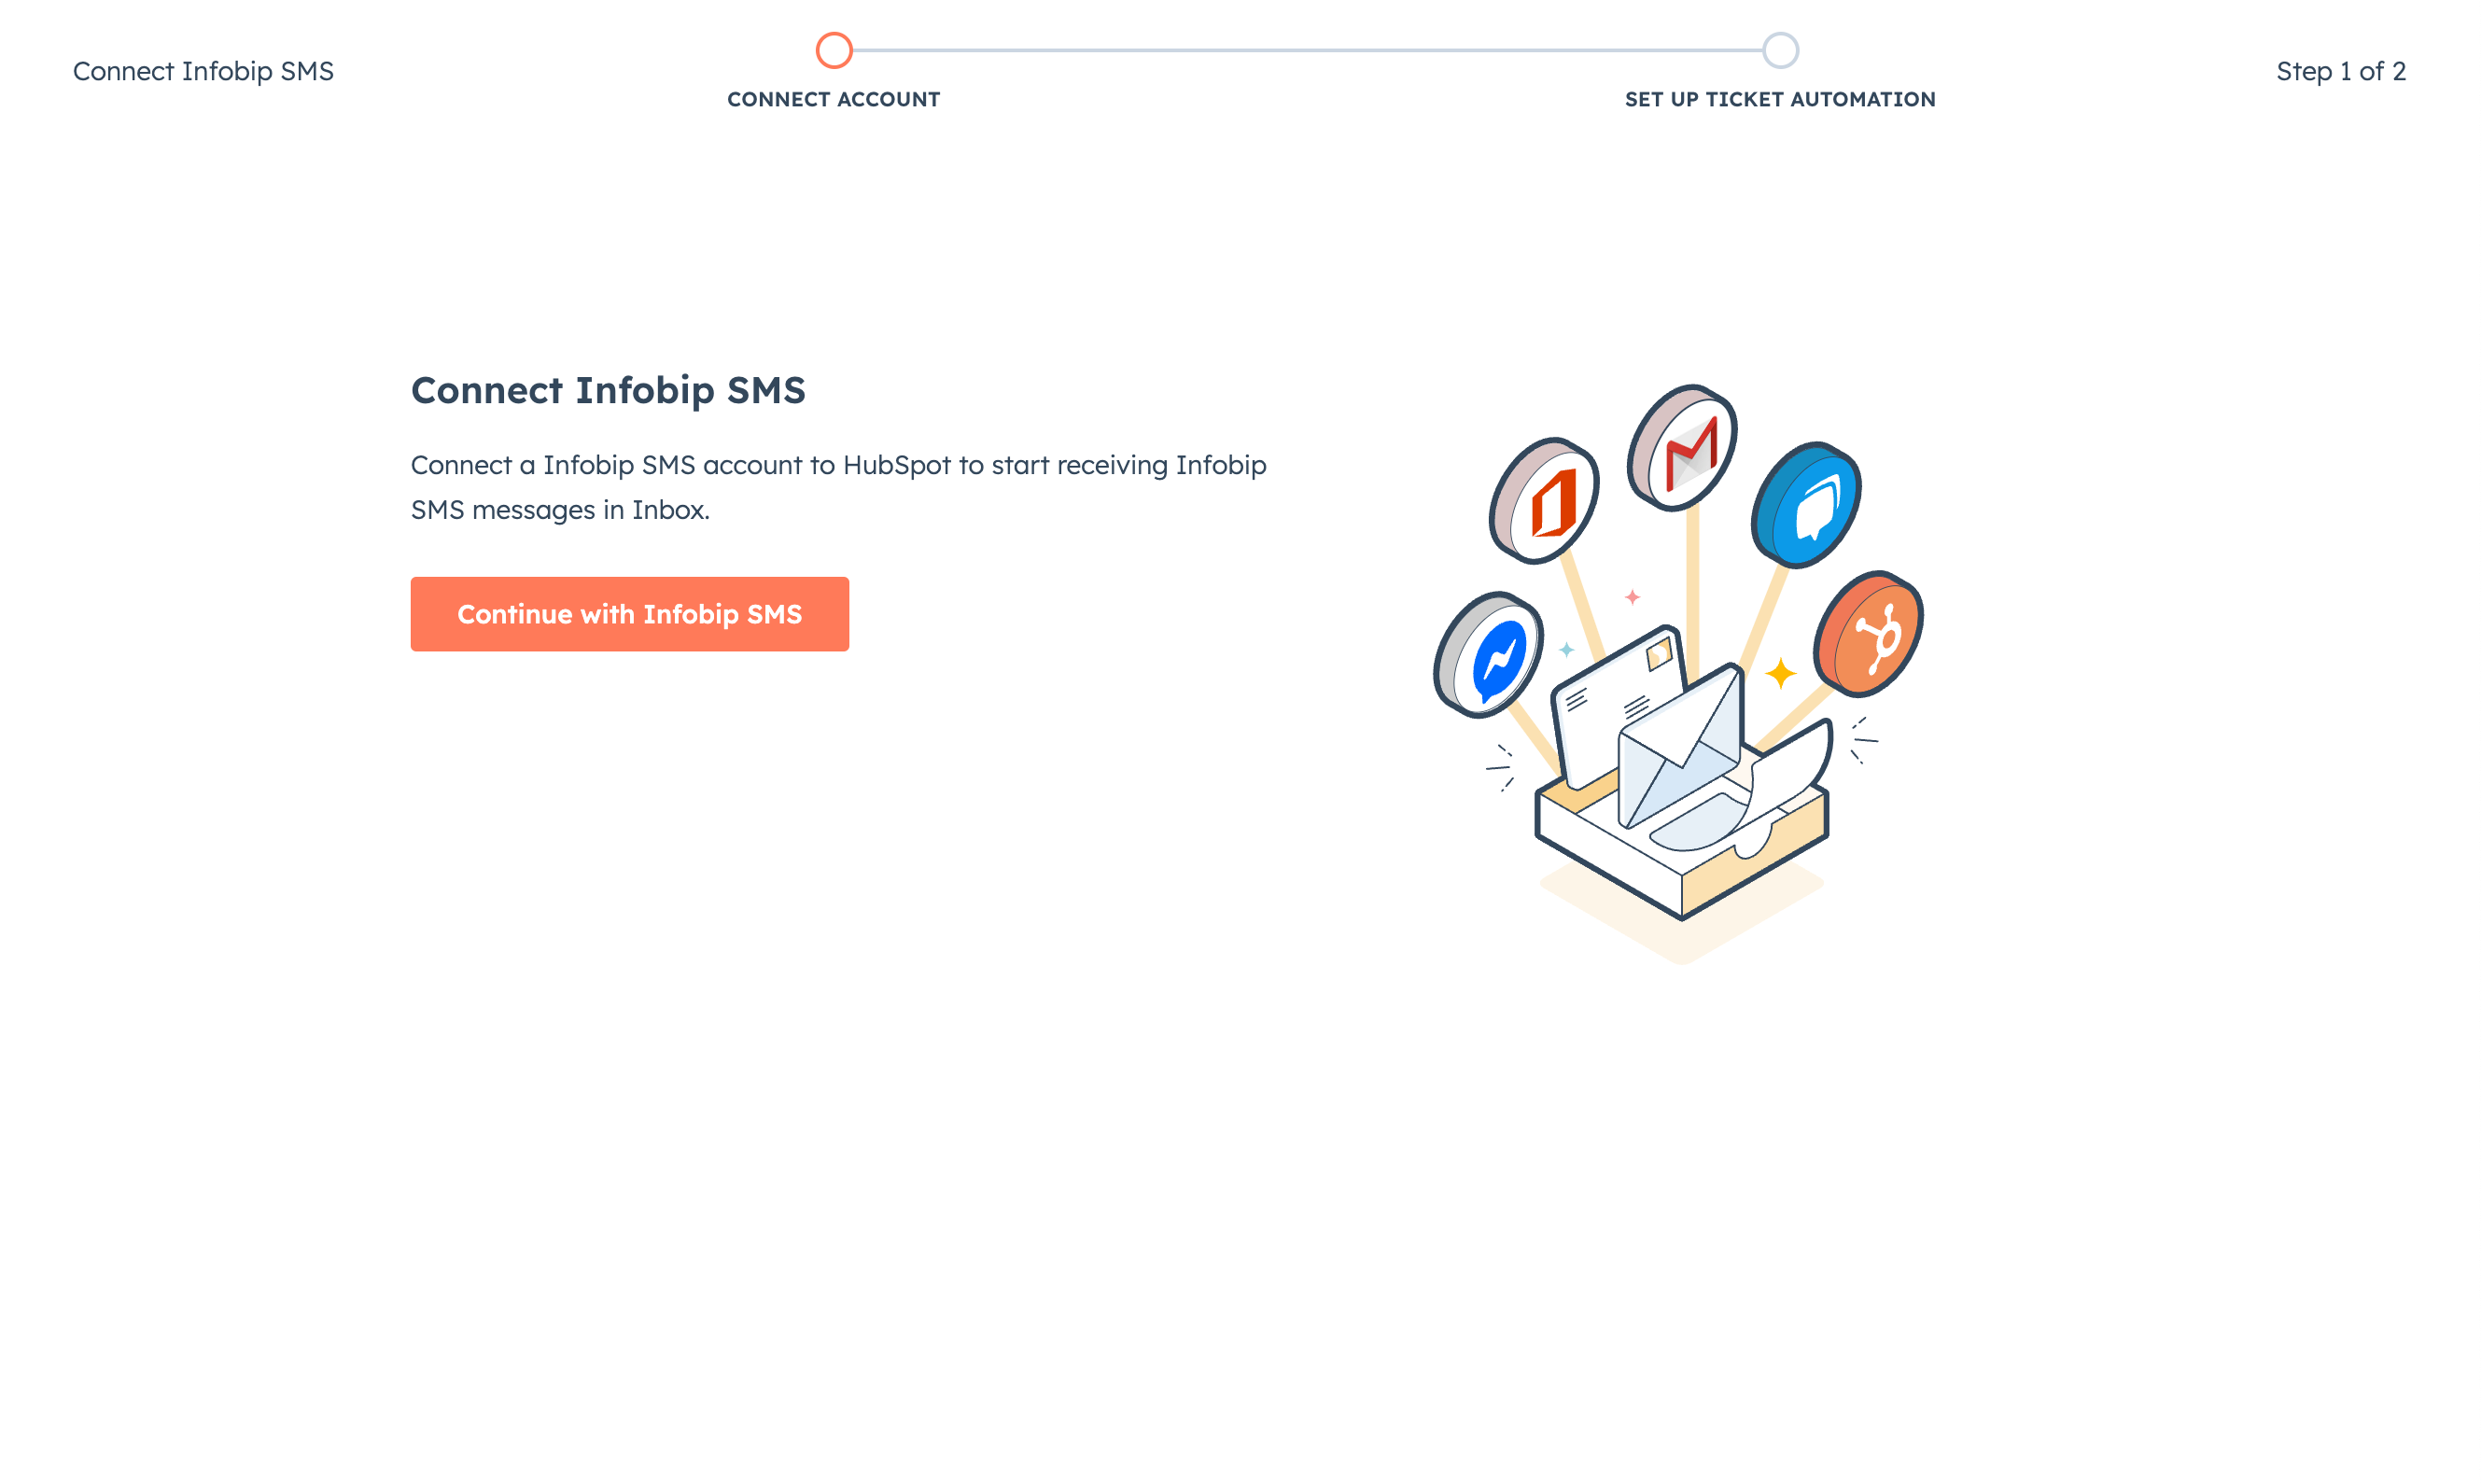
Click Connect Infobip SMS to begin the first step and open the configuration.
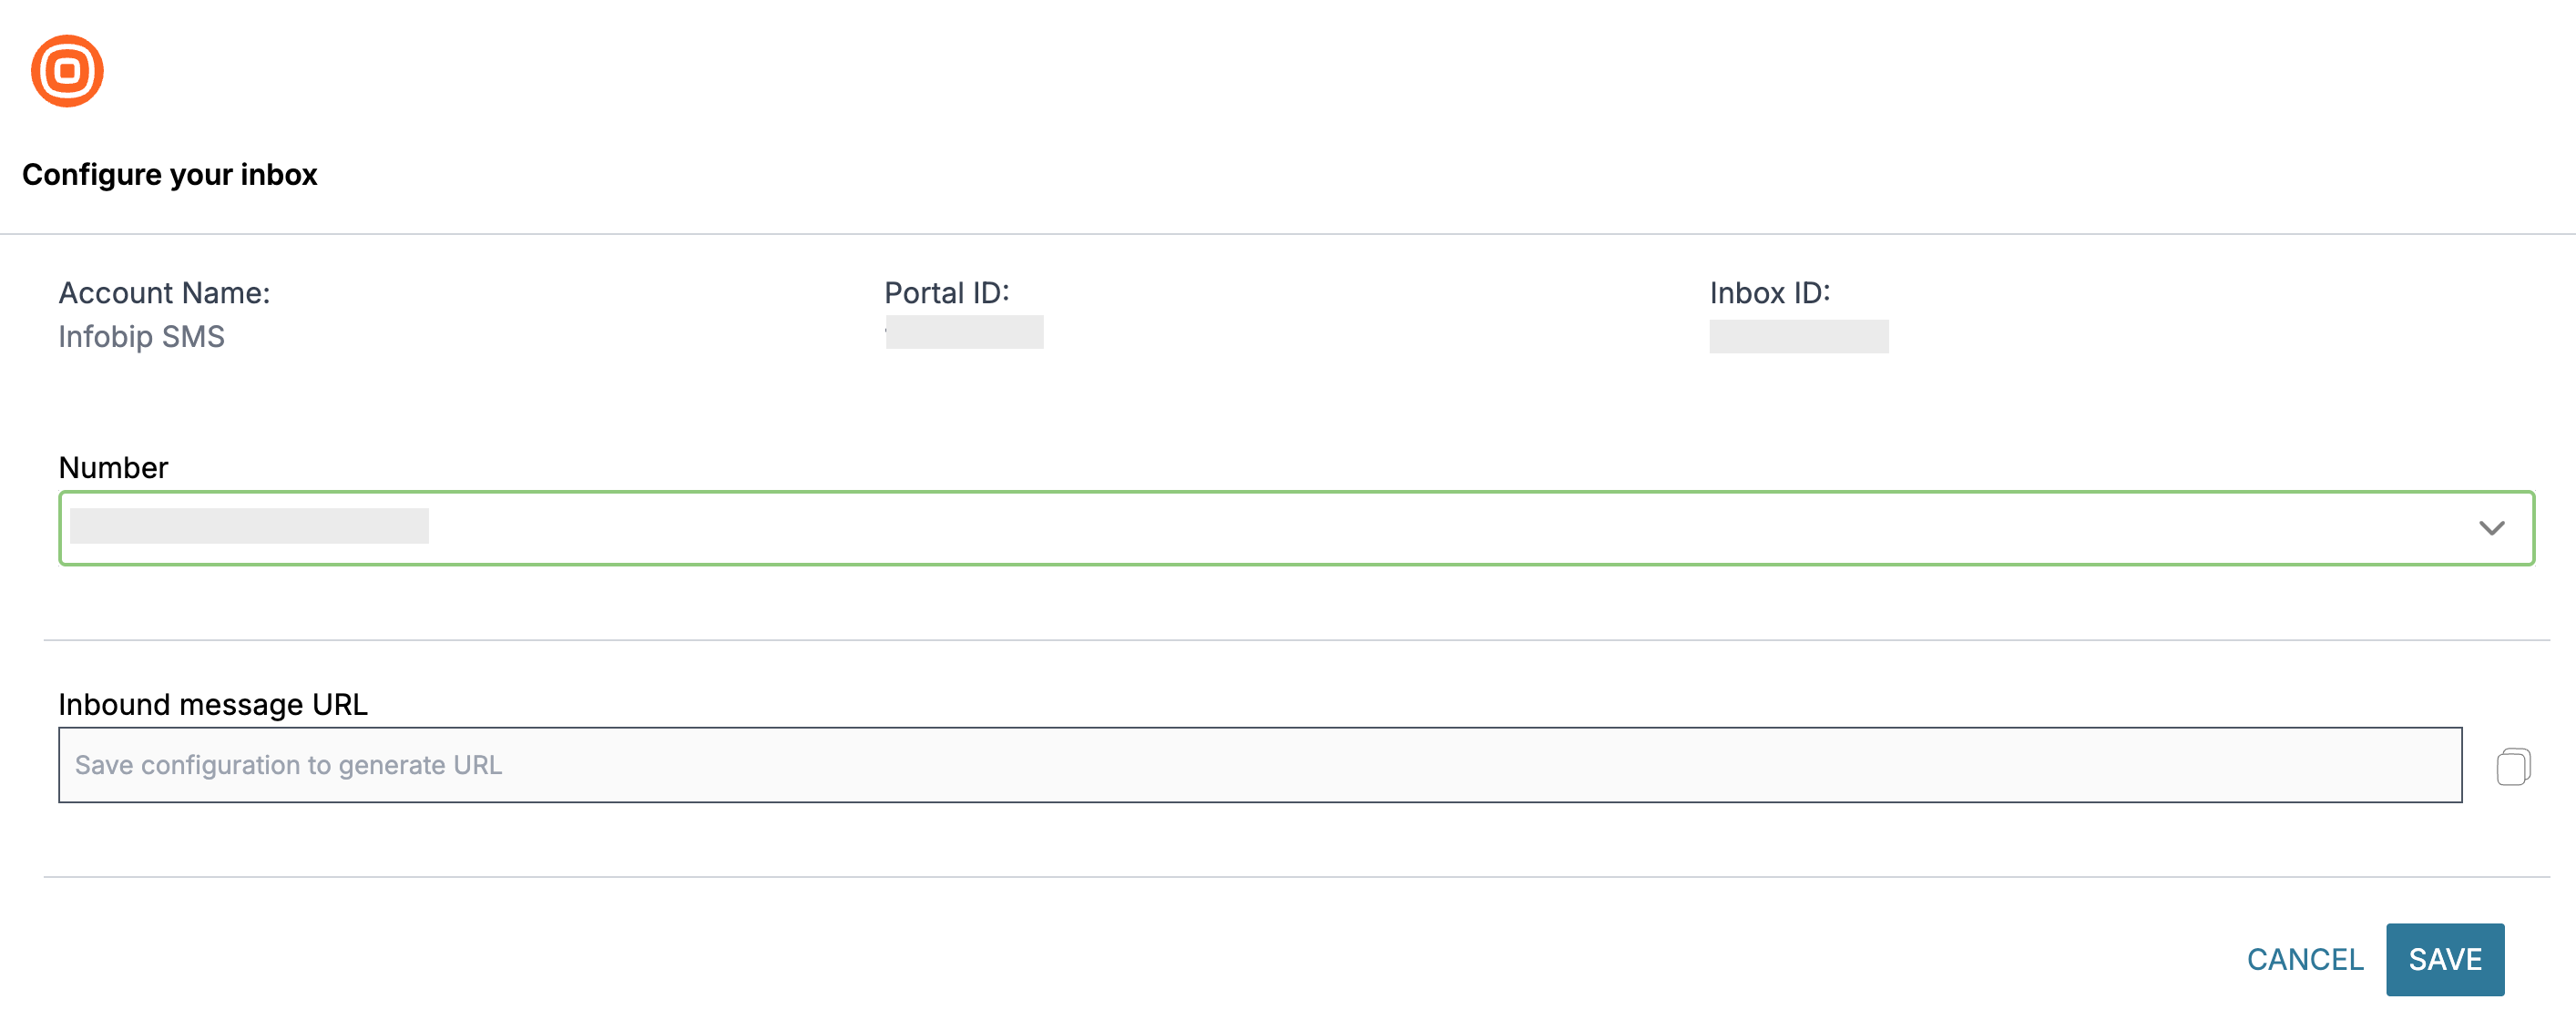
The Configure your inbox page displays the following information:
- Account Name
- Portal ID
- Inbox ID
Choose the channel you want to configure and select a number or sender accordingly.
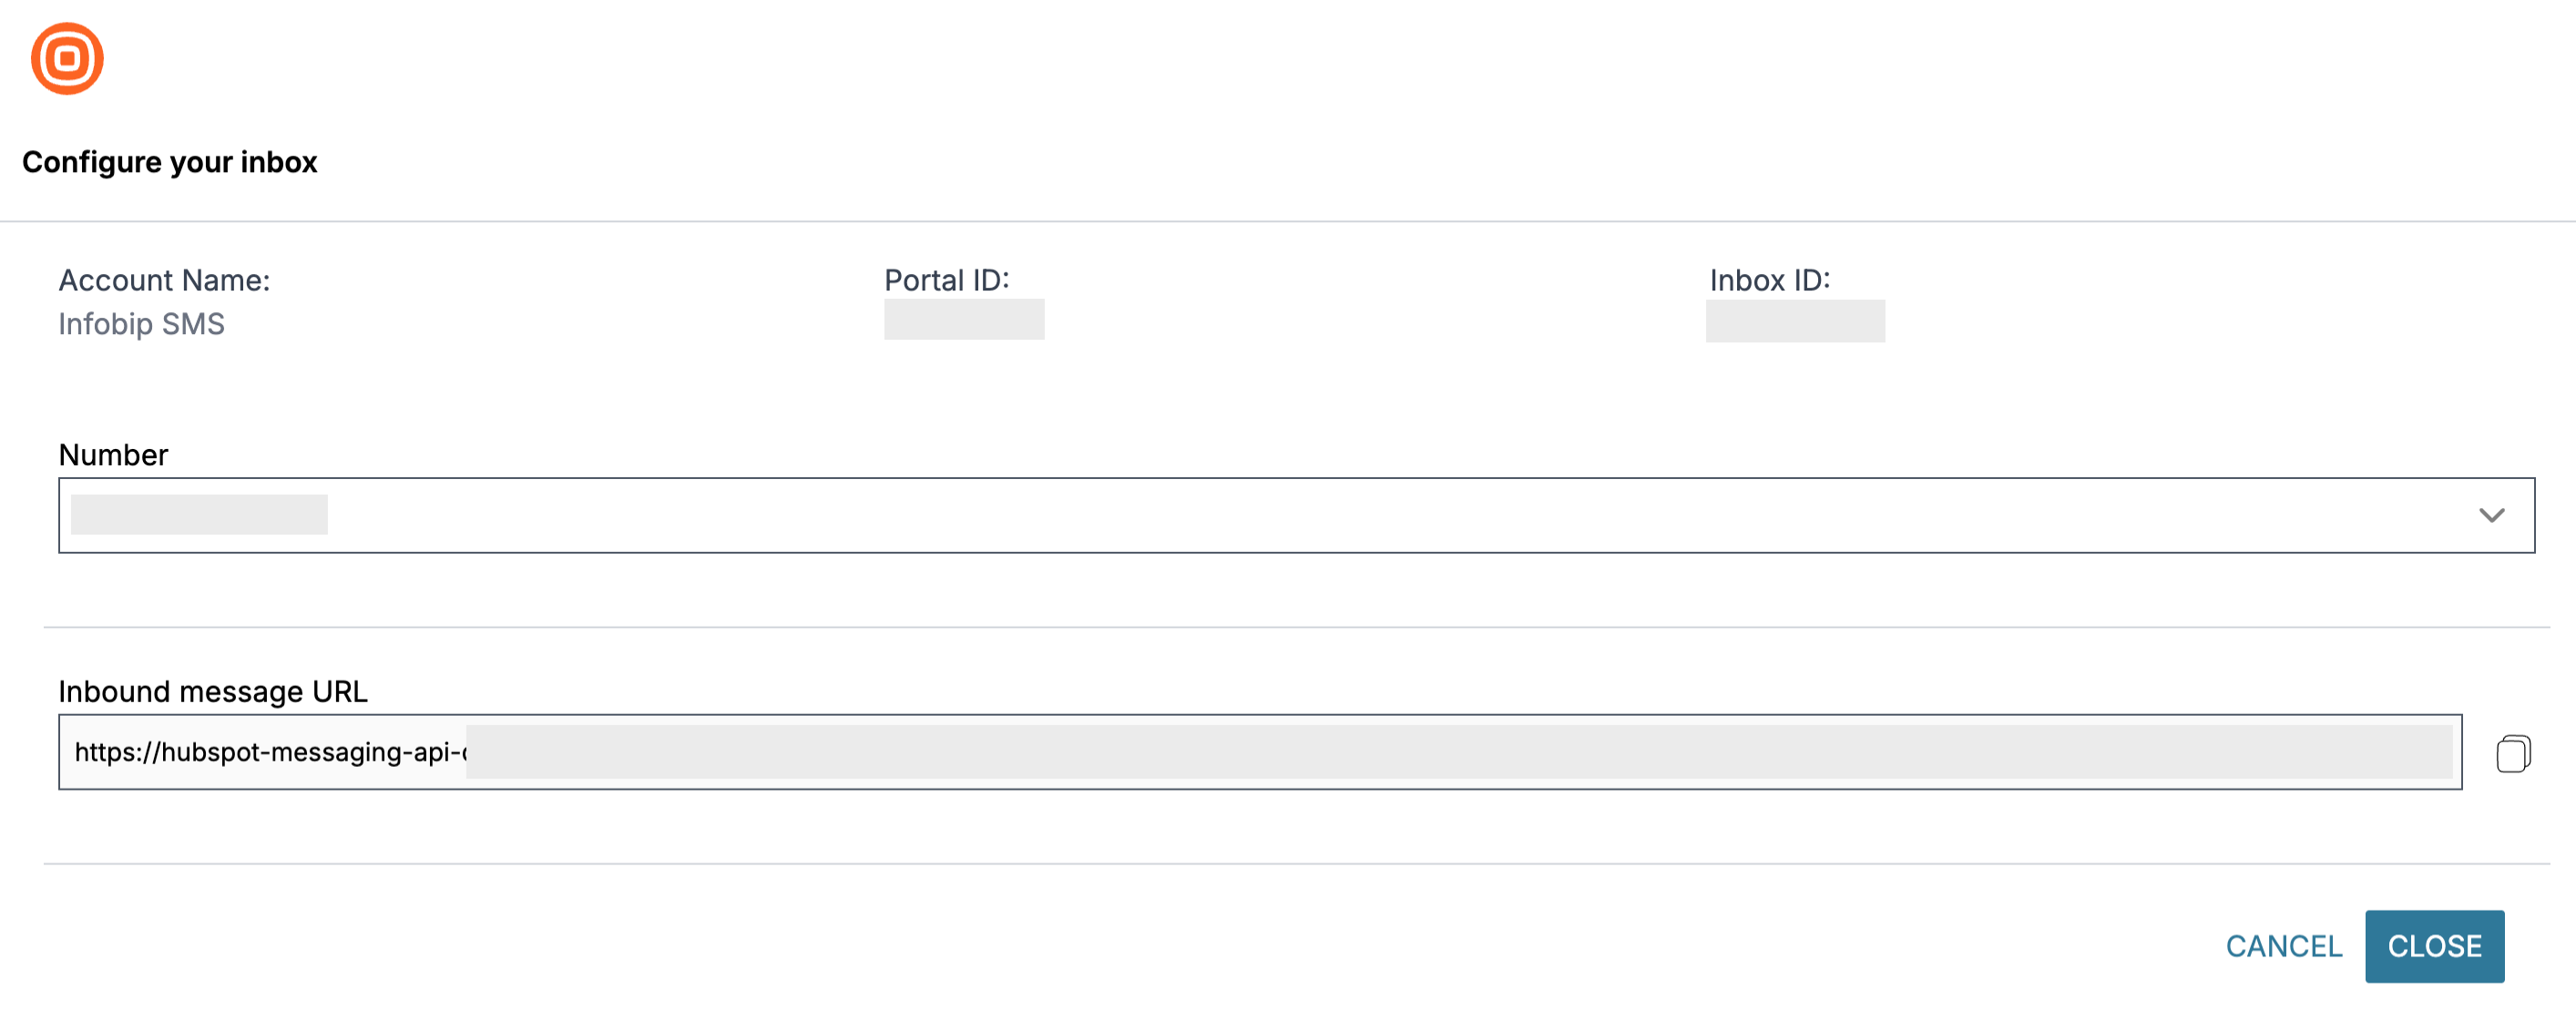
- Dedicated numbers - If you choose a dedicated number, click Save to generate the URL. When the URL appears, click Close and go to the next step.
- Shared numbers - If you choose a shared number, click Save to generate the URL. Then copy the generated URL and go to your Infobip account.
On the Infobip web interface (opens in a new tab):
- Go to Channels and Numbers > Numbers.
- Select the same number that you chose in the configuration.
- Choose the channel on which you want to use your number.
- For keyword configuration, select the keyword you want to configure and click the three dots on the right to Edit.
- Paste the generated URL from the configuration setup and make sure that Renderer is same as the following image:
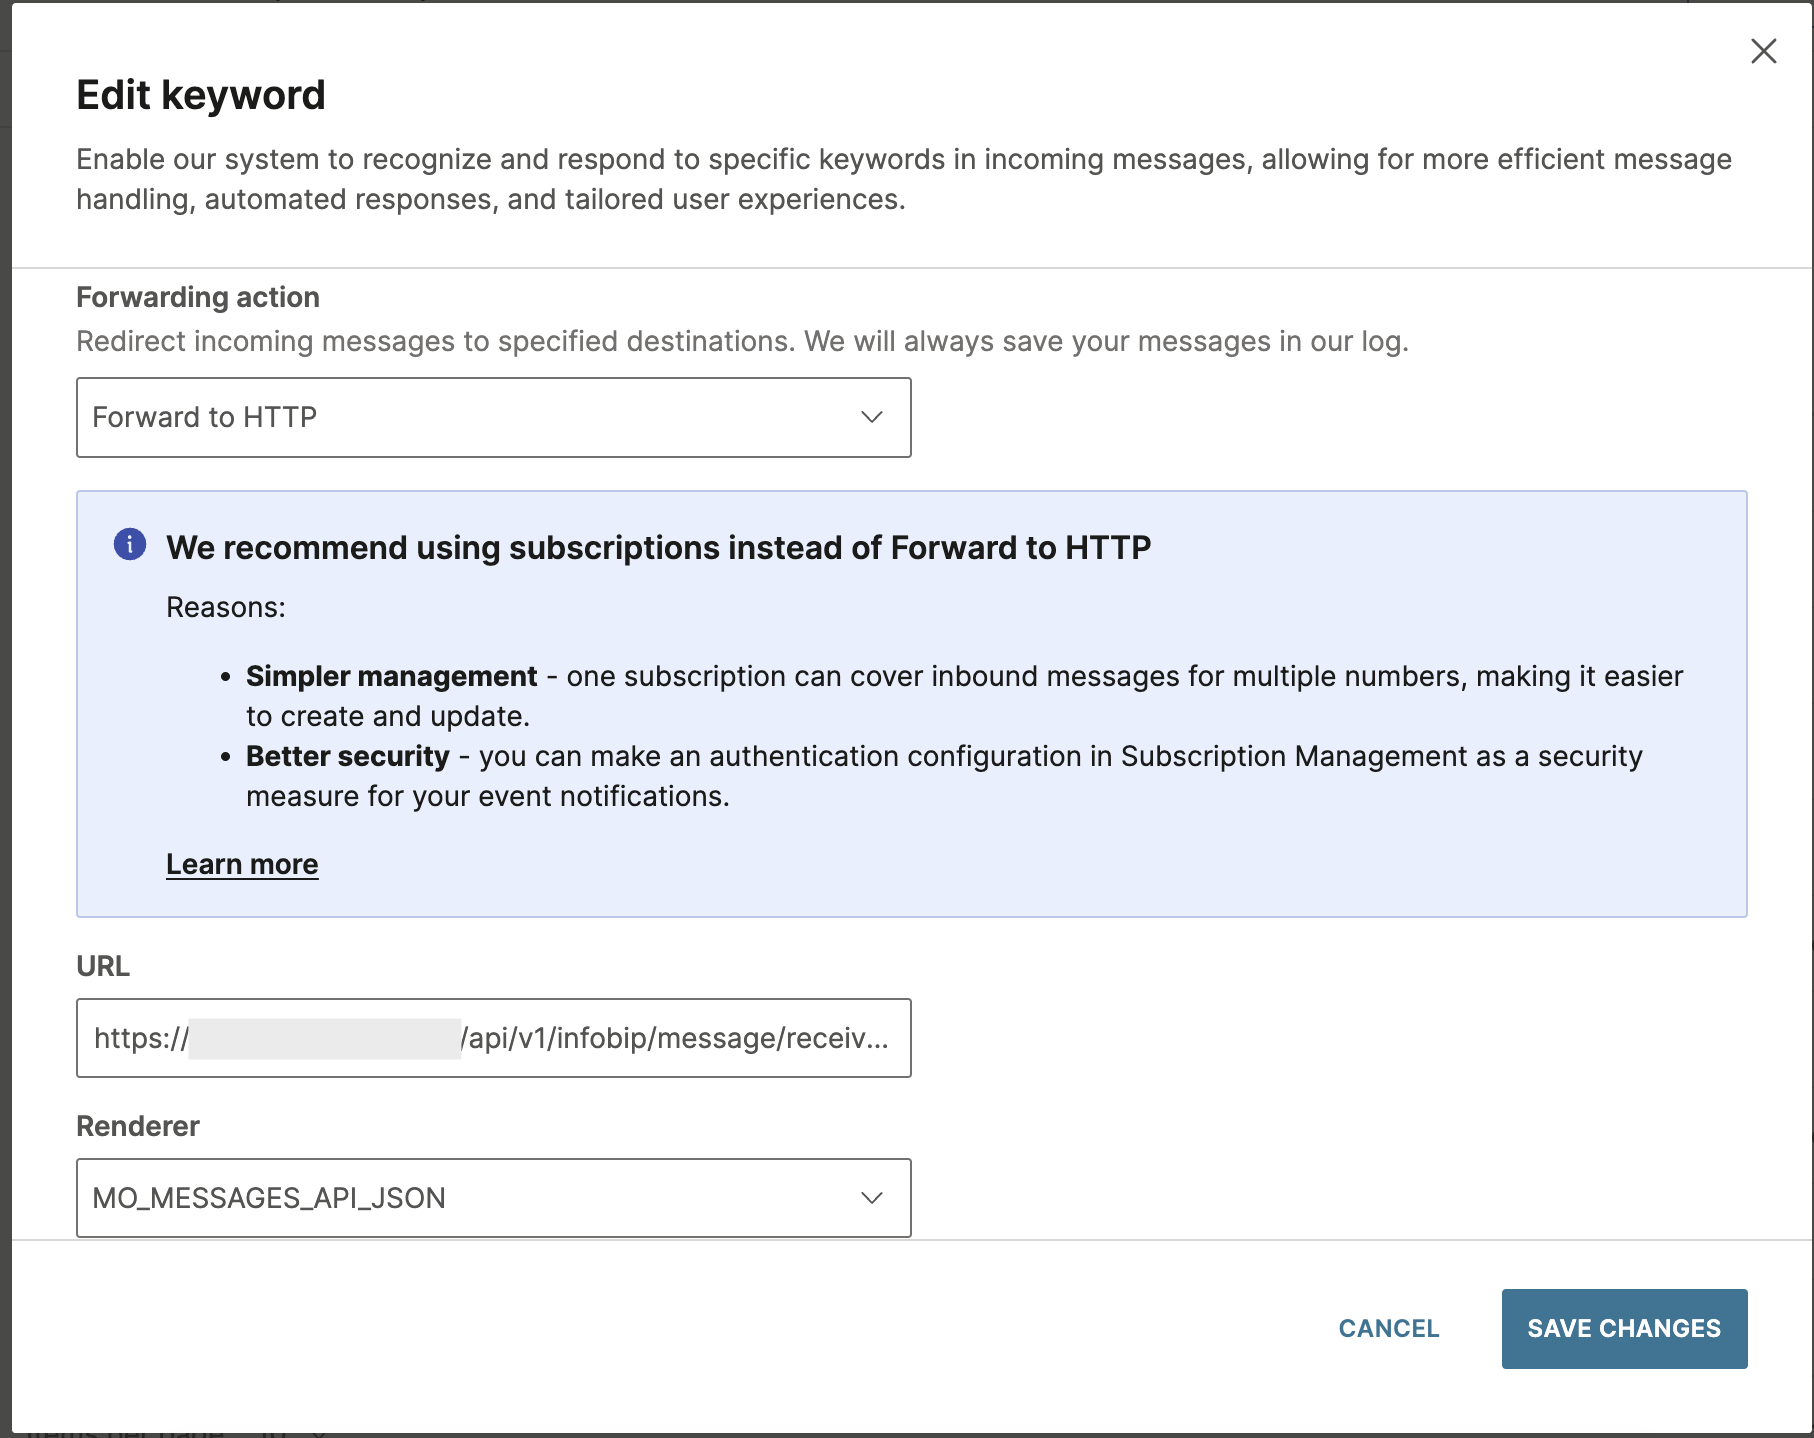
- Click Save Changes and go back to the Inbox Configuration tab.
- Click Close.
Setup ticket automation
The second step lets you automate ticket assigning. When you have set up ticket automation to specific team members, click Next.
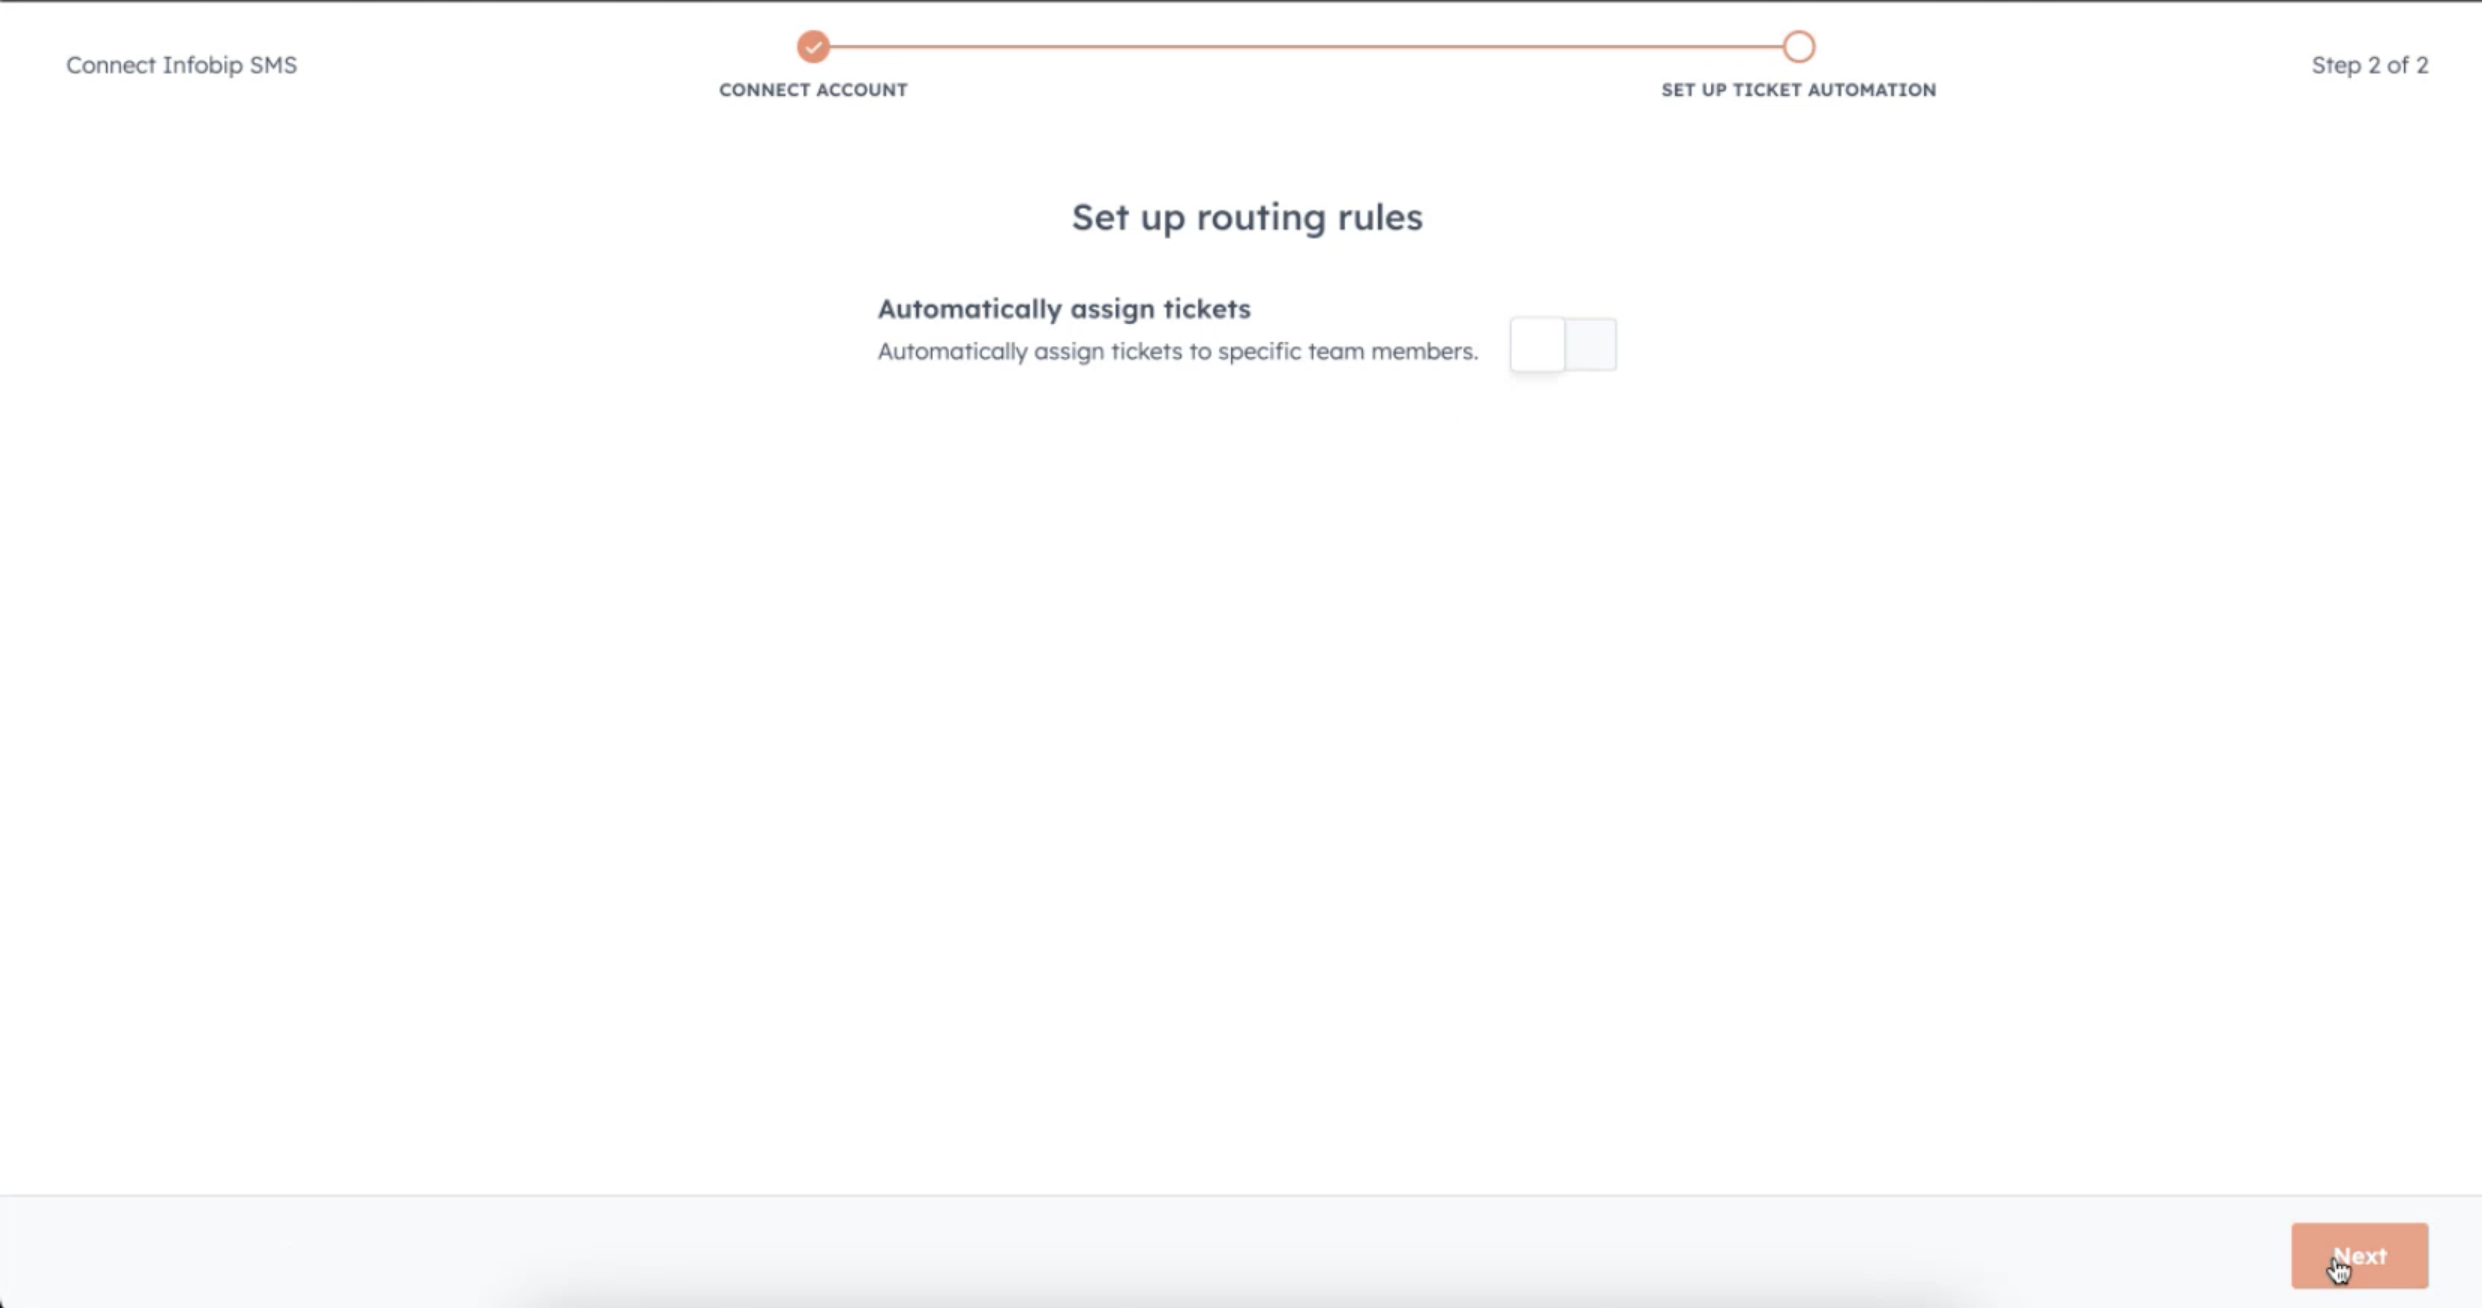
You have now finished the configuration and your inbox is ready to use.
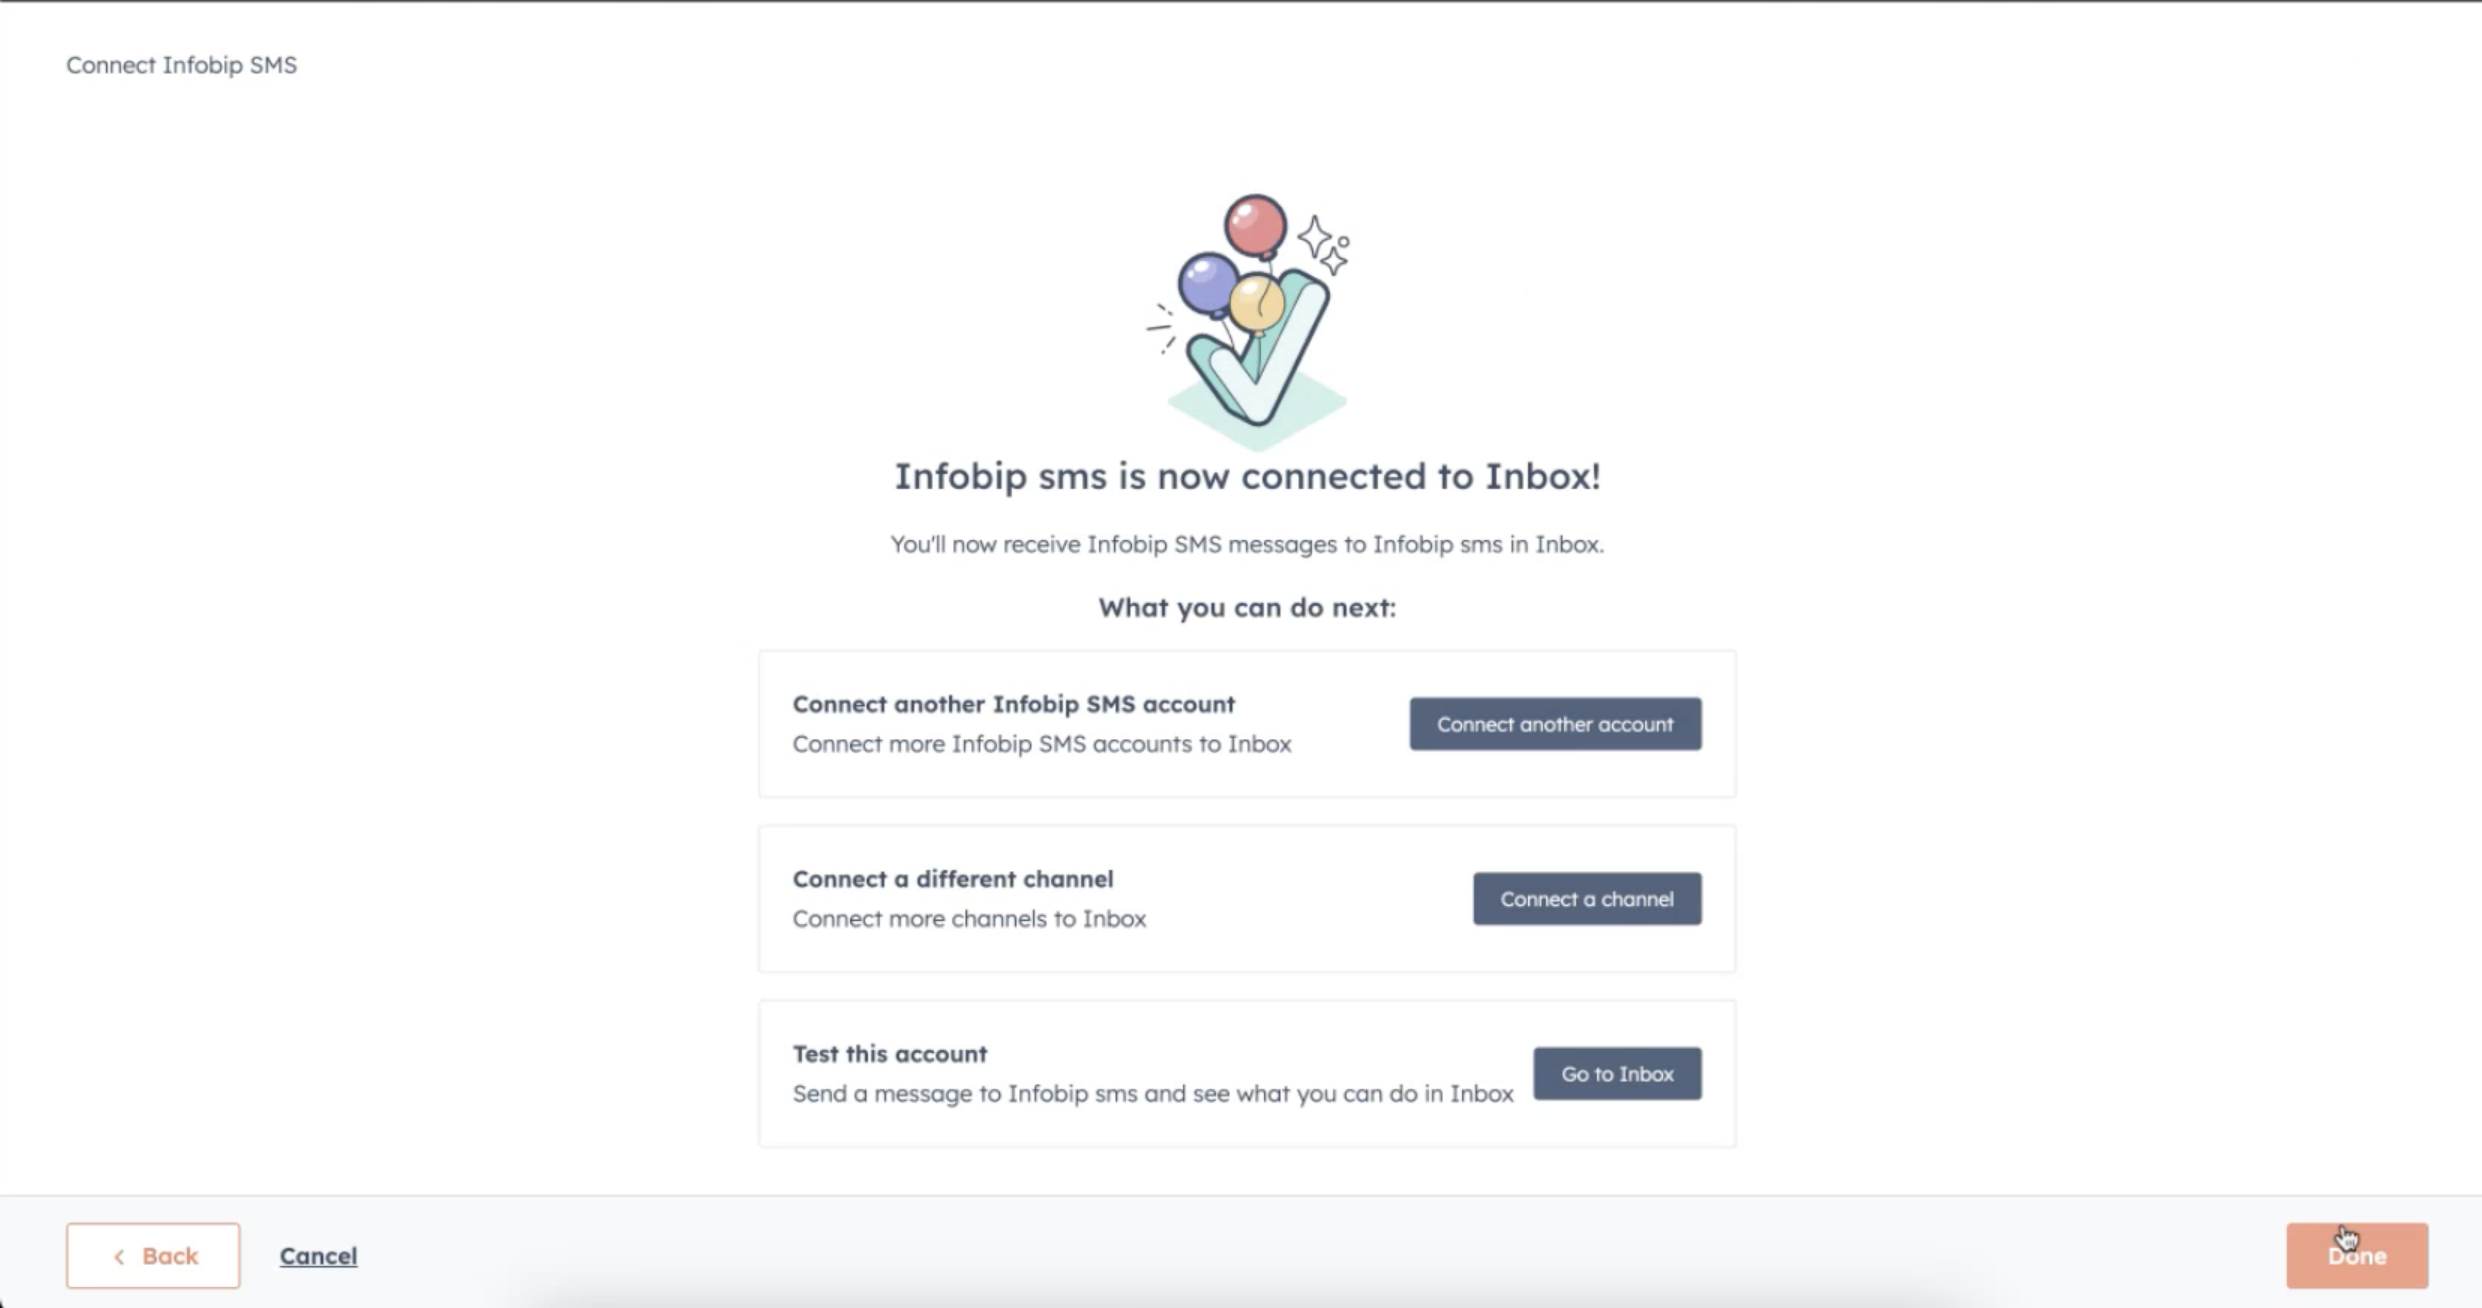
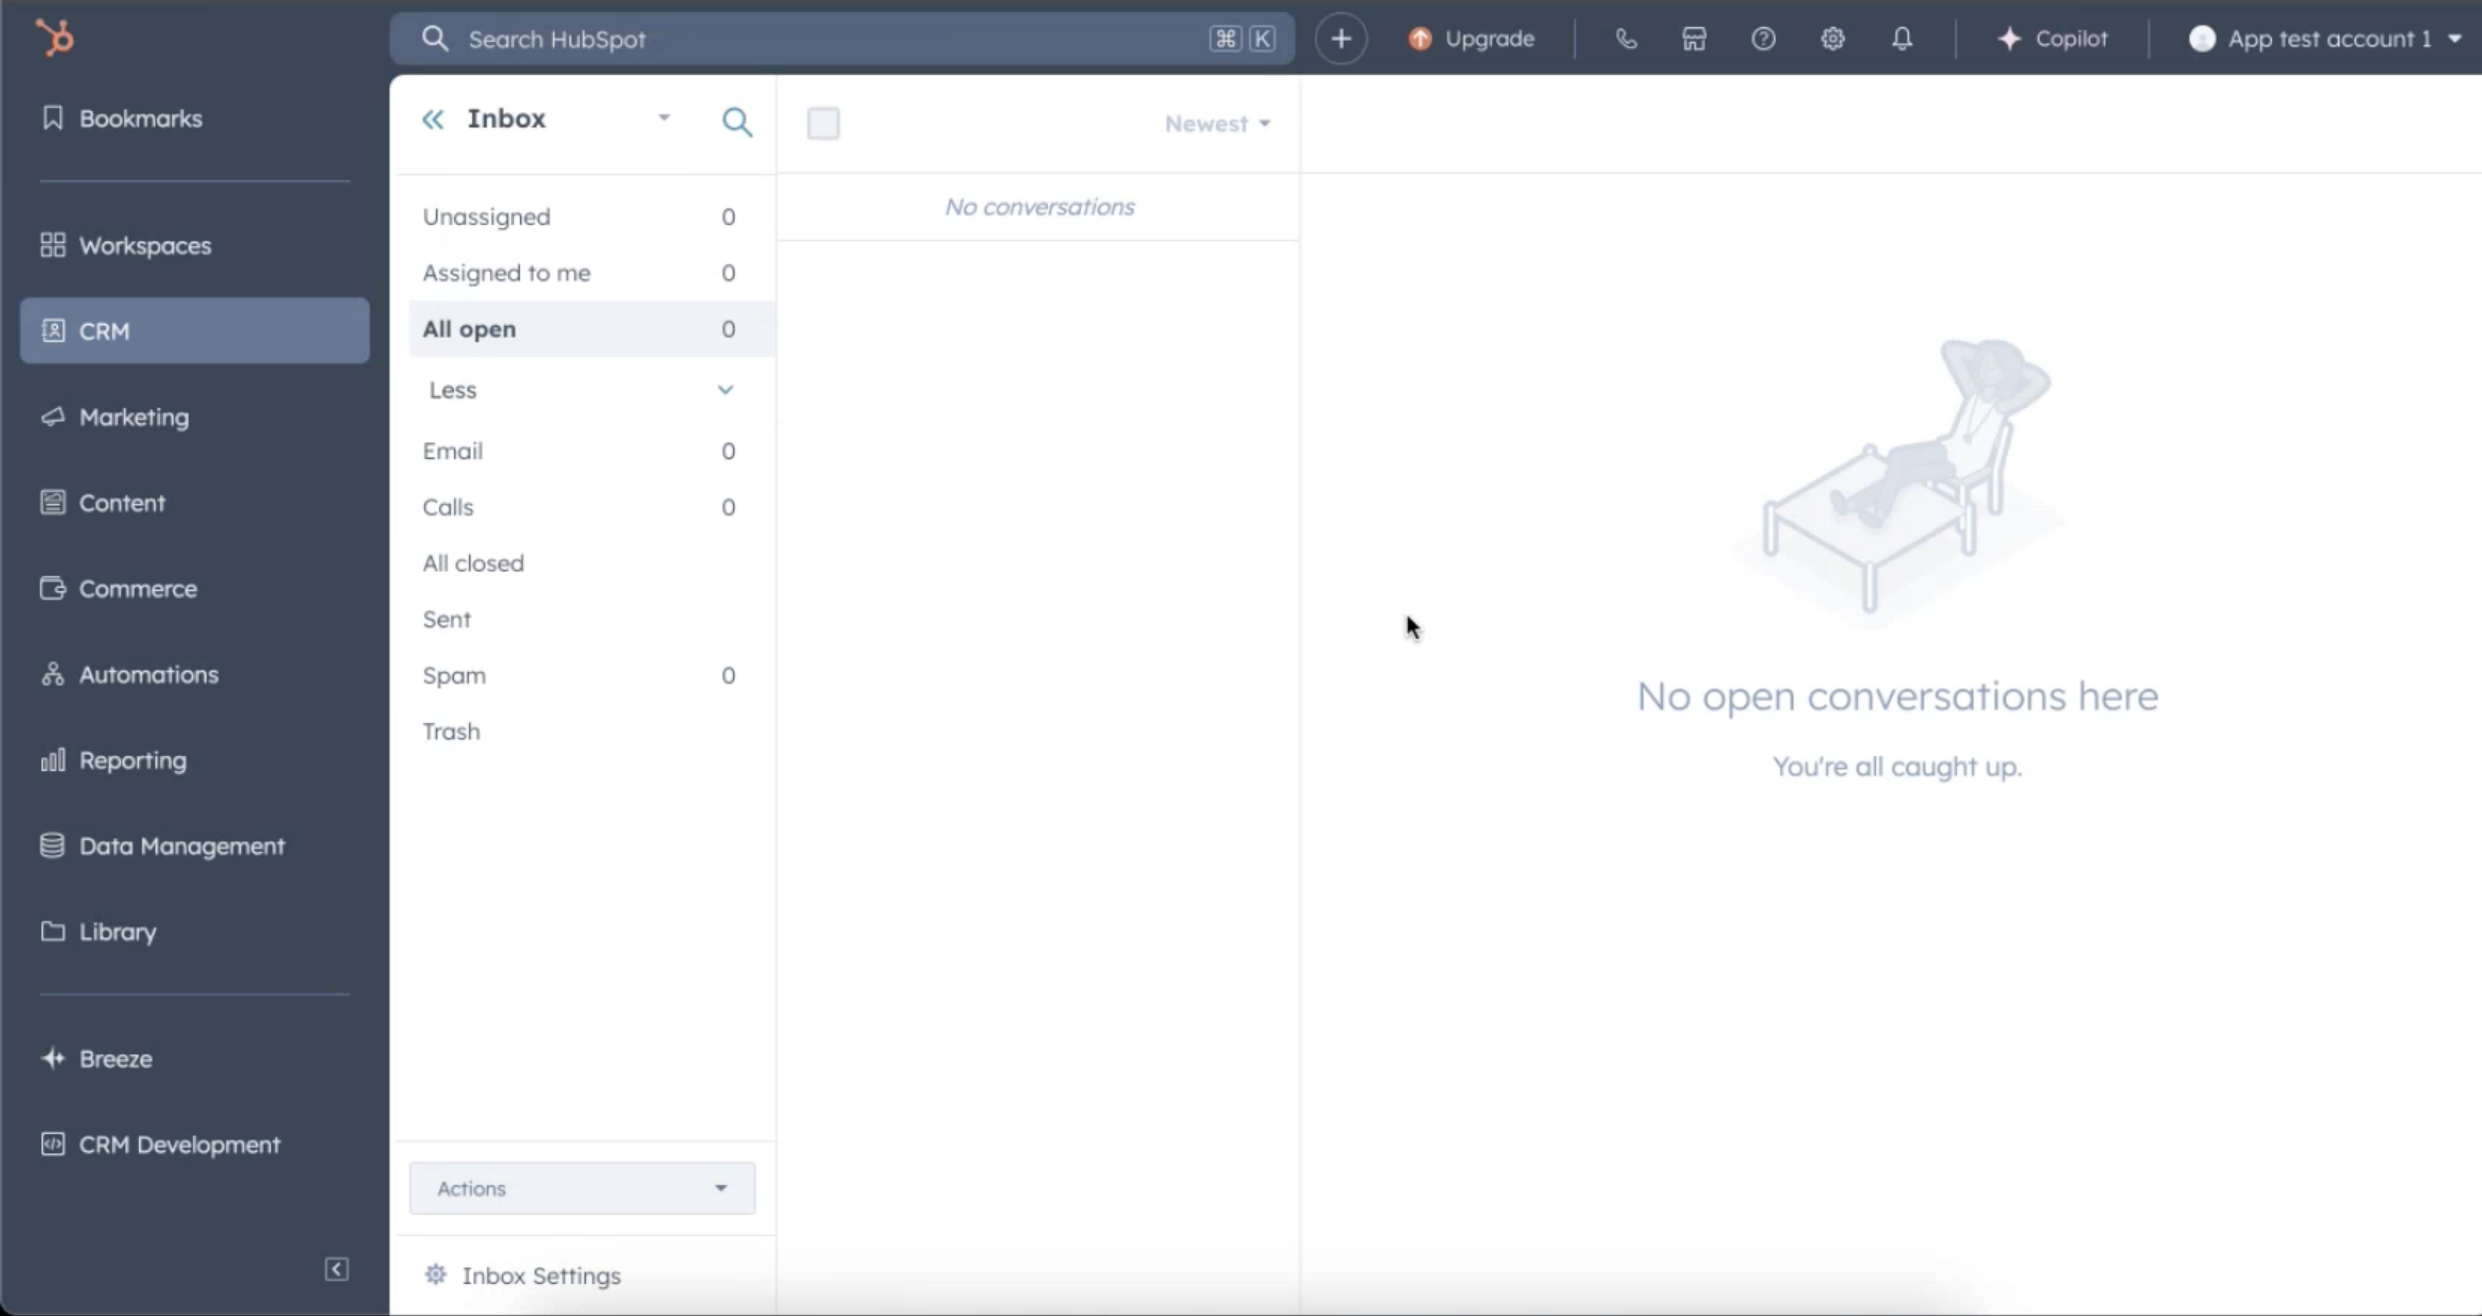
Now, click Go to Inbox and you can start your conversations.
You have now finished the configuration and your inbox is ready to use.