How to
This page explains how to configure fields and actions that are common to multiple chatbot elements. Not all elements have these options. Refer to the documentation for the element to see if an option is available in that element.
Add fallback
Use fallback to make sure that the end user gets a response from the chatbot even if there is an error.
Example: The message sending fails or the end user sends an incorrect response that the chatbot cannot handle.
In such cases, the fallback action is triggered.
Configure the following fields in the Fallback section of the element.
Fallback action
Specify the action that the chatbot needs to take when fallback is triggered.
You can do one of the following.
-
Transfer the chat to an agent (Connect to agent).
-
Send the end user to another dialog (Go to dialog).
-
Not configure a fallback. Select No fallback.
NoteThe No fallback option is available only for the API element.
Dialog
If the Fallback action is Go to dialog, choose the relevant dialog. Example: You can go back to the default dialog, the menu dialog, or the closing dialog.
Fallback message (Optional)
Send the end user a message when to inform them that there is an issue. Example: Sorry, I did not understand that. I am taking you to the main menu.
The message can contain a maximum of 4.096 characters including spaces, special characters, new line, emojis, and attributes.
To add variations of the message, select Add variation. The chatbot randomly selects one of these variations to send to the end user.
Link preview (Optional)
Set whether the end user can see a preview of any links that are there in the Fallback message field. This option is available only if the chatbot uses the WhatsApp channel.
Use also for API failures (Optional)
This field is available only in some elements.
Select this option to trigger fallback if the following errors occur.
- 408
- 500, 502, 503, 504
Repeat a message
If the end user sends an invalid response to your message, send them your message again. The end user can then send you another response.
Configure the following fields in the Repeat message section of the element.
How many times to repeat the message
Choose the number of times to repeat the message. You can repeat the message a maximum of 3 times. The default value is No repeat.
If the end user still does not send the correct response, the Fallback action is triggered.
Message content (Optional)
Send a message to the end user asking them to resend their response. Example: Sorry, I did not understand that. Please try again.
This message is sent along with the message that you want to repeat.
Link preview (Optional)
Set whether the end user can see a preview of any links that are there in the Message content field. This field is available only if the chatbot uses the WhatsApp channel.
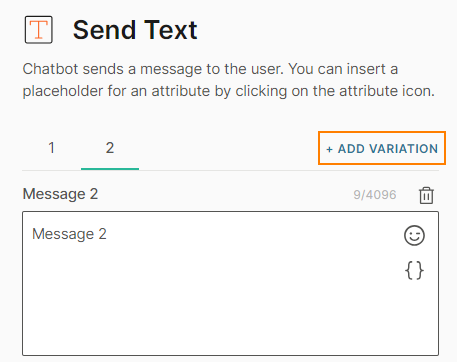
Add or delete message variations
To add variety to the end user's experience, you can create variations of text-based message fields in chatbot elements. When the chatbot sends the message, the end user receives one of these variations at random. Example: Messages in Message, Repeat, and Fallback sections in elements.
Add a variation
Select Add variation and configure the message content. You can add a maximum of 5 variations.
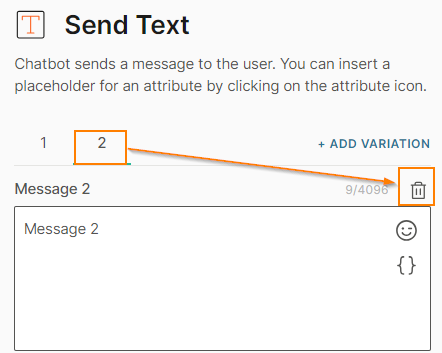
Delete a variation
Select the variation that you want to delete and then select the Delete icon.
Set timeout
In some cases, the chatbot waits for a long time for the end user to provide a response. You can configure a timeout for such situations.
If the end user does not respond to your message within a specified time duration, you can choose to take actions such as directing the end user to the main menu or transferring them to an agent.
Enable Timeout and configure the following fields.
Seconds
Set the time the chatbot needs to wait for a response from the end user.
The timeout duration must be less than the session timeout duration.
Timeout action
You can either transfer the chat to an agent (Connect to agent) or send the end user to another dialog (Go to dialog).
Dialog
If the Timeout action is Go to dialog, choose the relevant dialog. Example: You can go back to the default dialog, the menu dialog, or the closing dialog.
Timeout message (Optional)
Send the end user a message when to inform them that there is an issue. Example: Sorry, I have not received a response from you.
The message can contain a maximum of 4.096 characters including spaces, special characters, new line, emojis, and attributes.
To add variations of the message, select Add variation. You can create a maximum of 5 variations. The chatbot randomly selects one of these messages to send to the end user.
Link preview (Optional)
Set whether the end user can see a preview of links that you share in the Timeout message field. This field is available only if the chatbot uses the WhatsApp channel.
Personalize a message
You can add attributes to personalize your messages.
You can select predefined and custom attributes. There is no limit to the number of attributes that you can add.
When you add an attribute to your message, the length of the message might increase.
Use the curly brackets {{}} to select the required attribute.
Use list attributes to configure a field in an element
Instead of manually configuring fields in elements, you can configure them by using list attributes.
Do the following.
- Create a new standard attribute with the data type List.
- In the dialog that contains the element that you want to configure, drag the Code element from the Chatbot actions section. Add it before the required element.
- In the Code element, configure the fields for the required element, and set it to the list attribute that you created.
- In the element that you want to configure, select the option to add from list attribute.
- In the list attribute configuration, complete the following fields:
- From attribute: Select the list attribute that you created.
- Iteration label: Enter a label. Example: it. The label is available as a placeholder in other fields.
- In the other fields, add the iteration label and the relevant field name that you created in the Code element. Example: {{it.title}} where title is the name of the field and it is the iteration label.
The following example shows how to add suggested replies to a Rich card element in RCS by using list attributes.
-
Create a list attribute, suggested_replies.
-
In the dialog that contains the Rich card element, drag the Code element from the Chatbot actions section. Add it before the Rich card element.
-
In the Code element, create a list of suggested replies and set it to the list attribute that you created. Add information for each field that is required for the suggested reply.
The following code is for creating 3 suggested reply buttons of type View location:
const location = [
{"title":"Zagreb", "latitude":"45.81", "longitude":"15.97", "postback":"Zagreb"},
{"title":"London", "latitude":"51.50", "longitude":"-0.12", "postback":"London"},
{"title":"Chennai", "latitude":"13.08", "longitude":"80.27", "postback":"Chennai"},
];attributeApi.set('suggested_replies', location);
where
title, latitude, and longitude are the field names in the suggested reply button.
suggested_replies is the list attribute that you created. -
In the Rich card element, select Add suggested replies from list attribute.
-
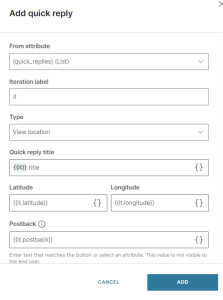
Complete the following fields:
-
From attribute: Select the list attribute that you created. Example: suggested_replies.
-
Iteration label: Enter a label. Example: it. The label is available as a placeholder in other fields.
-
Type: Specify what happens when the end user selects the suggested reply button.
-
In the other fields, add the iteration label and the relevant field name that you created in the Code element.
Example: For the View location type, complete the fields as follows.
Suggested reply title: {{it.title}}
Latitude: {{it.latitude}}
Longitude: {{it.longitude}}
Postback: {{it.postback}}
-
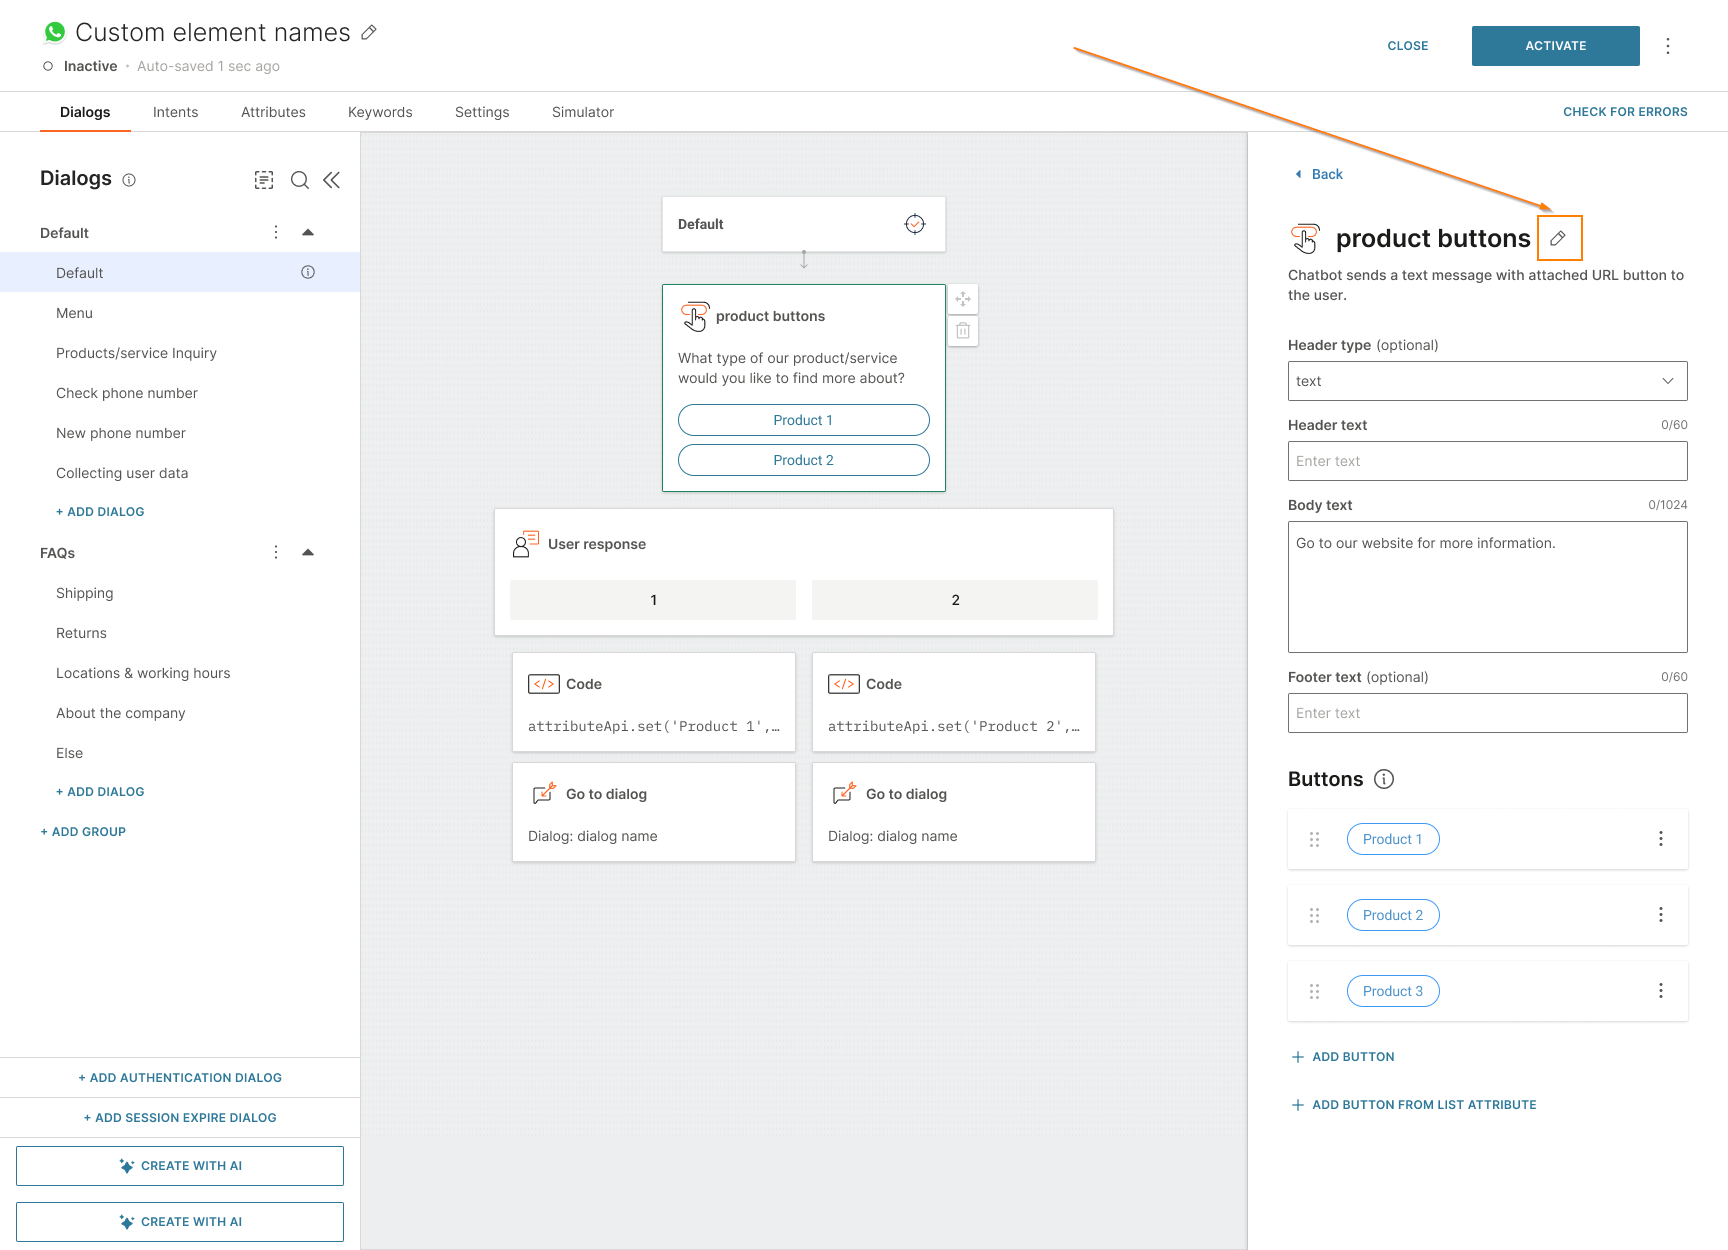
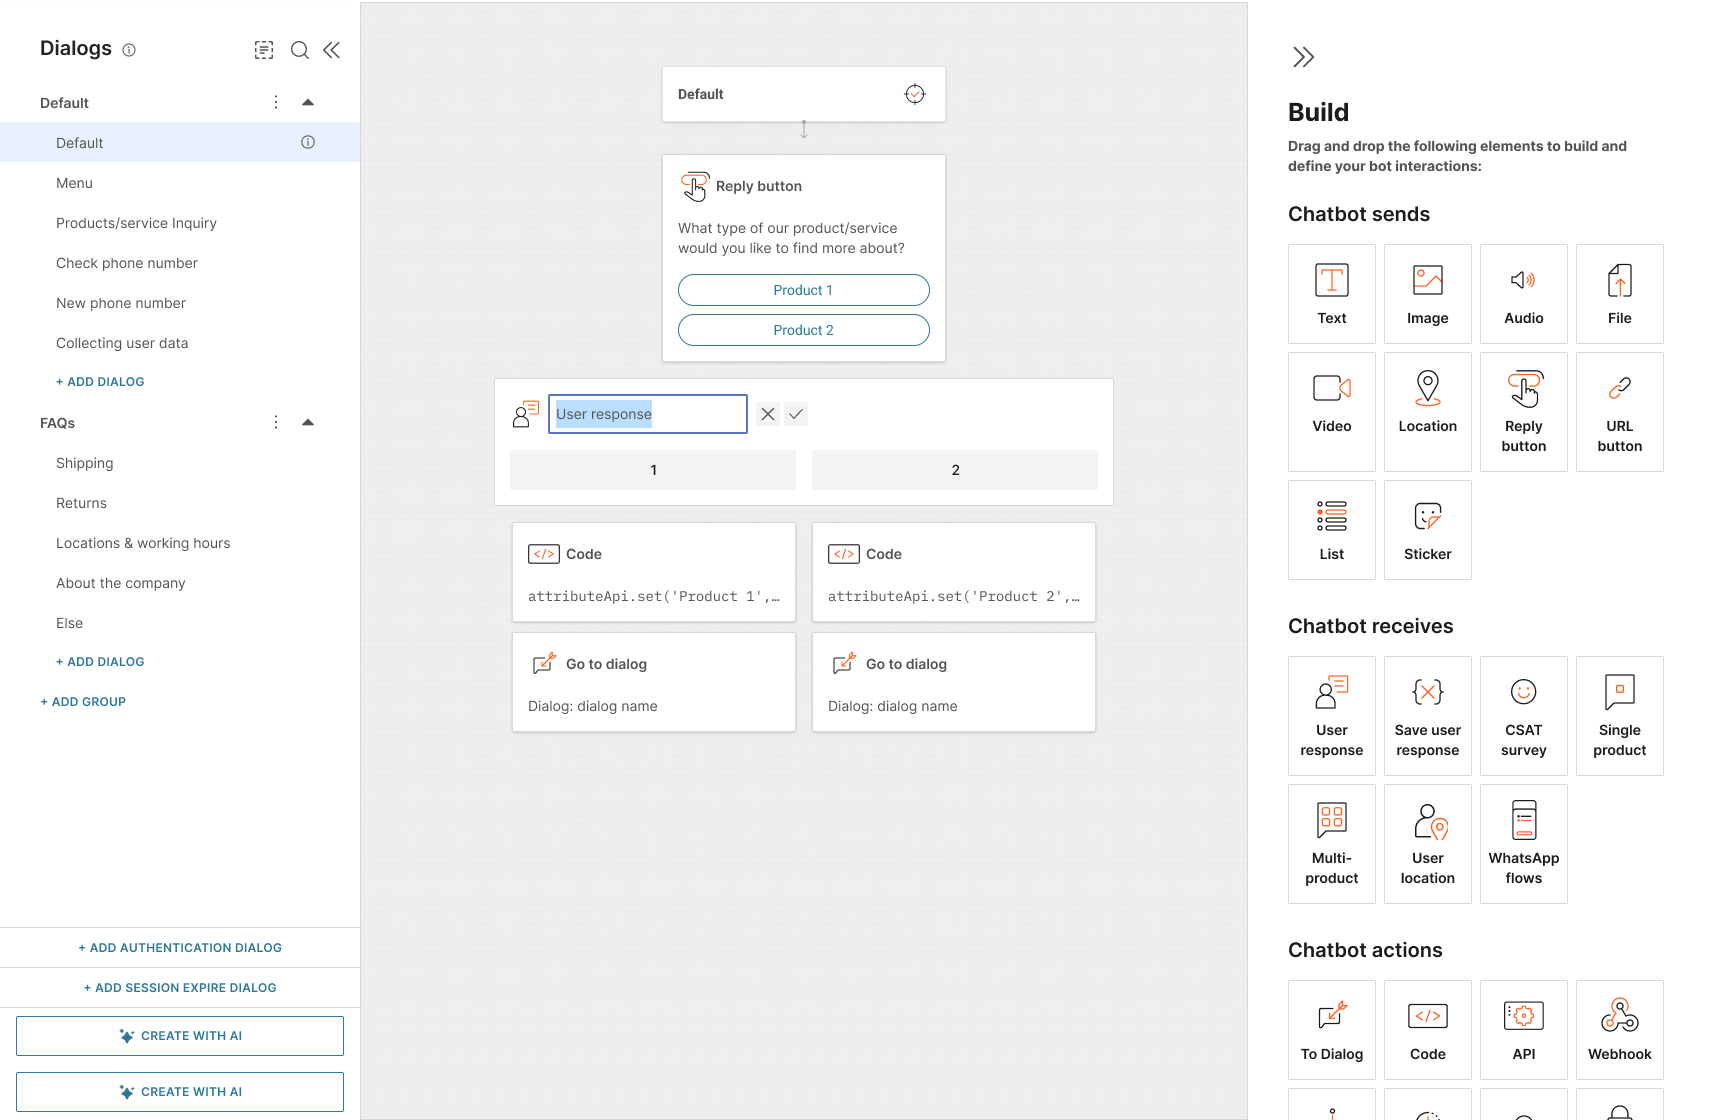
Rename an element
Customize the names of elements to identify specific instances of the elements. Example: If you have multiple Save user response elements, you can rename each one to identify a specific instance.
Do one of the following.
-
In the canvas. Rename the element and select the checkmark.
-
In the element. Select the pencil icon, rename the element, and select the checkmark.