Export/Import
If you want to create a new chatbot that is similar to an existing chatbot, use the export-import option. Instead of creating the chatbot from scratch, you can export an existing chatbot and import it as a new chatbot. After importing, you can modify the chatbot to meet your requirements. This method reduces the time taken to create the chatbot.
There is no limit to the number of times you can export-import a chatbot.
Permissions
You do not need to have a specific user role to export a chatbot. To import a chatbot, you must have either the Manager or Designer role.
All Answers plans support export and import.
Export
Prerequisites
You can export a chatbot only if has been validated by Answers and is error-free. This reduces the possibility of errors when importing the chatbot.
Guidelines
When you export a chatbot, the following guidelines and conditions apply:
- Exported chatbots are in human-readable format. You can search the content and modify it to meet your requirements.
- Exported chatbots retain the following components:
Export a chatbot
To export a chatbot, do the following:
- Log on to the Infobip web interface (opens in a new tab).
- In the menu the left, go to Answers > Chatbots.
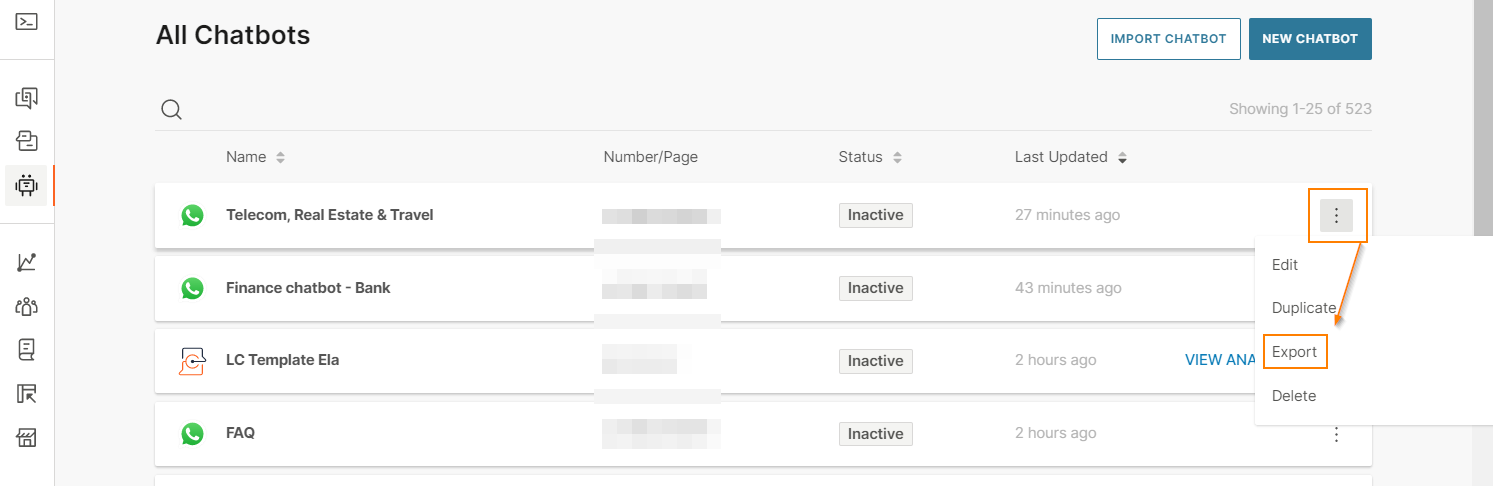
- Select the three dots next to the chatbot that you want to export, and select Export.
The system checks if there are any errors in the chatbot. If there are no validation errors, the file is exported and stored on your local device.
Import
Prerequisites
- The file that you want to import is in .export format.
- Configure other related systems such as Conversations and People before the import.
- Target account supports the channel used in the exported chatbot. Example: If you export a WhatsApp chatbot from Account A, you can import the chatbot to Account B only if WhatsApp is enabled in Account B.
Guidelines
When you import a chatbot, the following guidelines and conditions apply:
- You cannot change the channel when you import the chatbot.
- You can import the chatbot either as a new chatbot in the same account or to a different account that supports the channel used in the exported chatbot.
Import the chatbot
- Log on to the Infobip web interface (opens in a new tab).
- In the menu the left, go to Answers > Chatbots.
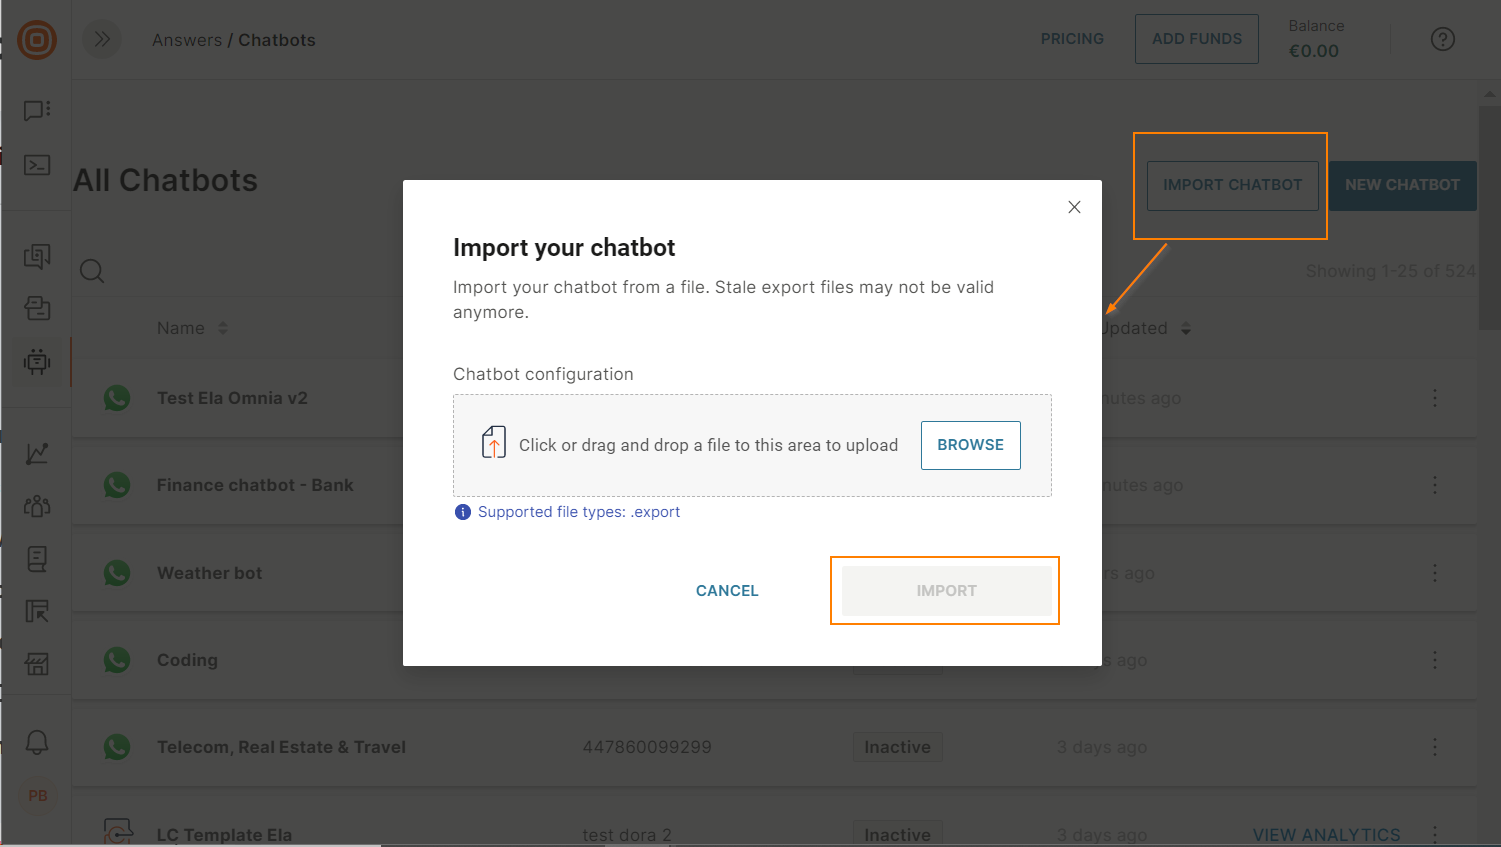
- Select Import chatbot.
- Go to the required file.
- Select Import.
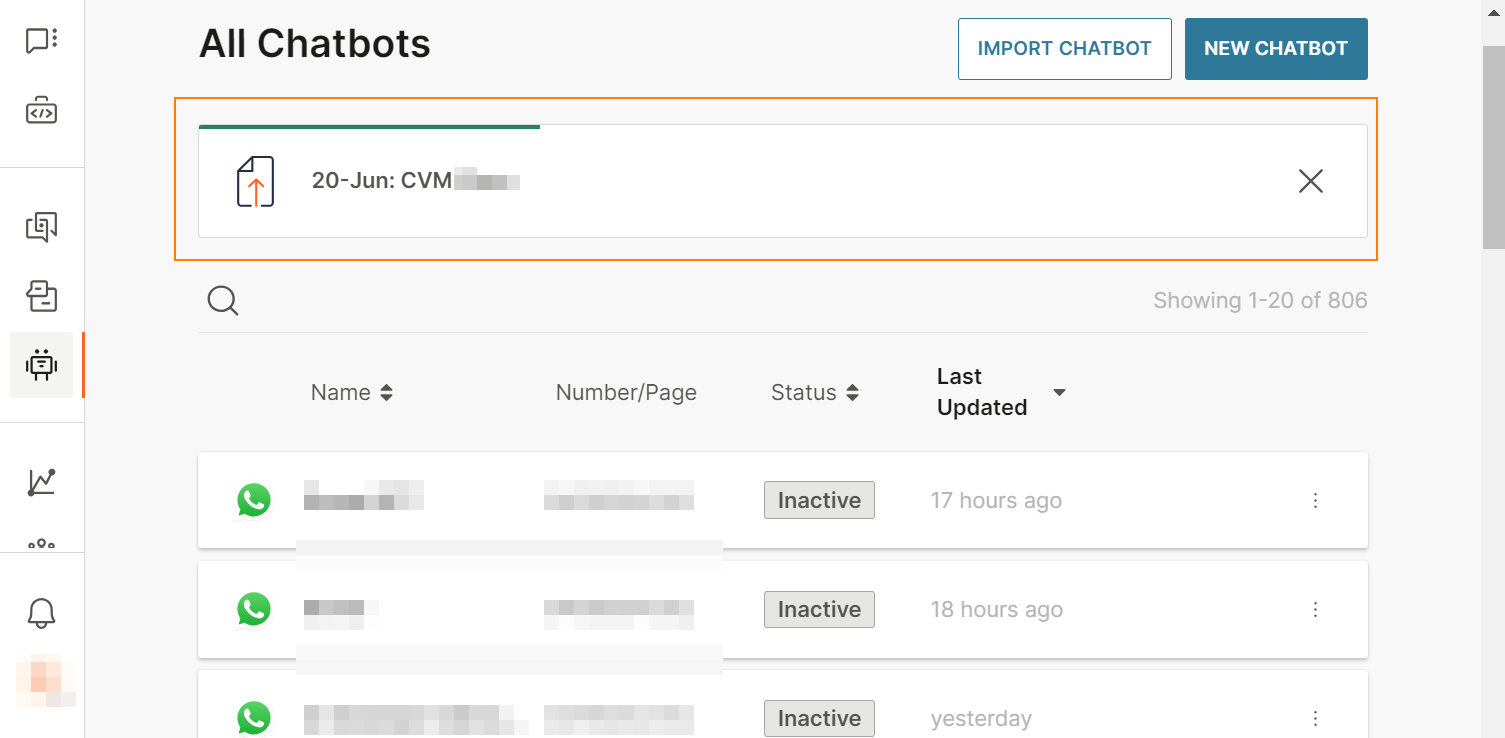
 If the export file contains images, videos, or files, you can view the progress of the upload and can also cancel the upload.
- In the imported chatbot > Settings tab, do the following:
- Chatbot name: Specify a unique name for the chatbot.
- Sender: Select a sender.