Free trial
Your free trial starts as soon as you create an account (opens in a new tab) and will remain active from that day onward.
You will have a 60-day free trial starting from the day your account is created. A countdown will show how many days are left in your trial.
After the free trial ends, you will not be able to send traffic or use any remaining free units unless you upgrade to a paying account.
If you add funds to your account during the trial, your account will automatically transition from the free trial to a paid plan.
To unlock sending messages with no trial limitations, send a payment to your account balance. The account balance is here to act as a prepaid wallet, allowing you to pay for numbers and message traffic. Any unused free units will remain available and can be used after you top up your account.
Add more channels
After you create your account and log in, you have the option to add more channels if needed.
- Click the + Add channel button.
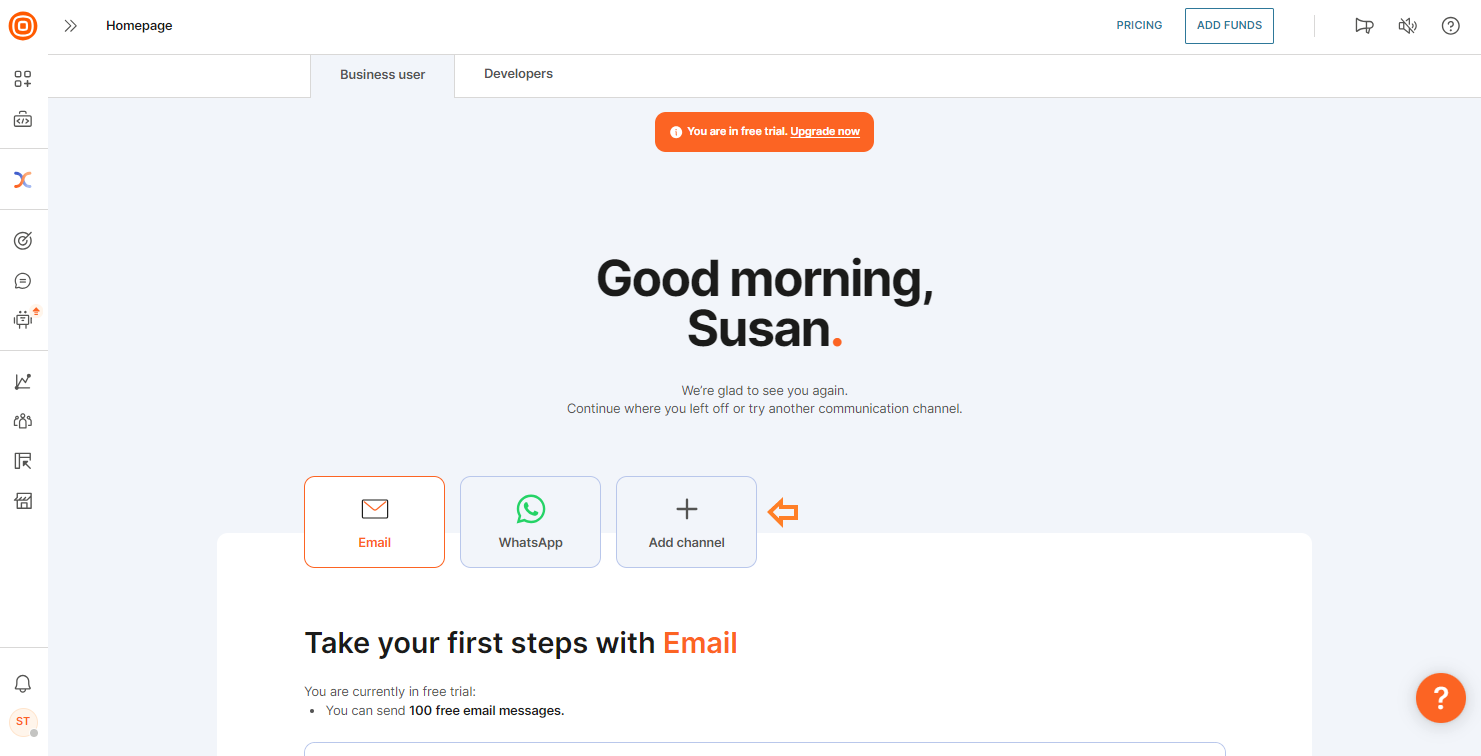
- Choose the channel you would like to add, and click the Add button.
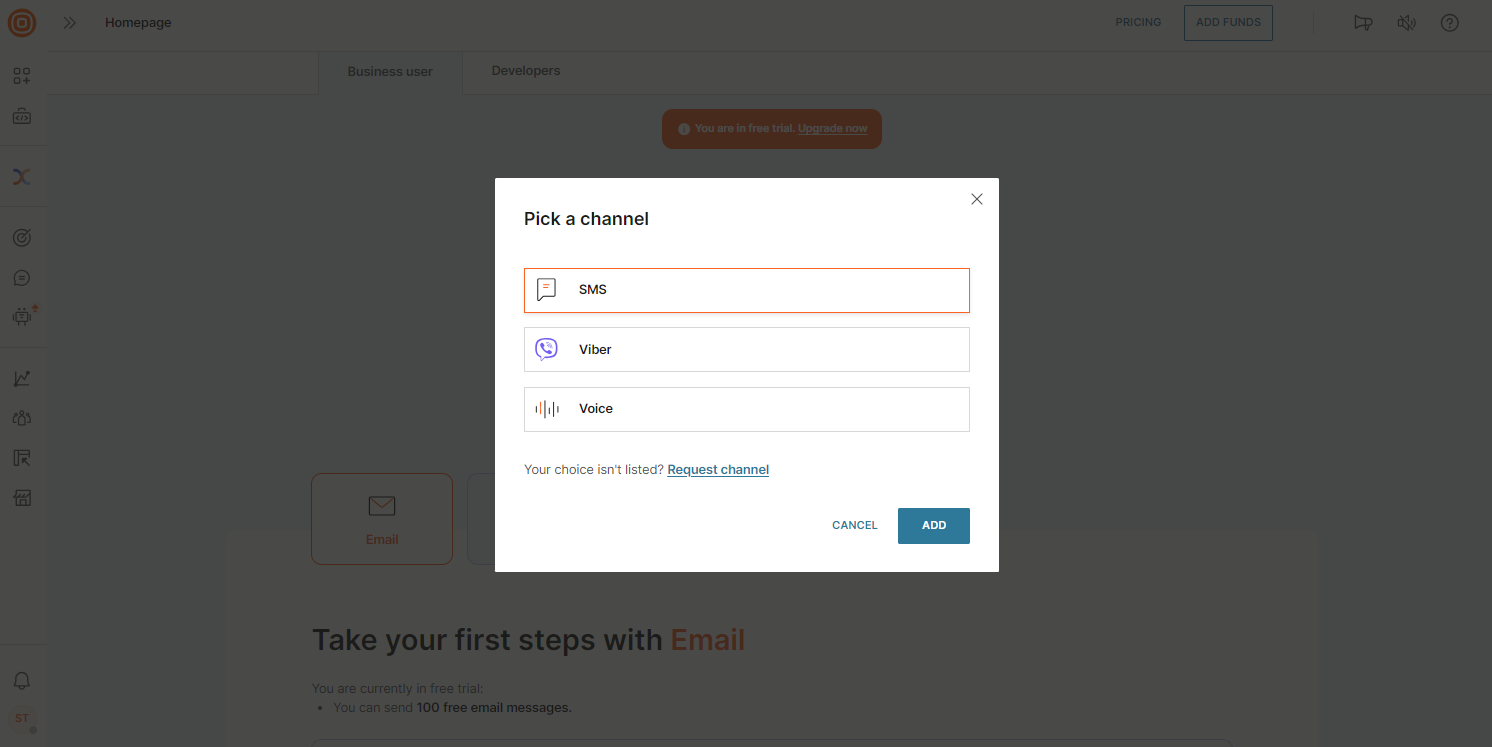
- If the list does not include the channel you are looking for, you can request it by clicking the Request Channel button. On the following page, find and select the channel you want.
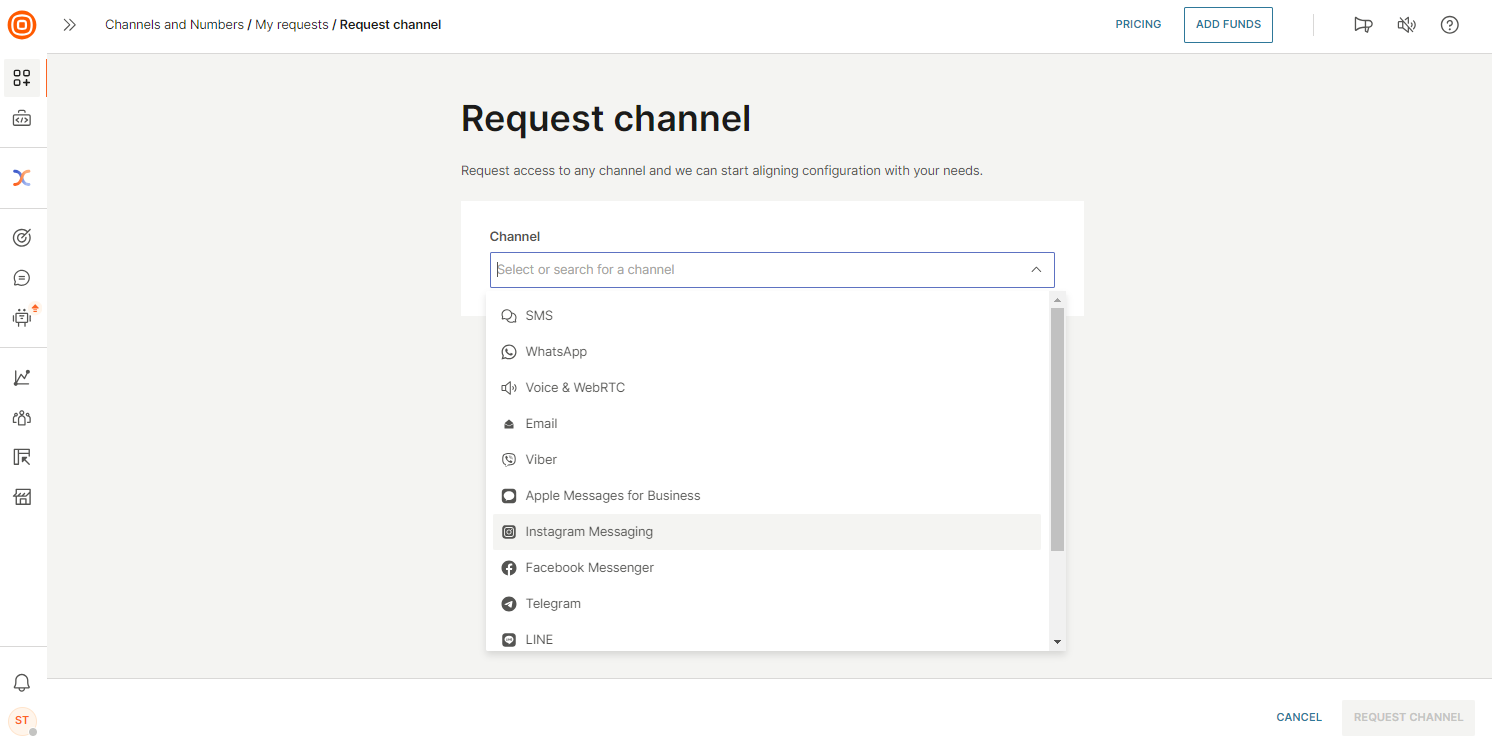
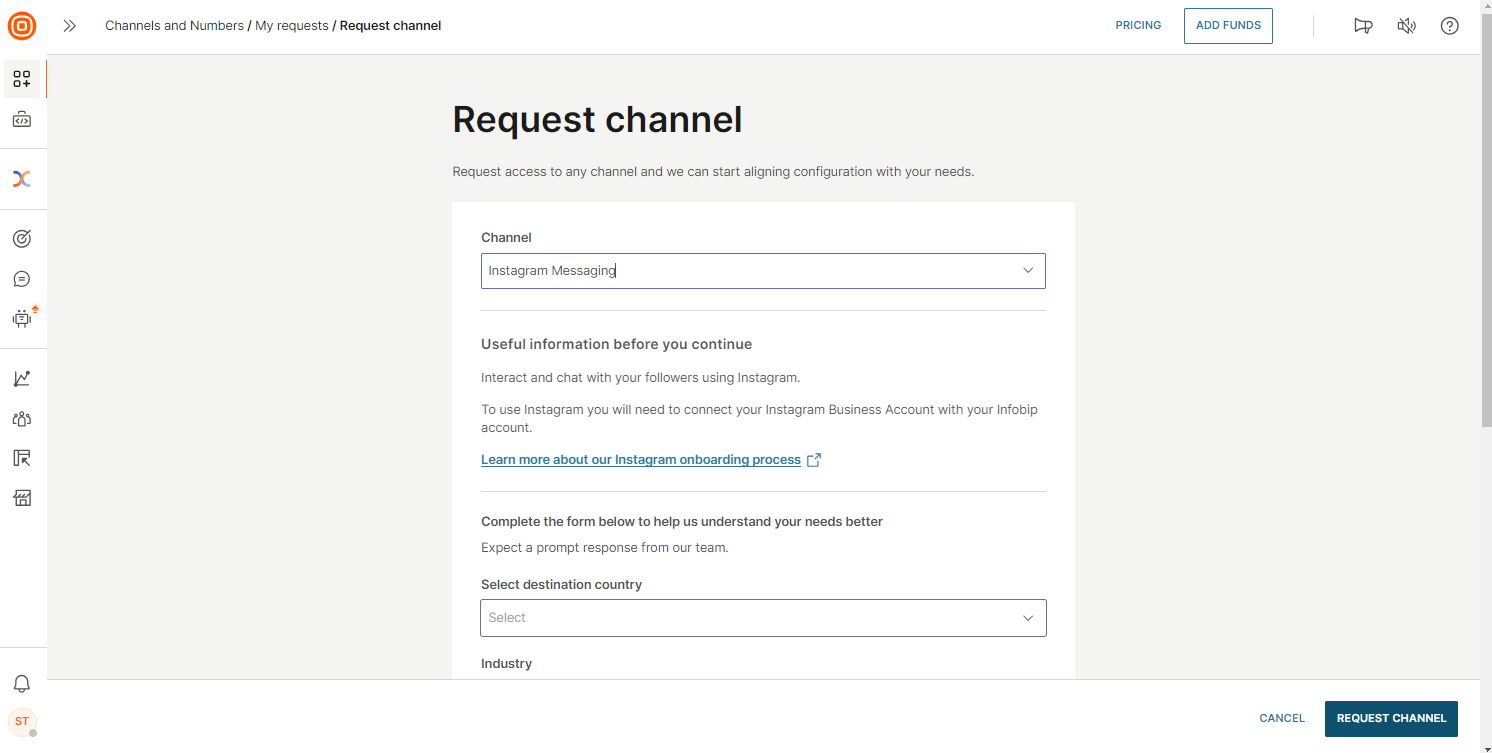
- After selecting your desired channel, fill out the form below and click the Request Channel button to submit your request.
What is included in the free trial?
Once your free trial begins, all SaaS products (opens in a new tab) become accessible for testing. During the trial, you can send a limited number of messages through the available channels.
The number of free messages varies across channels. You can send up to 100 messages to verified numbers, depending on the channel.
Free trial limitations
Check the free trial limitations below:
- 60-day trial period.
- Limited number of messages you can send per channel (the number of free messages varies across channels).
- By default, you can only message and call numbers and/or email addresses you have verified during the sign-up process. See Register multiple phone numbers (opens in a new tab) to learn how to verify more than one number during the free trial.
- You can only use a predefined Infobip test sender. A test sender is a number or alphanumeric identifier provided by Infobip specifically for sending test messages during the free trial. It can only be used for sending free messages, and it is removed once the free message limit for a particular channel is reached.
- The test sender is a type of shared sender. Depending on your location and selected channel, it might appear as "InfoSMS", "ServiceSMS", "DemoCompany", or a number like "447xxxxxx", among other variations.
- When you add the verified numbers, these are recipients, not senders. During the free trial, you can only send test messages from the test sender to these verified numbers.
Register multiple numbers and emails
Typically, you will only use one phone number and email address in a free trial, and that would be the one you have already verified during the sign-up process. If needed, you can add more phone numbers and email addresses:
- Log into your Infobip account.
- From the left-side menu, select People → Persons.
- Once you have accessed it, click the Create Profile or Import People button.
Clicking the Create Profile button will open the Create person profile page with the following options:
- Under Contact Information, add phone number(s) and email(s).
- The next two options, Basic Information and Tags and Custom Attributes, are optional. You can provide the information according to your preference.
- Click the Create Person button once done. You will be taken to the overview page where you can view the person you have just created.
By clicking the Import People button, you can upload contacts using one of the following methods:
- Manual import (upload a file with contacts)
- Automated import (connect CRMs and services, websites, mobile applications, backend API integration)
Verify a phone number
Unlike emails, once you have assigned a phone number to a person, you will need to additionally verify it.
Under the Contact information section, click the Verify Number button visible under each unverified phone number assigned to that person. A verification code will be sent to that number and once confirmed, the phone number's status will change to verified.