Create an account
To create an Infobip account, you only need to provide basic signup details or sign up with your existing Google or GitHub account. You will not be asked for credit card details at this stage. Once you create an account, you are automatically enrolled in a free 60-day trial. You can start using the paid option at any time.
Follow these steps to create an Infobip account:
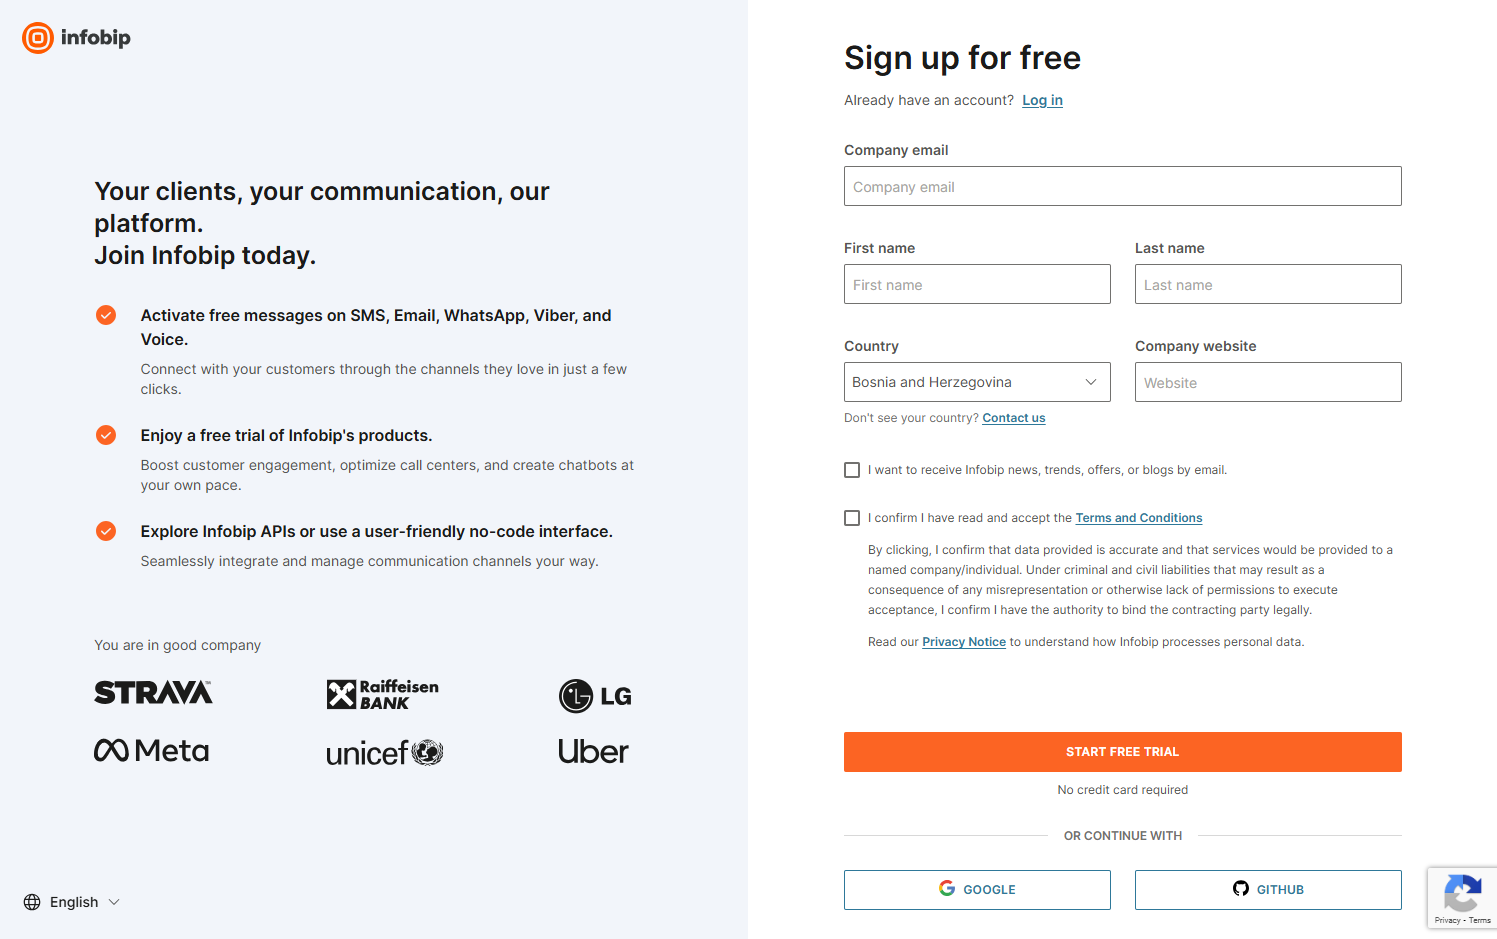
- Sign up - Go to our signup page (opens in a new tab), enter your details and select Start Free Trial. You can also log in with your Google or GitHub account.
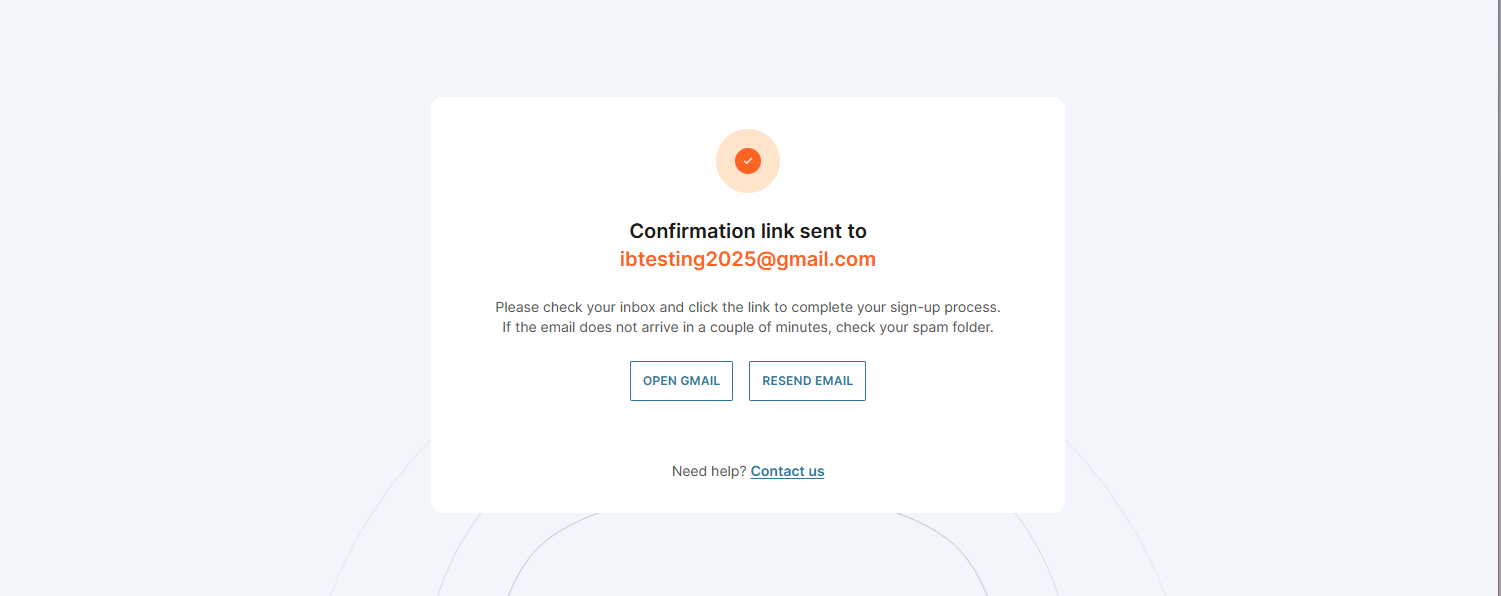
- Email verification - Check your email for a verification link and select Verify Your Email.
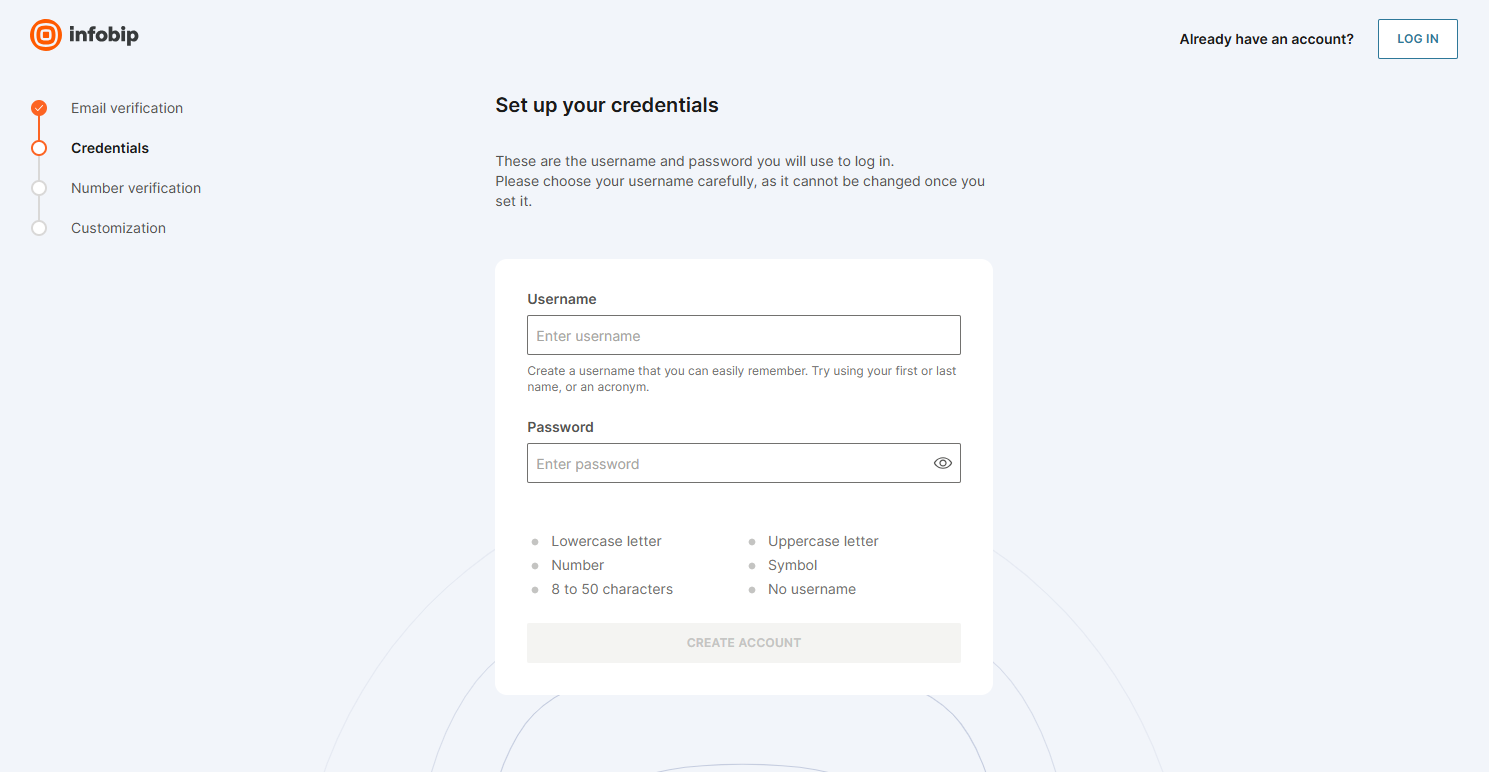
- Credentials - Set up your username and password. Follow the password requirements displayed on the screen. Select Create Account when ready.
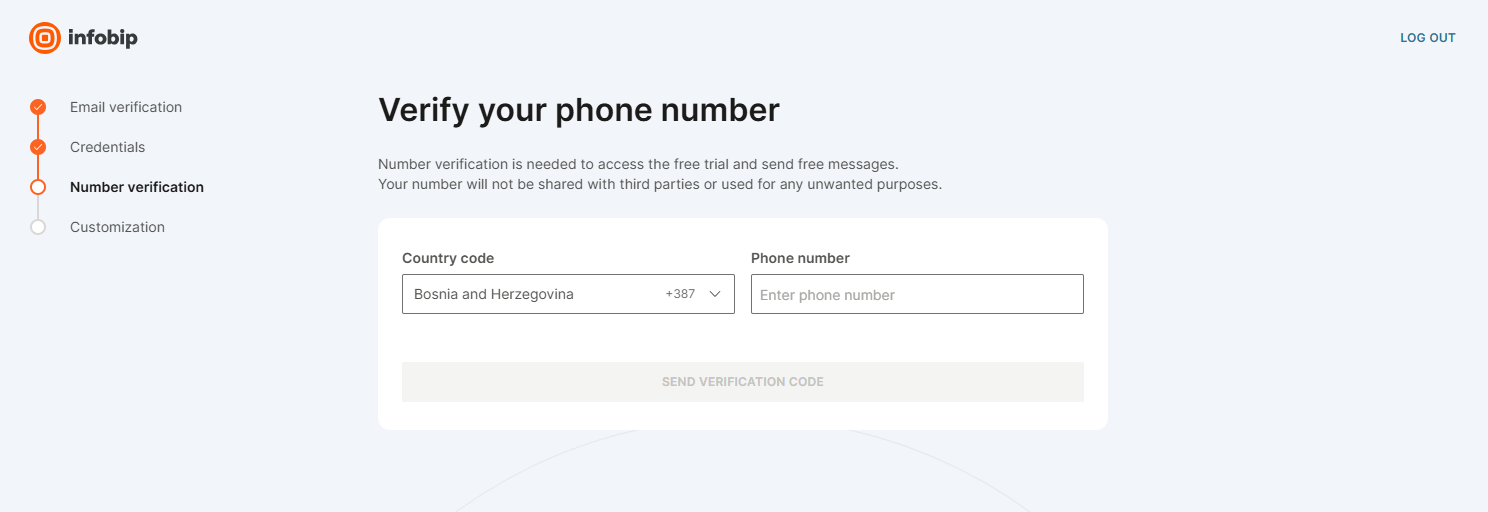
- Number verification - Enter your phone number and select Send Verification Code. Ensure the number is active and can receive SMS verification. Enter the received verification code and select Next.
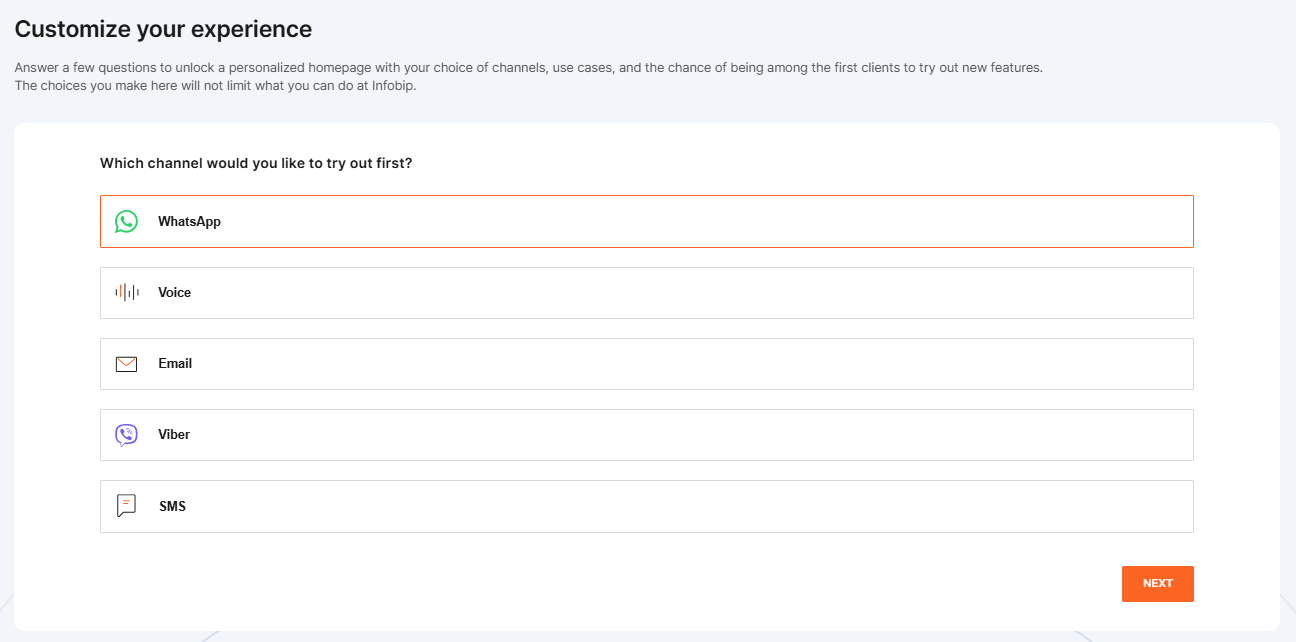
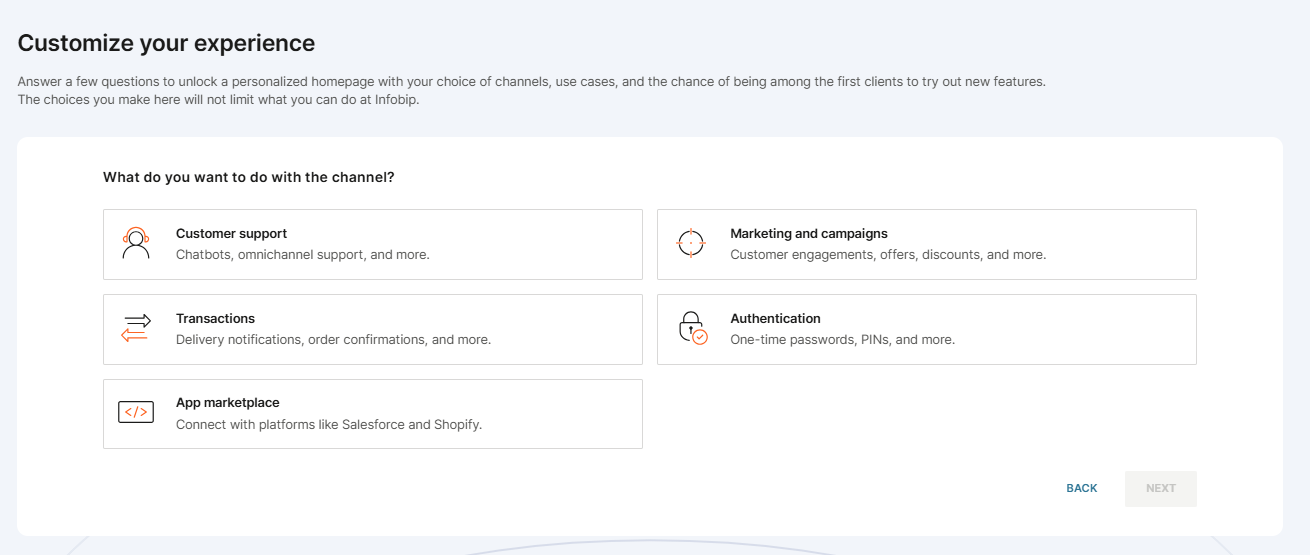
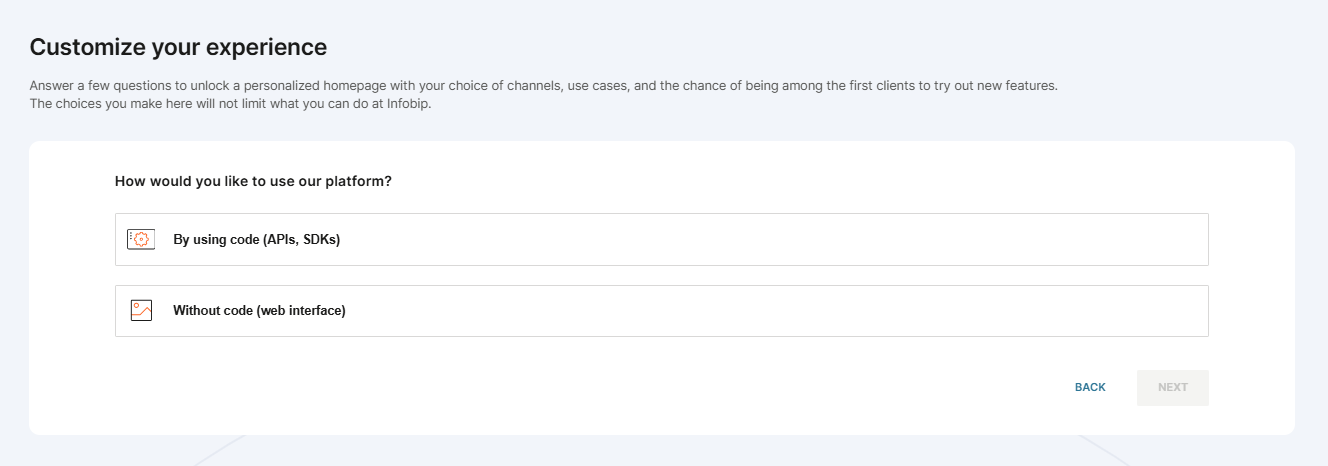
- Customize - Answer a few questions to personalize your homepage:
- Choose which channel(s) you want to try out first and select Next.
- Select your preferred communication service and select Next.
- Choose your platform preference. Here you can decide how you want to use our platform: By using code (APIs, SDKs) or Without code (web interface). Select Next.
- Enter your company details and select Go To Homepage.
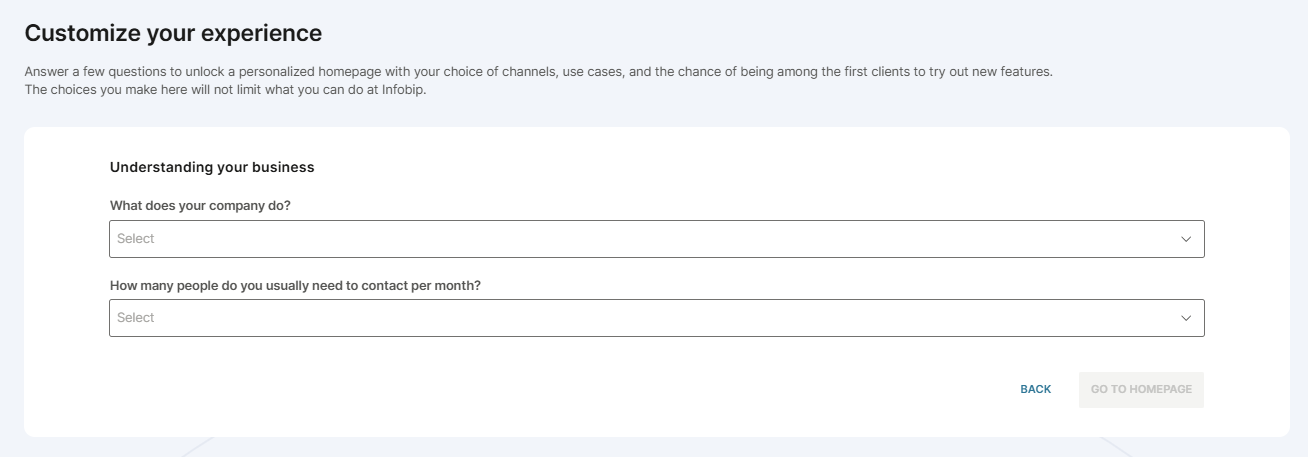
- After entering the above details, you will be redirected to your account.
We take your cyber security very seriously and we impose certain restrictions on username and password. Username cannot contain special characters and cannot be changed once generated. Password requirements are listed here. If you are struggling with coming up with an adequate password, use an online password generator tool.
What is the account used for?
An Infobip account allows you to use Infobip-related channels and products we offer, including our APIs.
Use it to:
- Manage your own and your team's user settings and permissions.
- Access and manage Infobip products: Moments, Conversations, Answers, People, Analyze, Forms (Content).
- Access and manage channels, like SMS, Email, WhatsApp, Viber, etc.
- Create and manage your API keys and view your base URL.
- Contact the Infobip Support team to report an issue or leave feedback.
Select a user type
Once logged in, select whether you are a business user or a developer at the top of the page:
- Business users can test messages using the web interface.
- Developers can send test messages using a ready-made API request.
You will still have the same amount of free credits regardless of which user type you activate, or whether you use both of them.
Depending on your chosen channels, you will be presented with customized options for each channel, specifically designed for your selected user type.
Register a phone number
Calls and messages in the trial period can be sent only to mobile phone numbers and email addresses you verified during the signup process.
You can use more than one phone number or email address while in the free trial. See Register multiple numbers and emails for more details.