Payments
The Payments page enables you to pay online, add funds to your account, create an offer, or check your financial transactions with Infobip.
Add funds
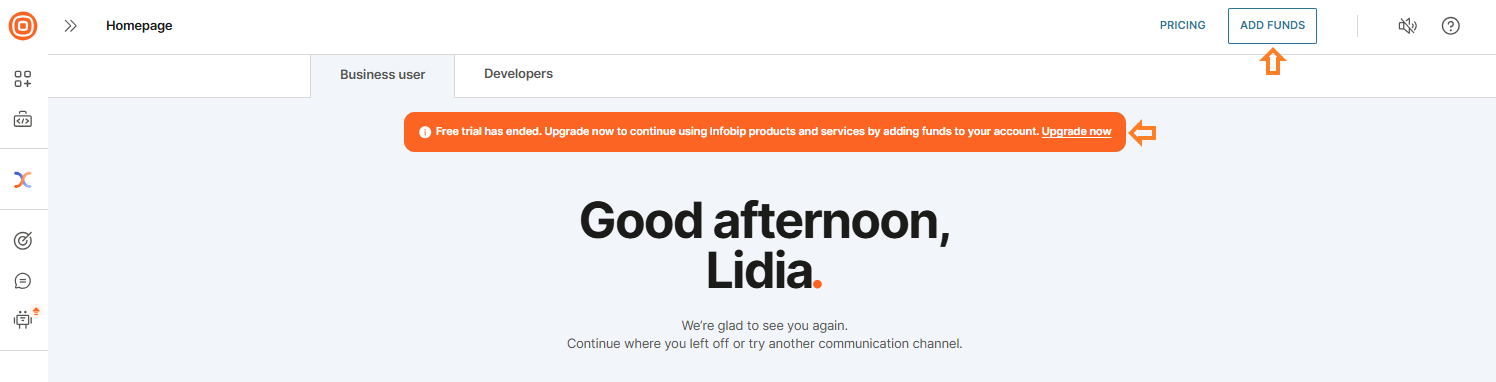
After you spend your funds or when your free trial ends, you need to add funds to your account to continue using Infobip products and services.
To add funds to your account, click the Add Funds button in the upper right corner, the account menu, or the Upgrade now button in the Free trial info box (if it is displayed).
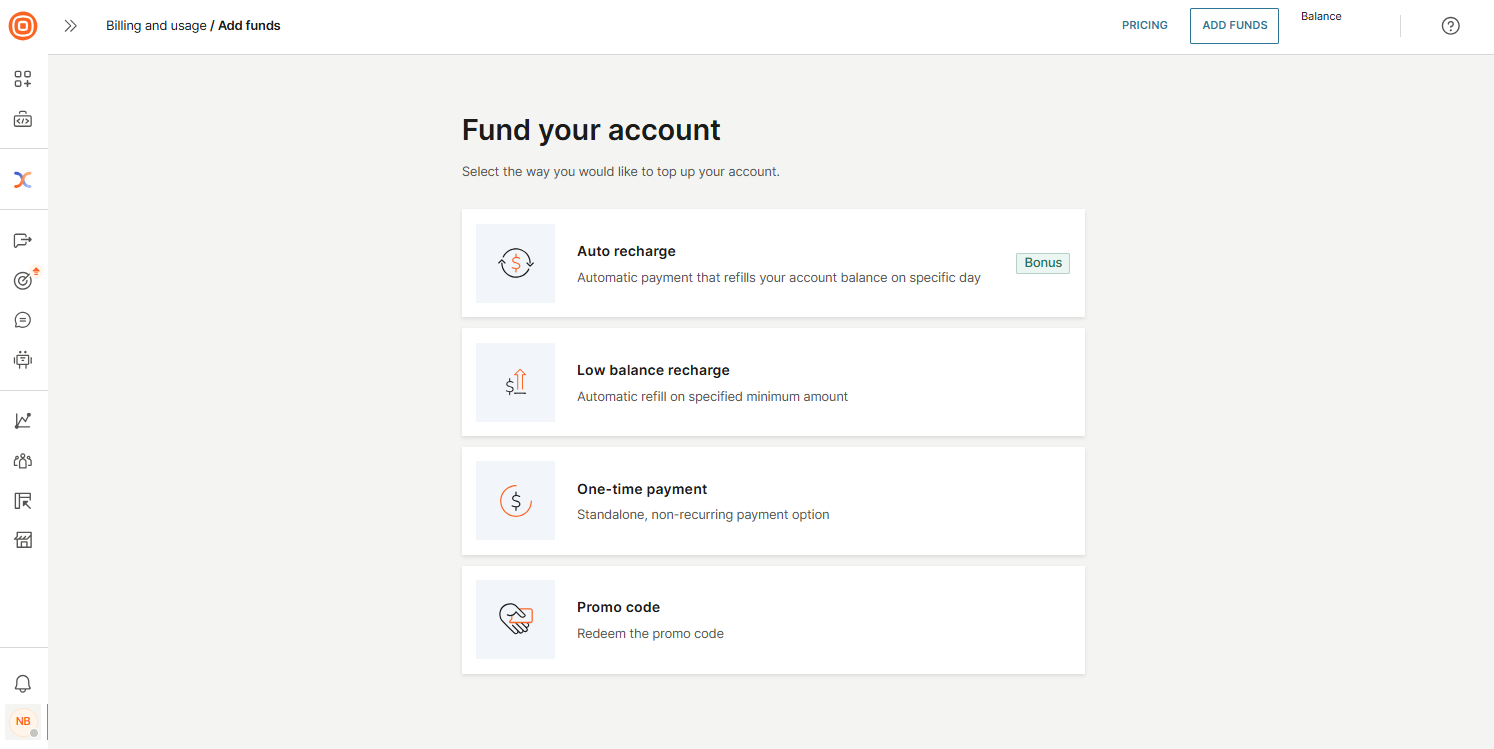
From there, you will see the following options to top up your account:
- Auto recharge
- Low balance recharge
- One-time payment
- Promo code
After selecting your desired option, you will be prompted to enter your billing details if you have not already done so. You can choose to provide the billing details as either an individual or a company. Once the details are entered, you will proceed to the next step.
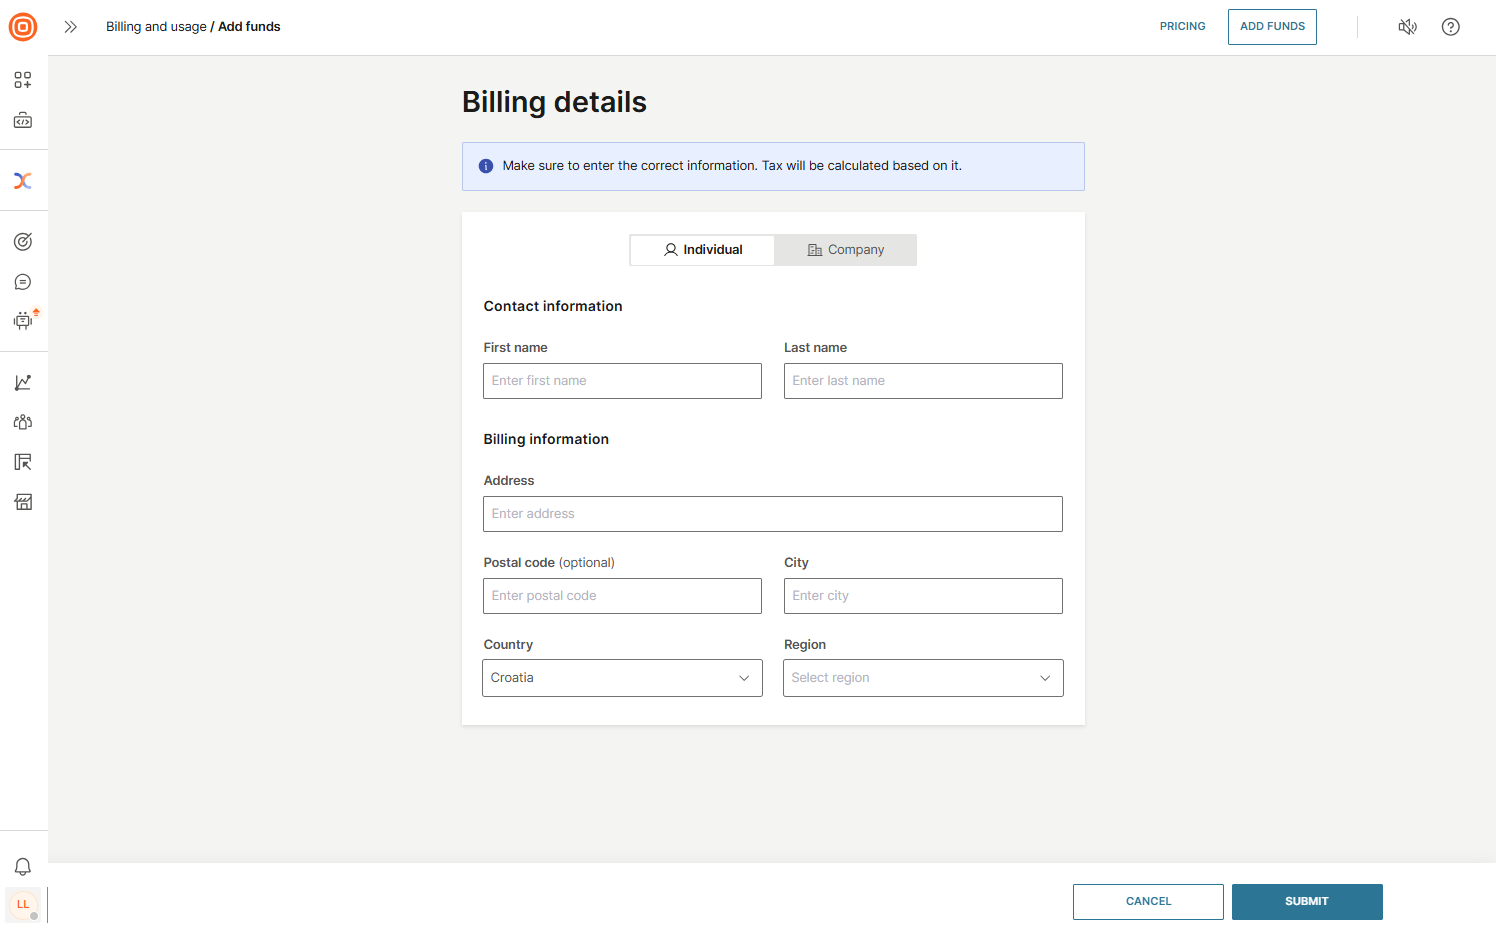
You can edit the billing details at any time, except for the VAT and Country fields, which remain unchanged after being saved.
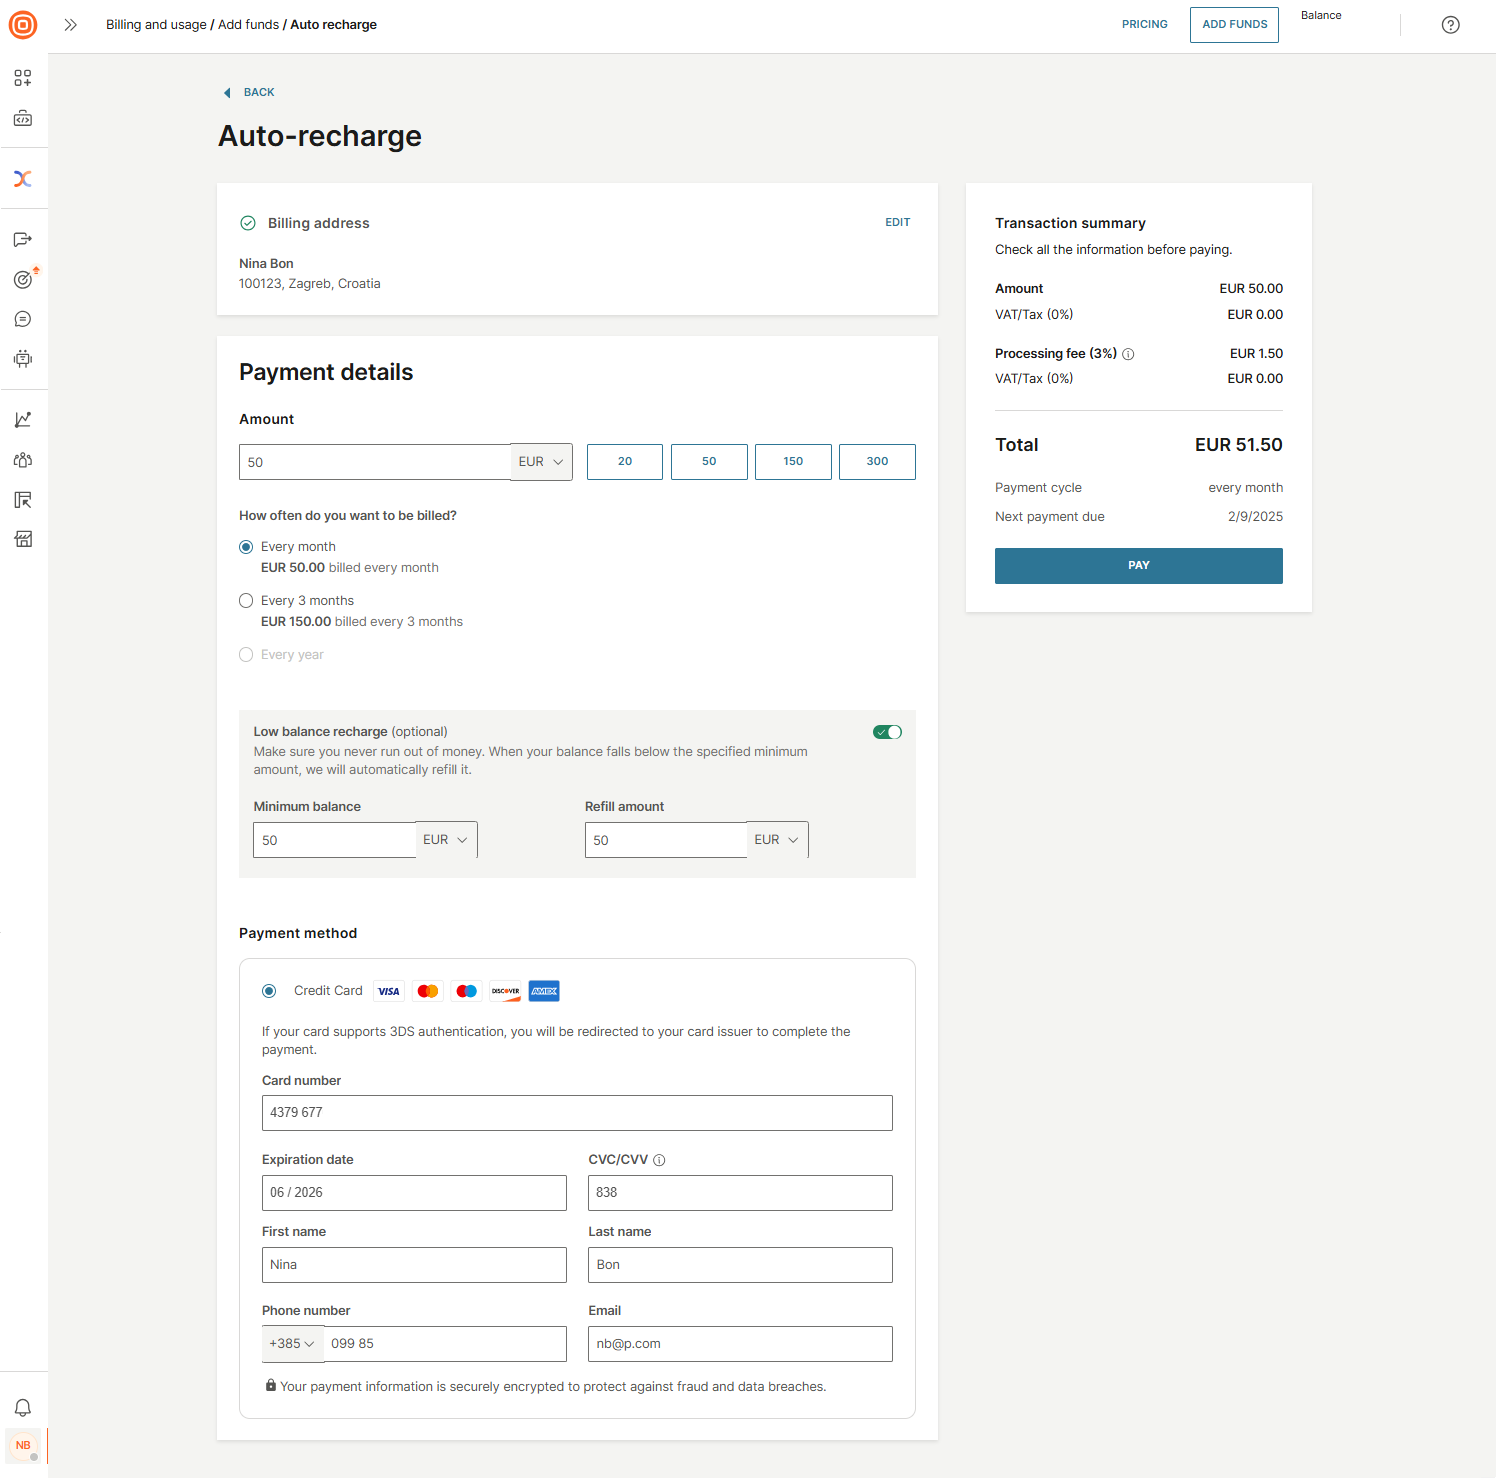
Auto recharge
The Auto recharge option is an automated payment feature that refills your account balance at selected intervals, ensuring that your account never runs out of money.
- Enter the amount and choose the currency (EUR, USD).
- Select how often you want to be billed:
- Every month
- Every 3 months
- Every year
- As with every payment option, you can always enable the Low balance recharge option.
- Enter your credit or debit card details. If your card supports 3-D Secure (opens in a new tab), you may be redirected to the website of the card issuer to authorize the transaction. Once the process has been done on the bank's side, you will be redirected back to the Payments page.
- Check all the information before paying. If everything is correct, click Pay.
- After completing the payment, you will receive a confirmation.
When setting up automatic payments, your credit card will be charged immediately for the refill amount. This amount will be added to your account balance. Any following automatic payments will be triggered by the minimum balance.
On the activation date, the automatic payment will be triggered, and your credit card will be charged for the amount you specified (+ transaction fee + VAT). After the activation, you will see what is the next charge date.
Low balance recharge
The Low balance recharge option makes sure you never run out of money. If the option is enabled, your balance will be automatically refilled when it falls below the specified minimum amount.
Minimum balance option enables you to specify the minimum balance for Low balance recharge.
It works the following way:
- Set the minimum balance amount that will trigger an automatic payment whenever your balance falls below the set minimum.
- Set the currency you want to be charged in.
Refill amount enables you to specify the amount for topping up your account when your balance falls below the minimum.
It works the following way:
- Set the amount that will trigger an automatic payment whenever your balance falls below the set minimum.
- Set the currency you want to be charged in.
After entering the amount and currency for the minimum balance and/or the refill amount, add the credit or debit card details. If everything is correct, click Pay.
After completing the payment, you will receive a confirmation.

When you set up automatic payments, your credit card will be charged right away for the refill amount, which will be added to your account balance.
When your balance falls below the set minimum, the automatic payment will be triggered, and your credit card will be charged for the amount you specified (+ transaction fee + VAT).
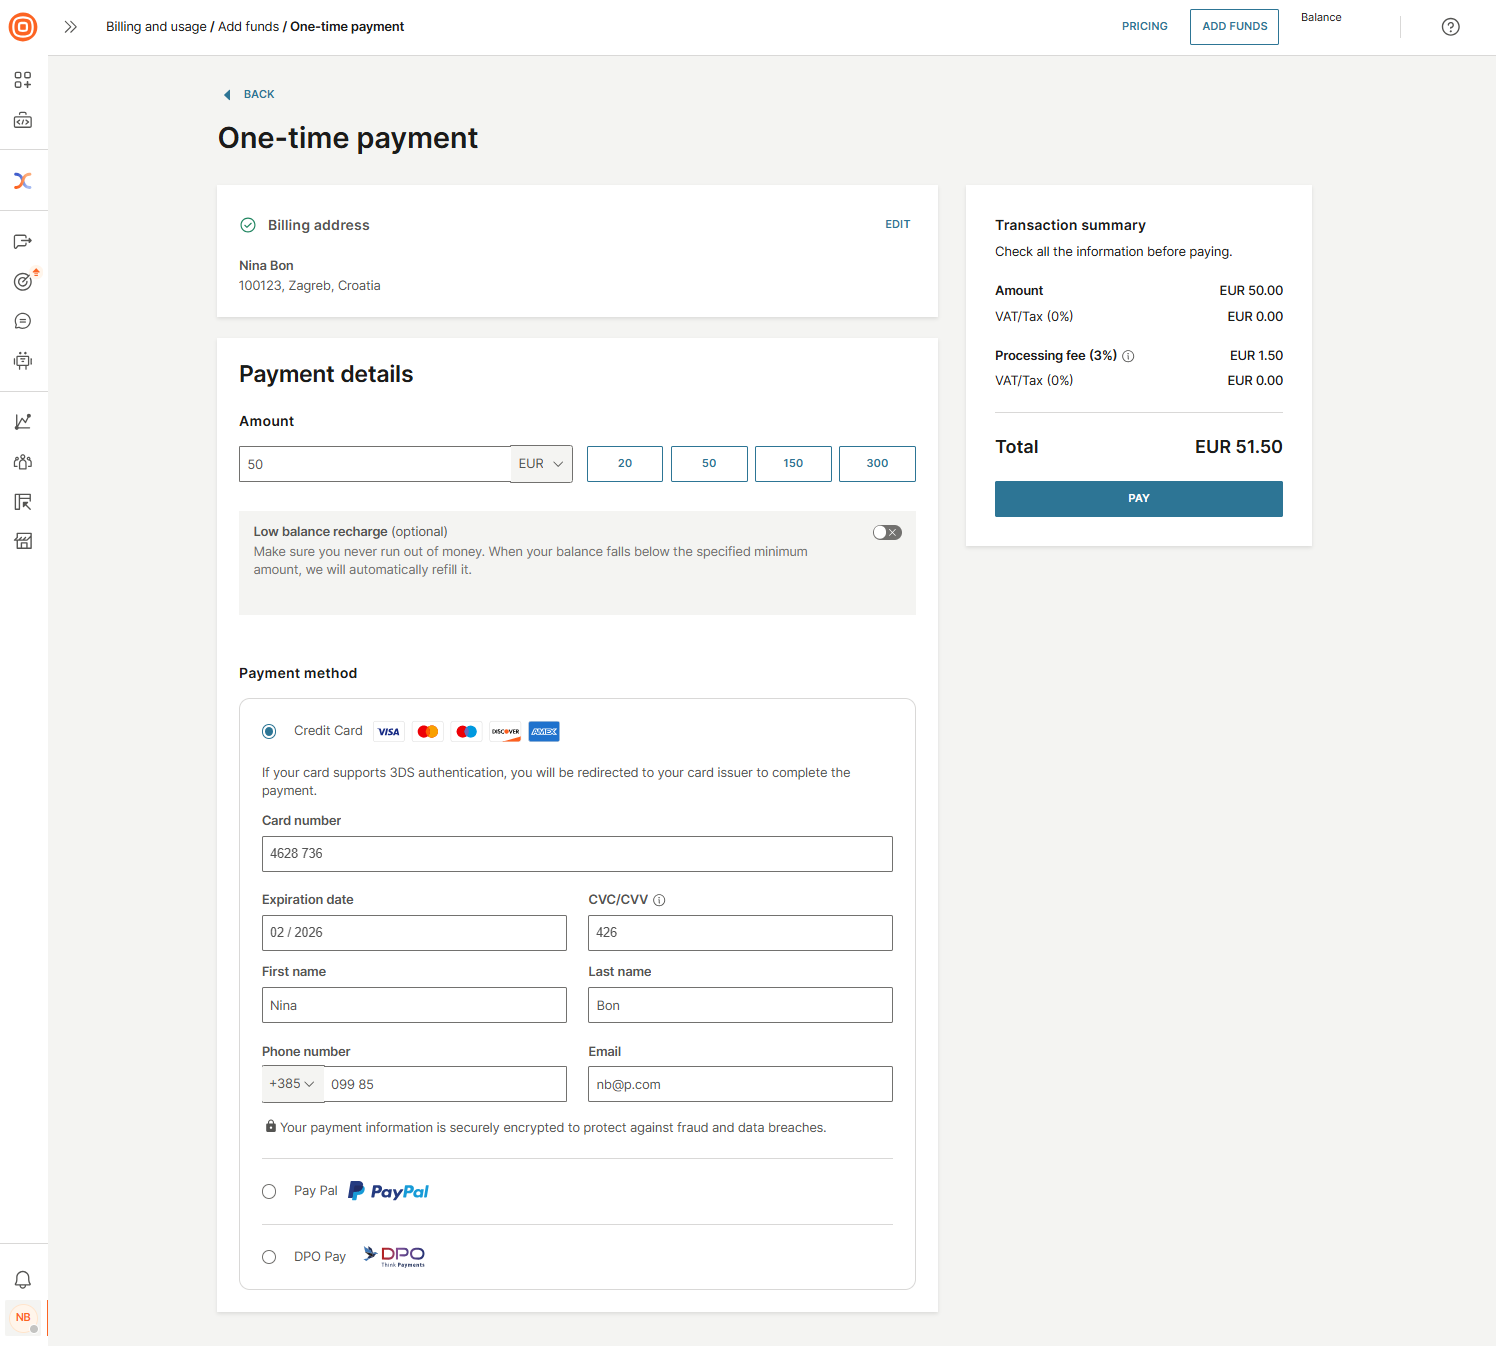
One-time payment
The one-time payment option is a standalone, non-recurring payment option set by default.
Make sure to enter the correct information as you follow these steps:
- Enter the amount and choose the currency (EUR, USD).
- As with every payment option, you can always enable the Low balance recharge option.
- Choose the desired payment method and amount. Generally, the following options are available: credit card and PayPal.
- If you choose the credit card option (Visa, Mastercard, Maestro, Discover, Amex), you will need to enter the credit card information. If your card supports 3-D Secure (opens in a new tab), you may be redirected to the website of the card issuer to authorize the transaction. Once the process has been done on the bank's side, you will be redirected back to the Payments page. If everything is correct, click Pay.
- When paying over PayPal, select the Pay button, and you will be redirected to the PayPal page. Once the payment has been made, you will be redirected back to the Payments page.
- After completing the payment, you will receive a confirmation.
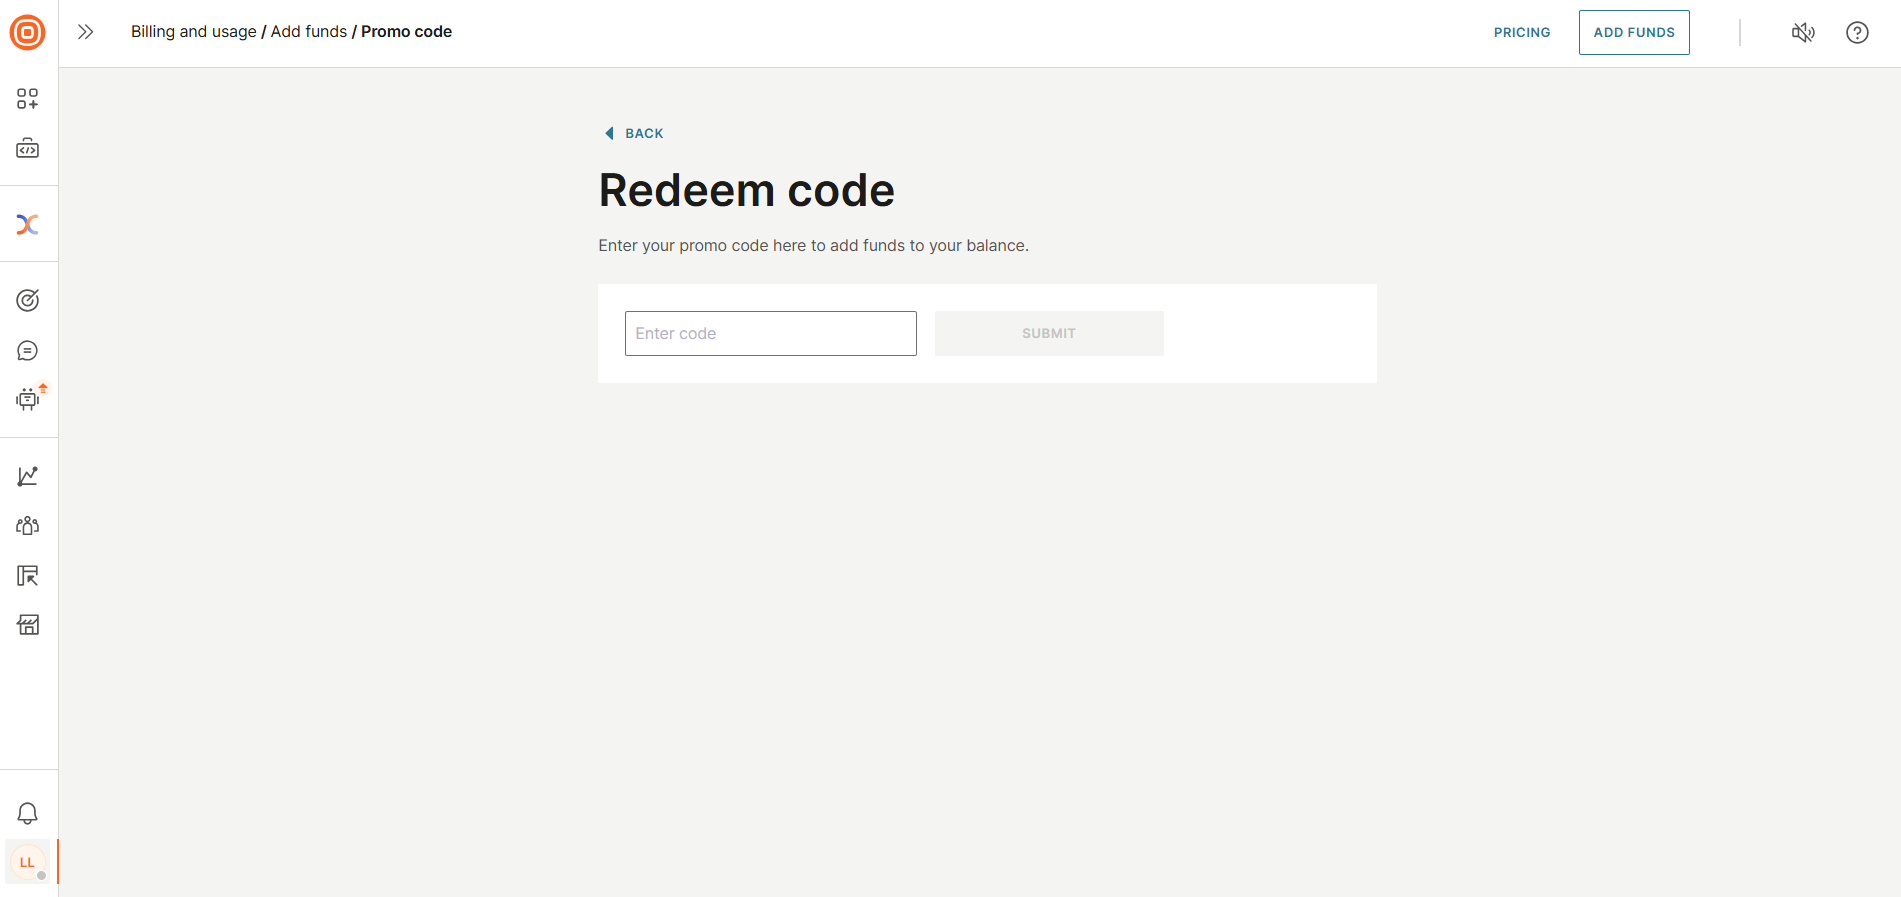
Promo code
If you receive a promo code (e.g., from participating in a research project, for attending conferences, etc.) to add funds to your balance, enter it and select Submit. The funds will be added to your balance automatically.
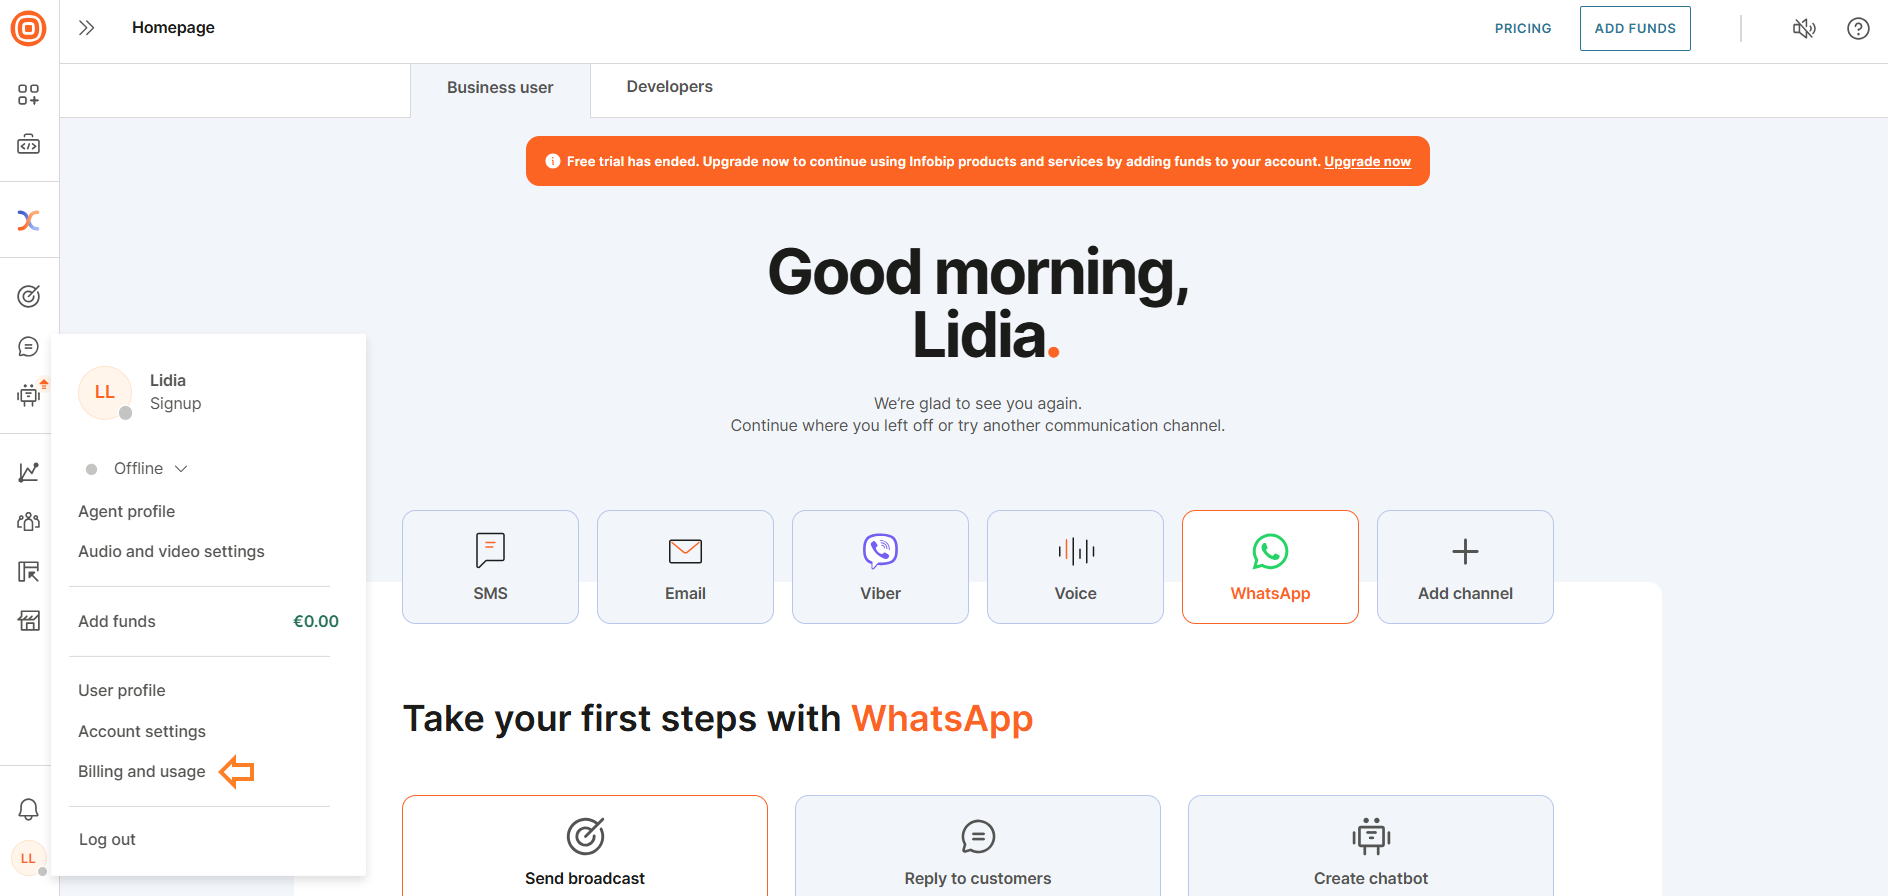
Billing and usage
Another way to add funds to your account is to use the Billing and usage option located in the account menu. From there, you can manage payments, plans, and your account balance.
When the page opens, you will see three tabs:
- Payments
- Active plans and channels
- Invoices
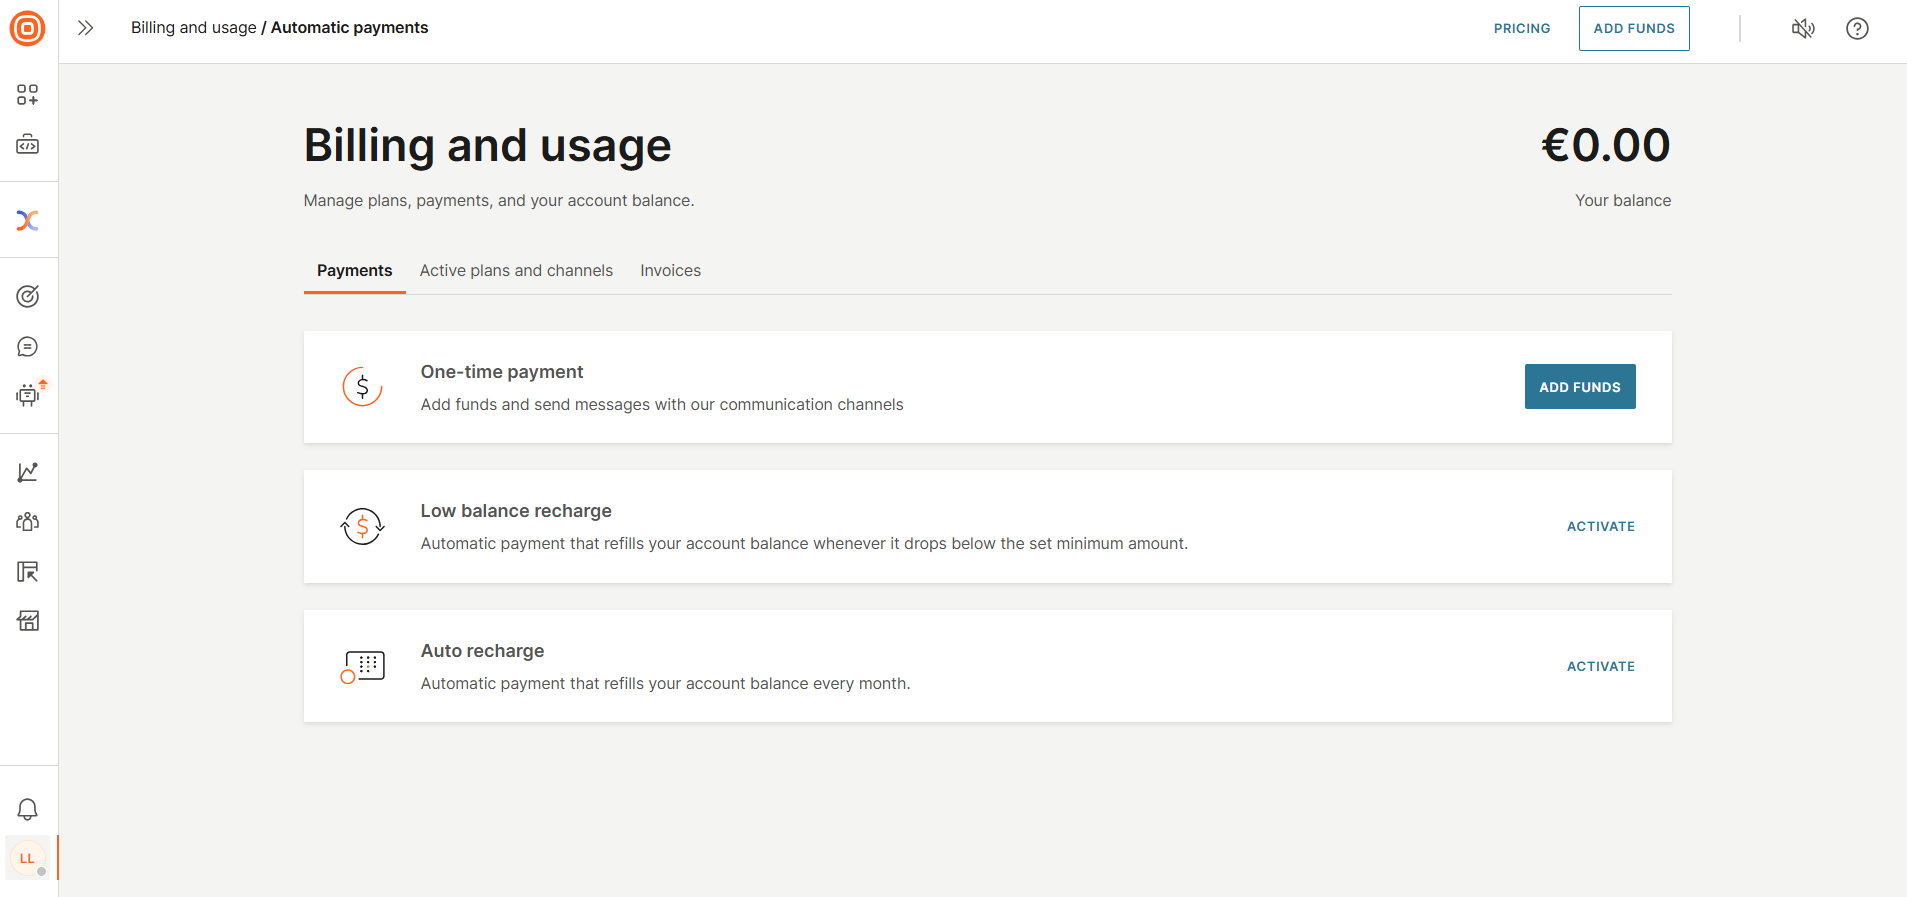
Payments
In the Payments tab, just like on the Fund your account page, you can add funds and set up automatic payments using the following options:
- One-time payment
- Low balance recharge
- Auto recharge
Refer to the sections above for a detailed explanation of these options.

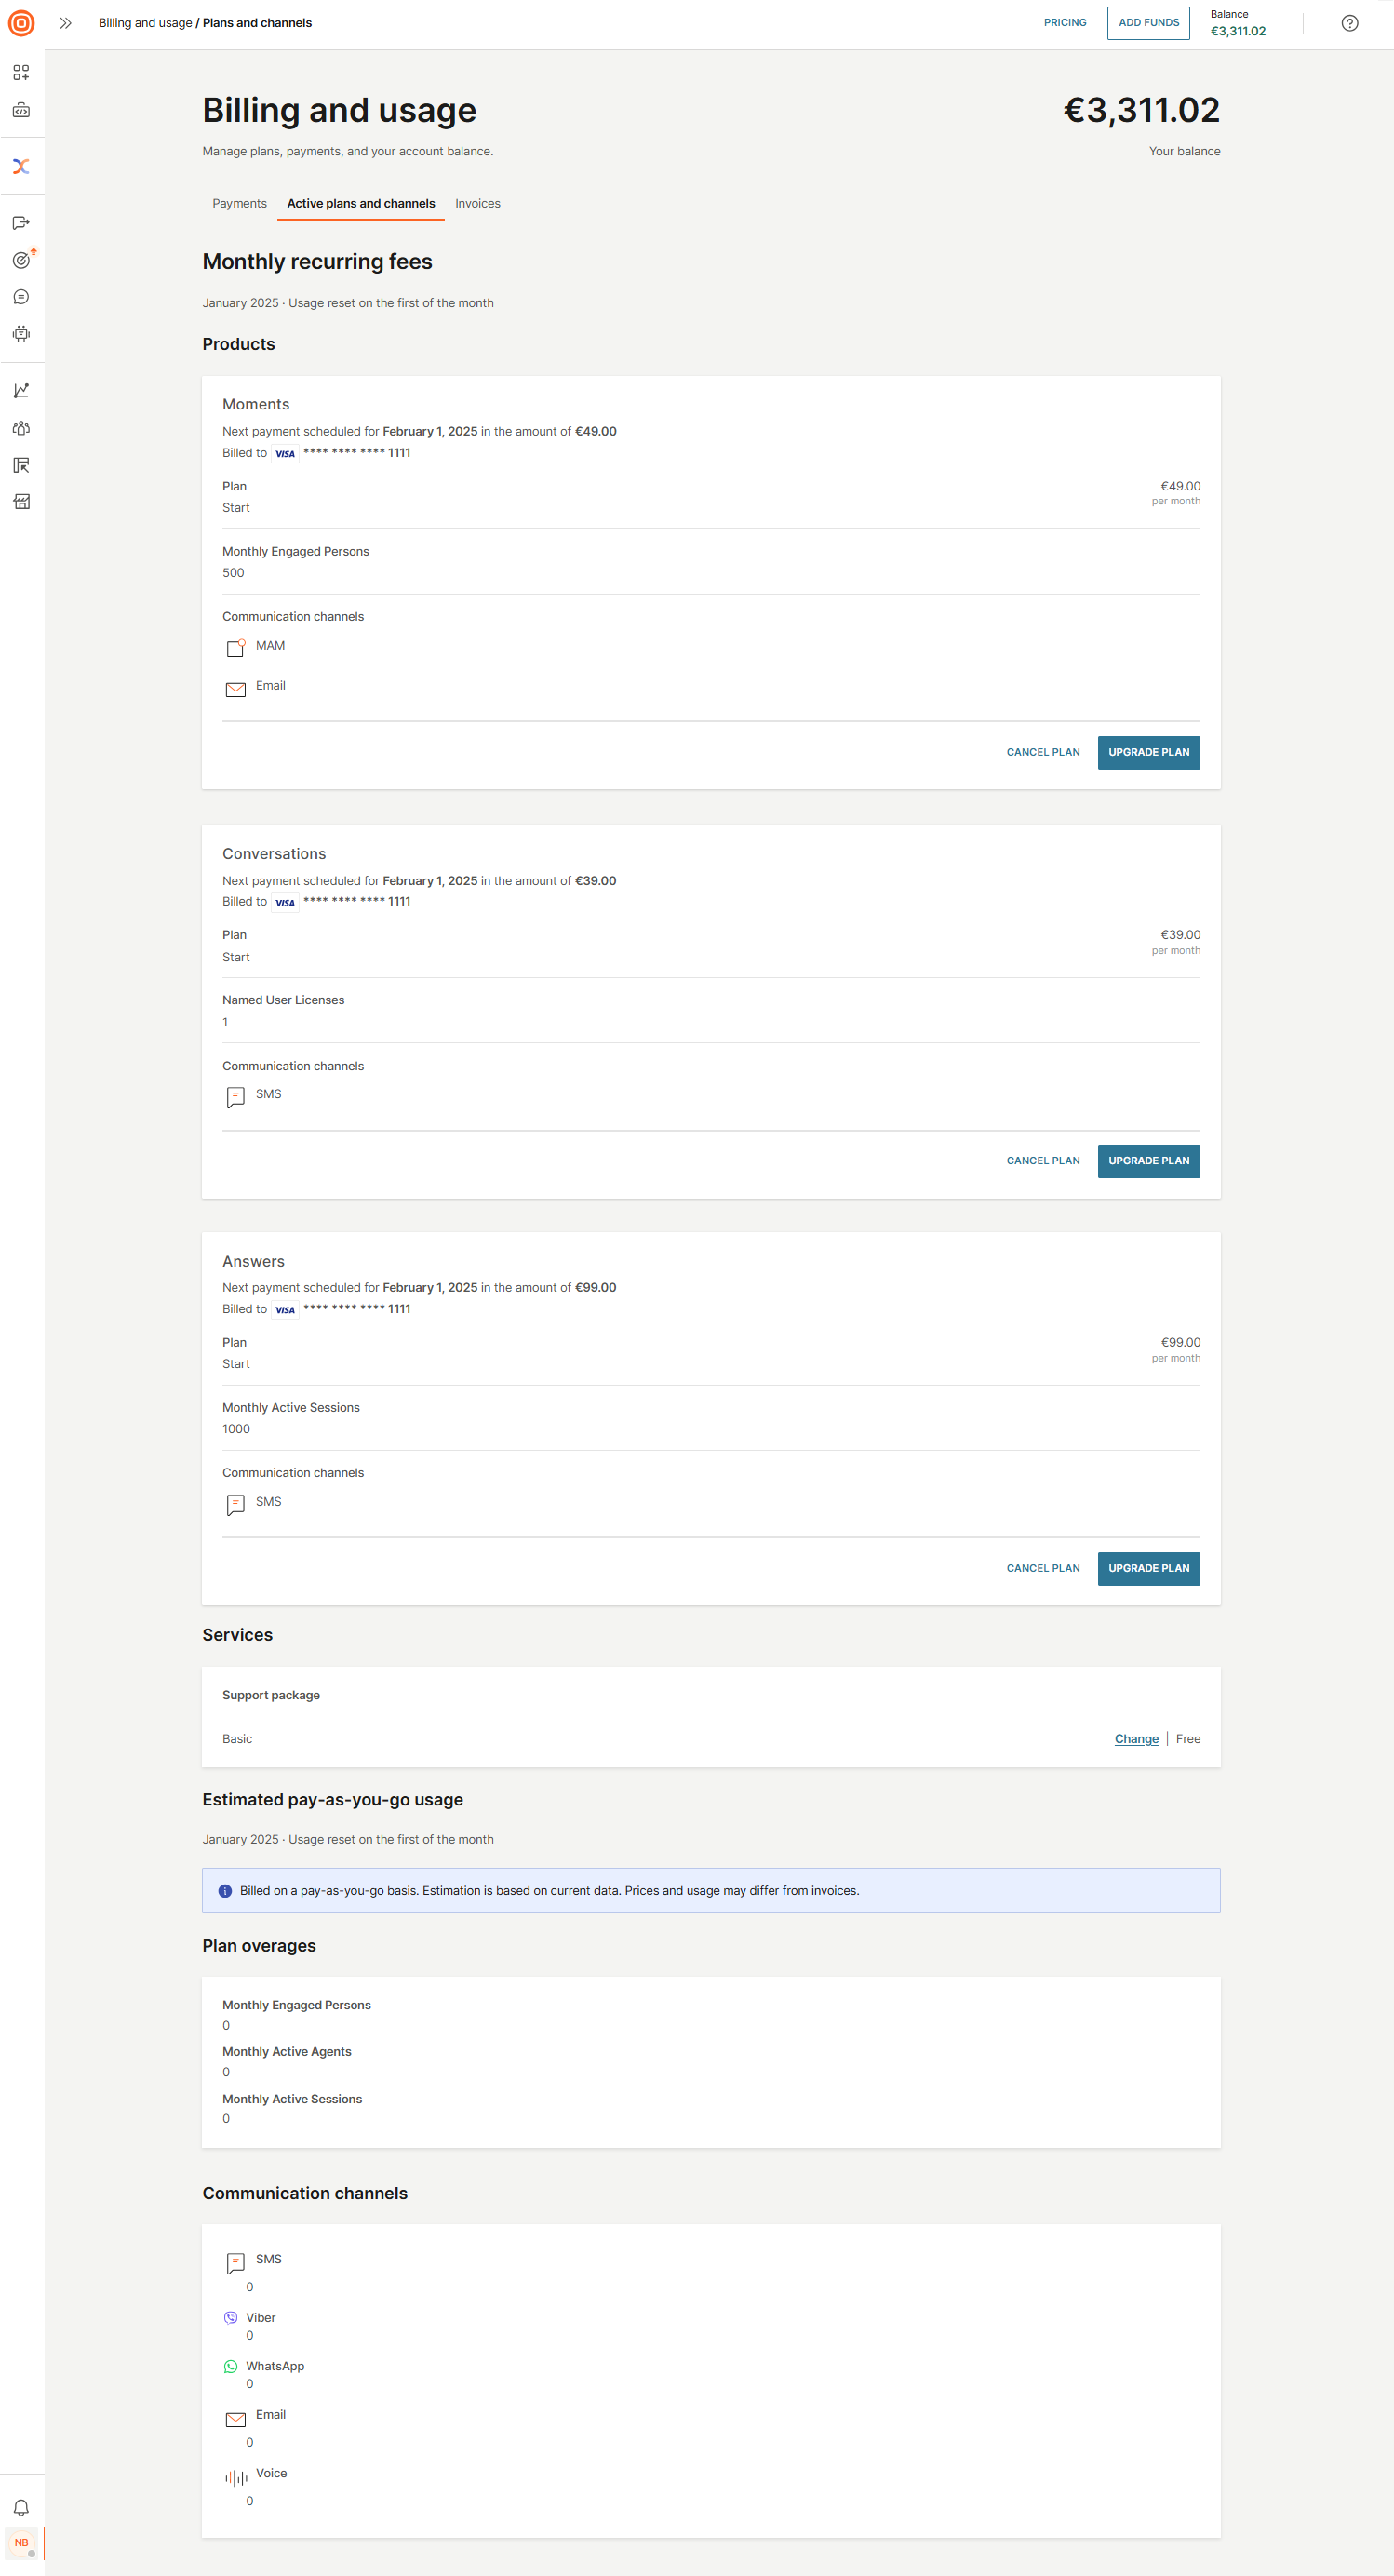
Active plans and channels
You can manage active plans and channels through the following sections in the Active plans and channels tab:
- Monthly recurring fees
- Products
- Services
- Estimated pay-as-you-go usage
- Plan overages
- Communication channels
Here you can check your active products, next scheduled payments, and upgrade or cancel active plans. Additionally, you can change your support package, check the number of active agents, sessions, and engaged persons.
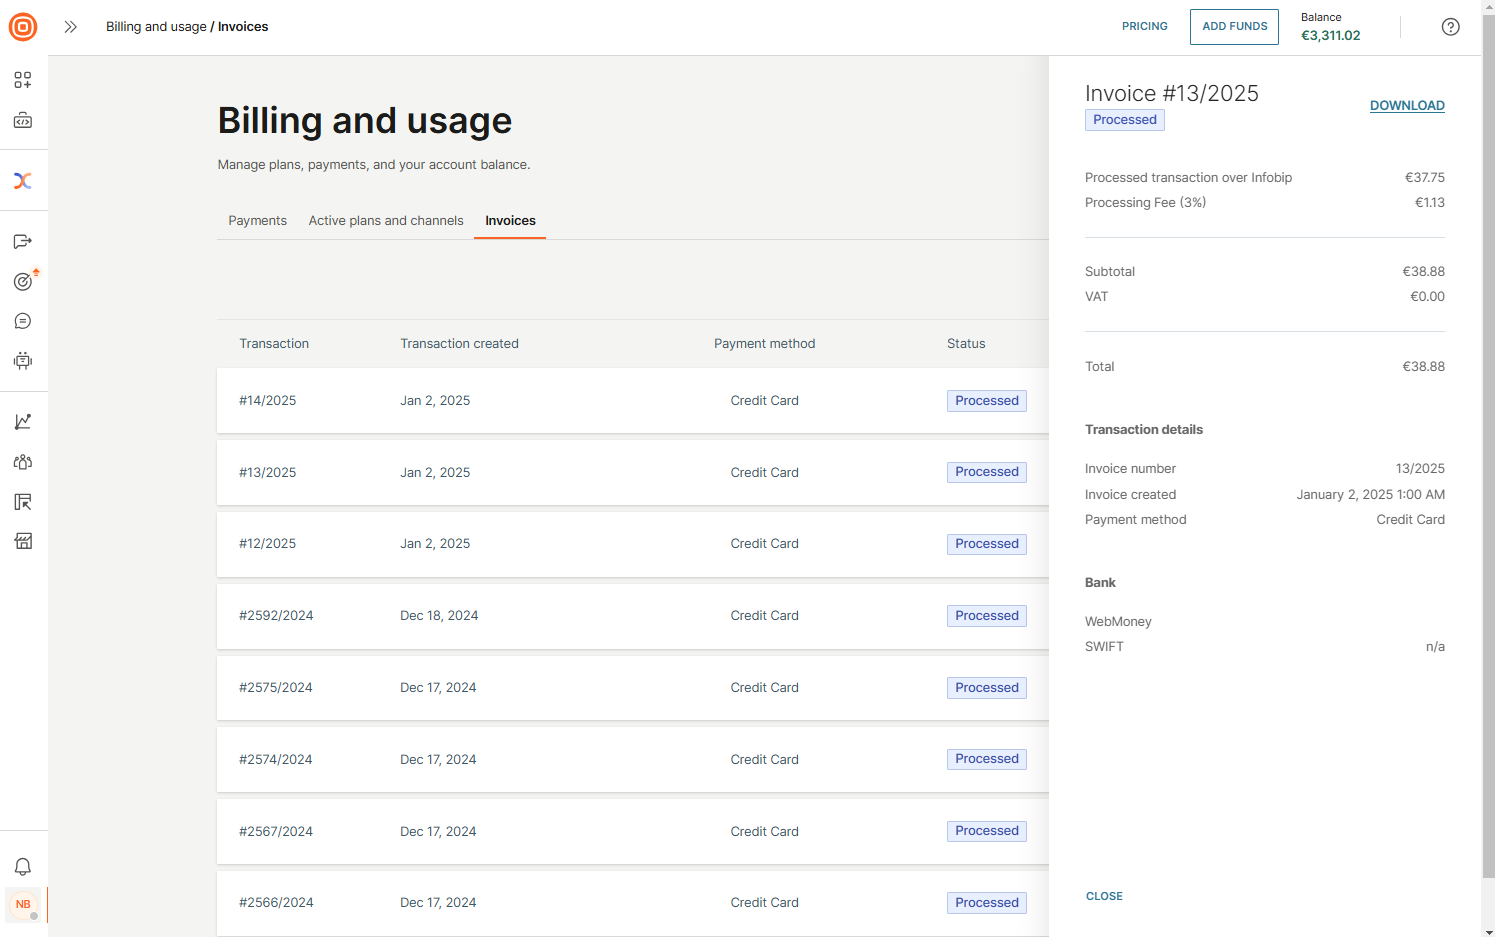
Invoices
The Invoices tab contains information related to managing and viewing invoices. From there, you can see a list of all invoices with the following details:
- Transaction number
- Date when the transaction was created
- Payment method
- Status
- Total amount
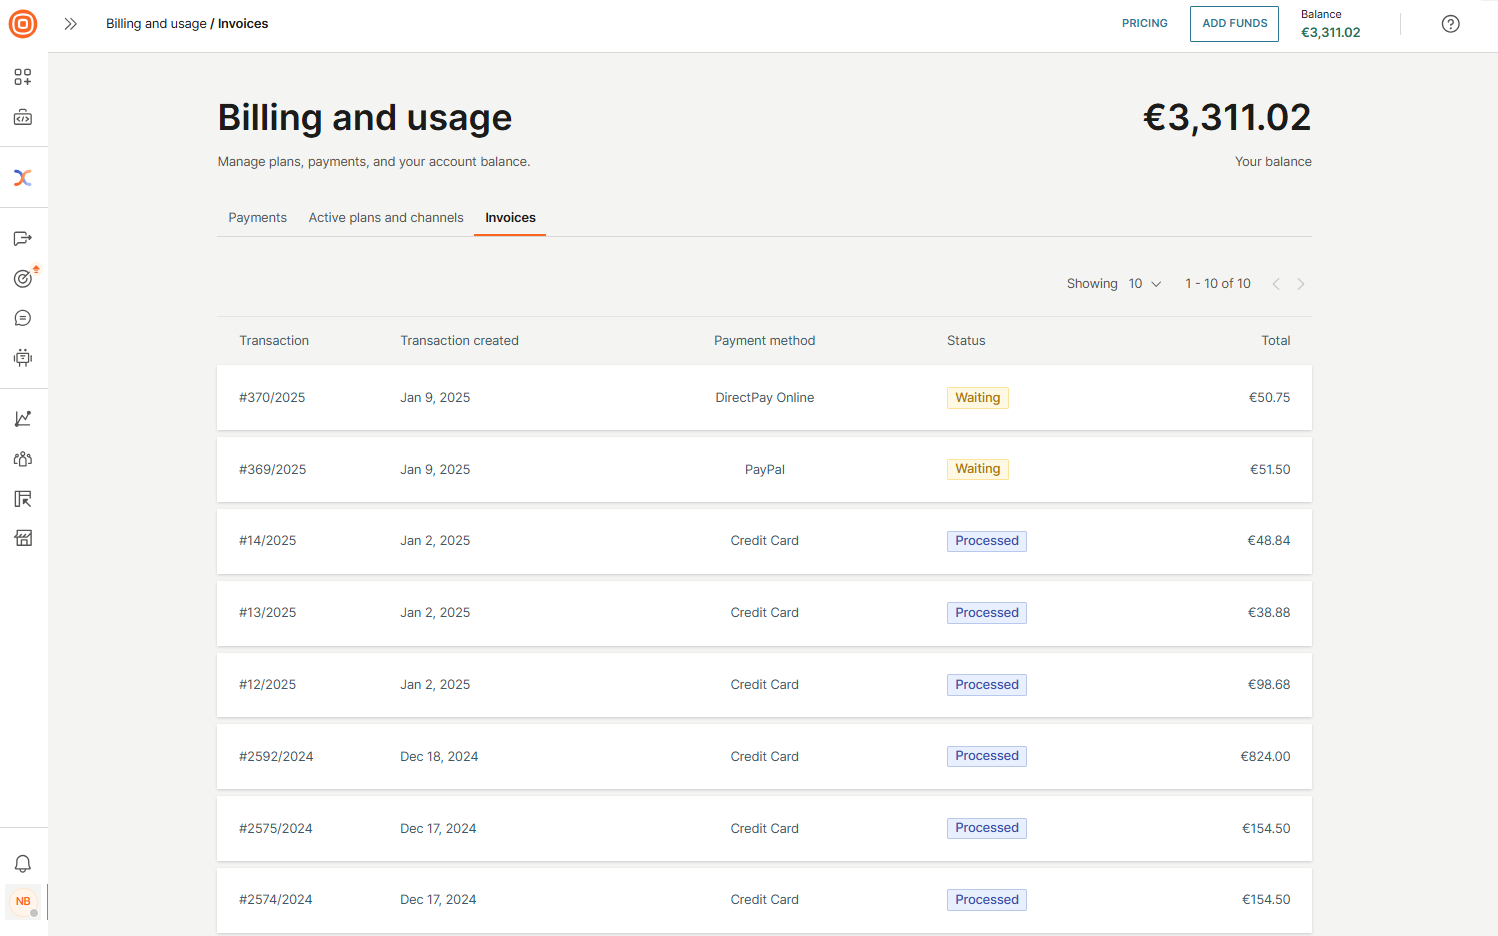
Select the wanted invoice to view its details. If needed, download the invoice to your PC by clicking the Download button in the upper right corner.