Quick start
In this section, you will learn to quickly get up and running with landing pages and will create your first custom landing page from start to finish.
For more detailed information about some parts of this process, make sure to follow the links and see the dedicated sections of the docs.
Build a page
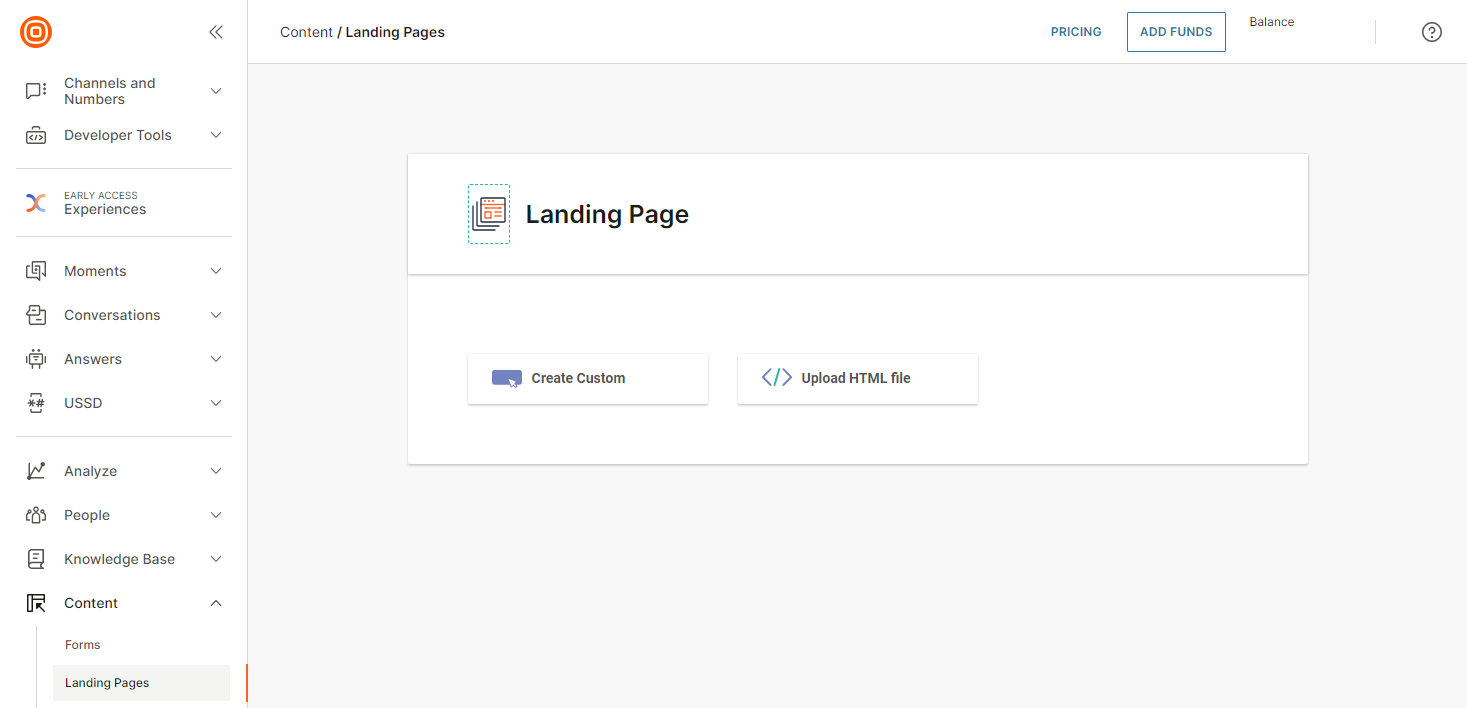
To create a new landing page go to Content > Landing Pages and click Create new. Select the Create Custom option to build a page using the editor.
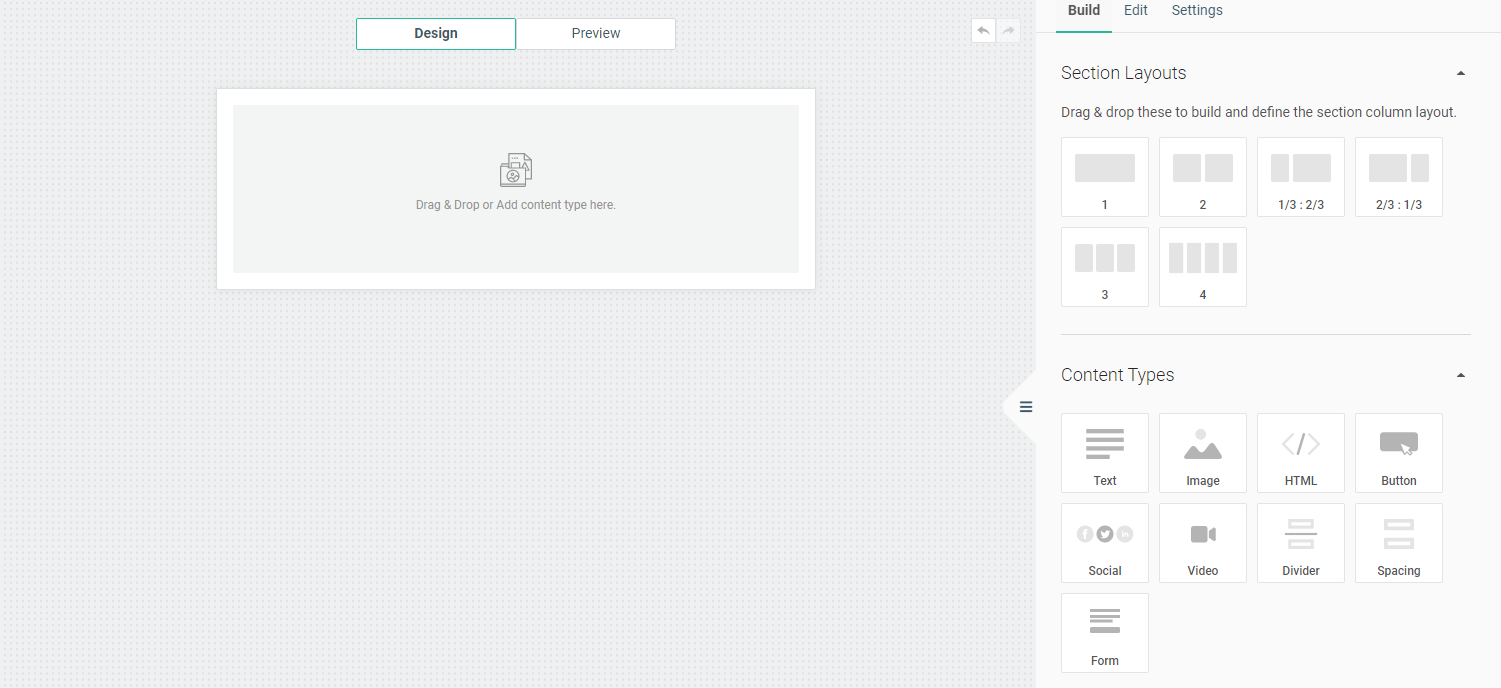
Use the various layout and content options and widgets to design your custom landing as per your requirement. Flick between Design and Preview modes at the top of the editor if you want to check out how it looks as you build.
Use the forms widget to give customers the opportunity to provide feedback when landing on your pages, for example, why they decided to opt-out of any communication.

Use the additional Edit and Settings options in the side panel to further customize styling.
Once done click Done designing, which will take you back to the new page's overview. Here you'll see a preview which you can click to go back to edit mode.
Once you are ready to go live enter a name for your landing page. Try and keep landing page names as unique and informative as possible for easy reference in the future. Click Publish and your page is live.
Your page is now selectable in the web interface across the available IB solutions.
Upload a page
If you already have the HTML files to your required page, you can easily upload them in the web interface to quickly add them.
To upload a page go to Content > Landing Pages and click Create new. Select the Upload HTML File option to open up the file selector.

Locate and select the HTML file to upload. Only .html files are accepted and all other file types will fail. You can only upload one file at a time and cannot edit uploaded files in the editor.
Once you have imported your HTML file you will be able to modify it as required in the code editor. Changes will be reflected in real-time in the preview window.
Once done click Done designing, which will take you back to the new page's overview. Once you are ready to go live edit the name for your landing page as required. Click Publish and your page is live.
Your page is now selectable in the web interface across the available IB solutions.
Next steps
Learn more about landing pages, including how to work with the editor, how to manage pages, and what metrics are available.