Integrate Prometheus with Infobip WhatsApp API
This tutorial is a walk-through for creating a simple monitoring and alerting system using Prometheus and Infobip's WhatsApp API. You can use this example if you already have a Prometheus server running, and want to receive alerts on your phone via WhatsApp.
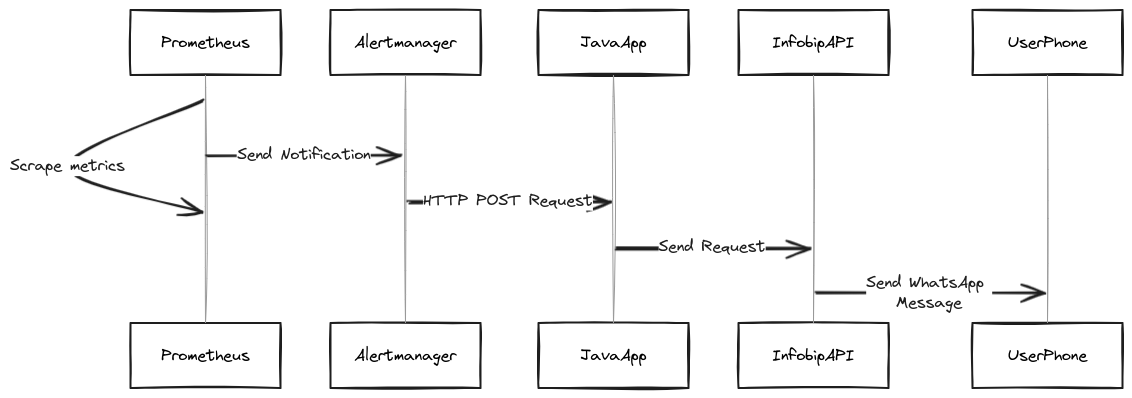
To simulate the existing monitoring system, we will create a local setup with a Prometheus server configured to scrape its own metrics and evaluate alerting rules based on them. Alerts will be sent to Alertmanager. A basic Spring Boot application will receive these alerts from Alertmanager and forward them to a mobile phone via Infobip's WhatsApp API.
Products and channels
This tutorial uses the WhatsApp (opens in a new tab) channel, but it can be adapted for other channels.
Prerequisites
- Docker
- Infobip account (if you do not have one, you can create it here (opens in a new tab))
- Infobip API key with scope:
whatsapp:message:send
Technical overview
The system consists of three main components:
- Prometheus - A monitoring system that collects metrics from various sources.
- Alertmanager - A component that handles alerts sent by Prometheus.
- Spring Boot application - Service that listens for alerts from Alertmanager and sends them to your phone over Infobip's WhatsApp API.
The diagram below provides a high-level overview of the system we will build.
Implementation
Step 1: Starting the project
The code used in this tutorial is available on GitHub (opens in a new tab). You can clone it by running the following command:
git clone git@github.com:infobip/prometheus-whatsapp-tutorial.gitTo get the project up and running, you need to populate the .env file (opens in a new tab) with your personal:
- Infobip API key (with scope
whatsapp:message:send) - Infobip base URL
- Infobip sender phone number
- Recipient phone number
Then, run the following command from the project's root directory:
docker compose up --build -dThis setup will launch instances of Prometheus and Alertmanager, accessible at http://localhost:9090 and http://localhost:9093 respectively.
Additionally, a convenience UI will be available at http://localhost:8080/index.html for troubleshooting purposes. Within a few minutes, you should receive an alert on your phone.
To shut down the example, run the following command:
docker compose downStep 2: Understanding monitoring setup
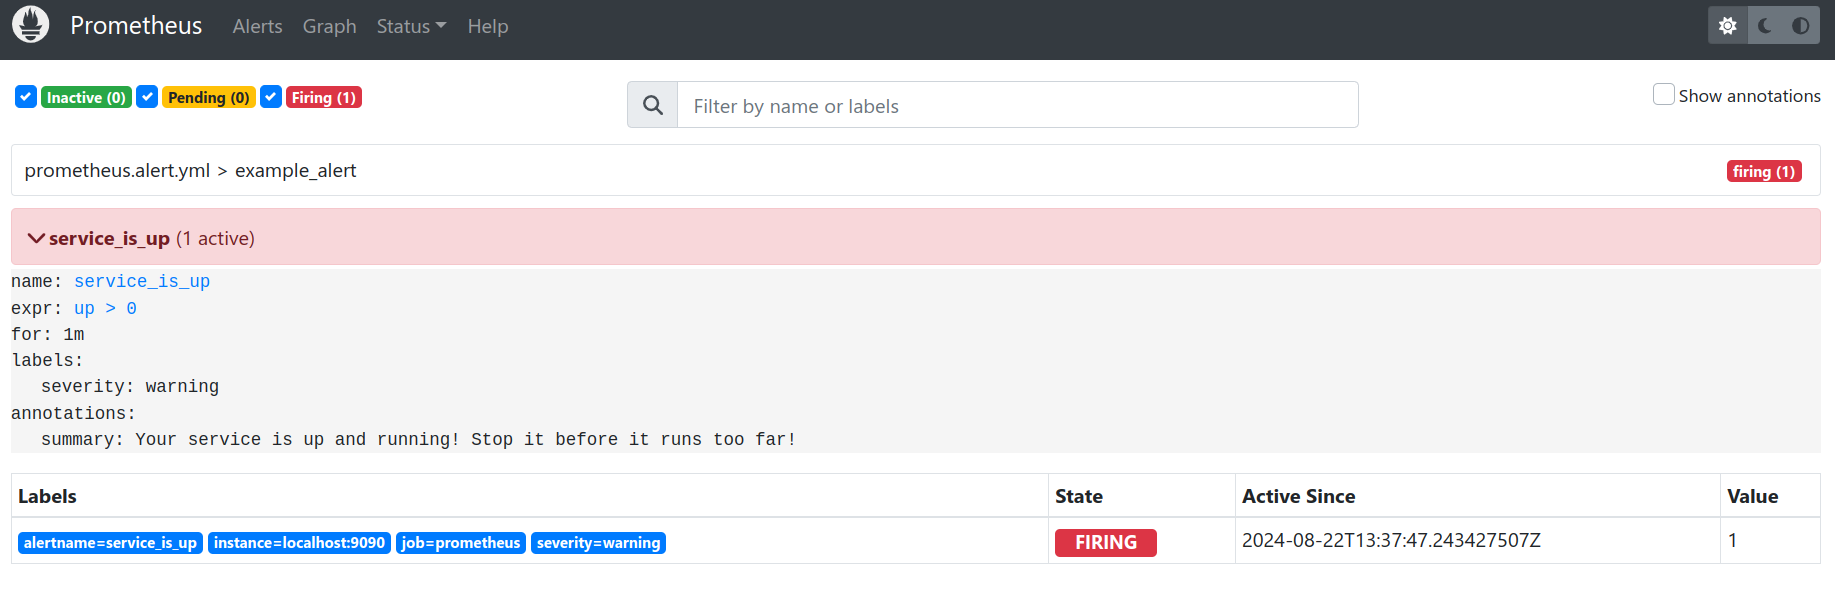
The Prometheus instance is configured to scrape its own metrics (opens in a new tab) and evaluate an alerting rule (opens in a new tab) that will trigger an alert after one minute.
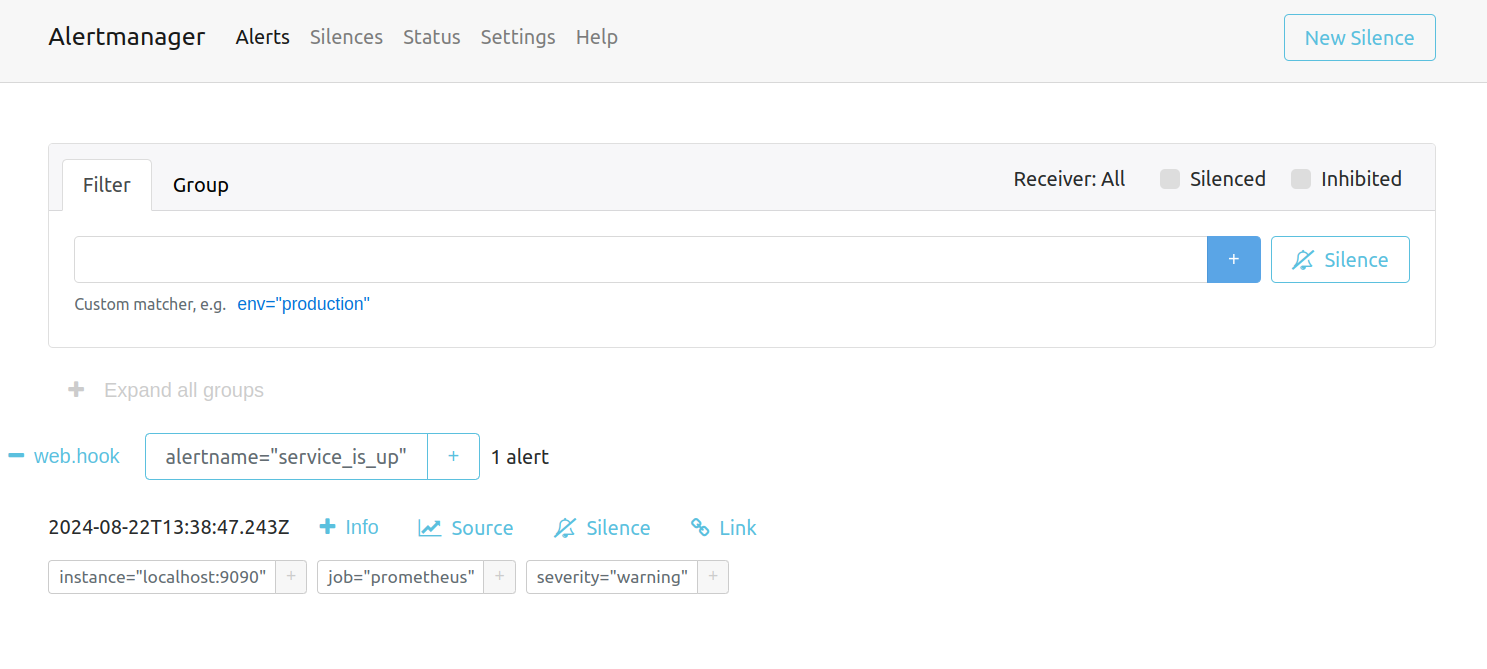
The Alertmanager allows configuring a generic receiver of the alerts (opens in a new tab). In our case, it will be an endpoint exposed (opens in a new tab) by the Spring boot application.
One minute after Prometheus starts, the alert should become active. You can check it by visiting http://localhost:9090 and selecting the Alerts tab.
The same alert will also be triggered in Alertmanager. You can access it on http://localhost:9093
Step 3: Understanding Spring boot application
The Spring boot application uses Infobip specific properties (opens in a new tab) to define the API endpoint, API key, sender and receiver phone numbers.
infobip.whatsapp.base-url=https://${INFOBIP_BASE_URL}.api.infobip.com/whatsapp/1/message/text
infobip.whatsapp.api-key=App ${INFOBIP_API_KEY}
infobip.whatsapp.sender=${SENDER_NUMBER}
infobip.whatsapp.receiver=${RECEIVER_NUMBER}
These properties are loaded in the properties class (opens in a new tab).
@Component
@ConfigurationProperties("infobip.whatsapp")
class InfobipProperties {

    private String baseUrl;
    private String apiKey;
    private String sender;
    private String receiver;
    ///   ...
}
They are used in a WhatsApp client (opens in a new tab) to send the message over Infobip's WhatsApp API.
@Component
class InfobipWhatsAppClient {

    private final Logger log = LoggerFactory.getLogger(InfobipWhatsAppClient.class);
    private final HttpClient client = HttpClient.newHttpClient();

    private final String baseUrl;
    private final String apiKey;
    private final String sender;
    private final String receiver;

    InfobipWhatsAppClient(InfobipProperties properties) {
        this.baseUrl = properties.getBaseUrl();
        this.apiKey = properties.getApiKey();
        this.sender = properties.getSender();
        this.receiver = properties.getReceiver();
    }

    void sendMessage(String message) {
        var request = HttpRequest.newBuilder()
                .uri(URI.create(baseUrl))
                .header("Authorization", apiKey)
                .header("Content-Type", "application/json")
                .header("Accept", "application/json")
                .POST(HttpRequest.BodyPublishers.ofString(createPayload(message)))
                .build();

        try {
            var response = client.send(request, HttpResponse.BodyHandlers.ofString());
            log.info("Response: {}", response.body());
        } catch (IOException | InterruptedException e) {
            log.error("Failed to send message", e);
        }
    }

    private String createPayload(String message) {
        return """
                {
                    "from": "%s",
                    "to": "%s",
                    "content": {
                        "text" : "%s"
                    }
                }""".formatted(sender, receiver, message);
    }
}
The endpoint that receives alerts is defined in a listener (opens in a new tab).
@RestController
class AlertsListener {

     private final InfobipWhatsAppClient whatsAppClient;

    AlertsListener(InfobipWhatsAppClient whatsAppClient) {
        this.whatsAppClient = whatsAppClient;
    }

    @PostMapping("/send-alert")
    void sendWhatsAppMessage(@RequestBody Alerts alerts) {
        alerts.alerts()
                .forEach(alert -> whatsAppClient.sendMessage(alert.text()));
    }

}
This endpoint uses the Alerts record (opens in a new tab) to extract the subset of information from the alert sent from Alertmanager.
record Alerts(List<Alert> alerts) {
record Alert(String status, Map<String, Object> labels, Map<String, Object> annotations) {
String text() {
var severity = (String) labels.get("severity");
var instance = (String) labels.get("instance");
var summary = (String) annotations.get("summary");
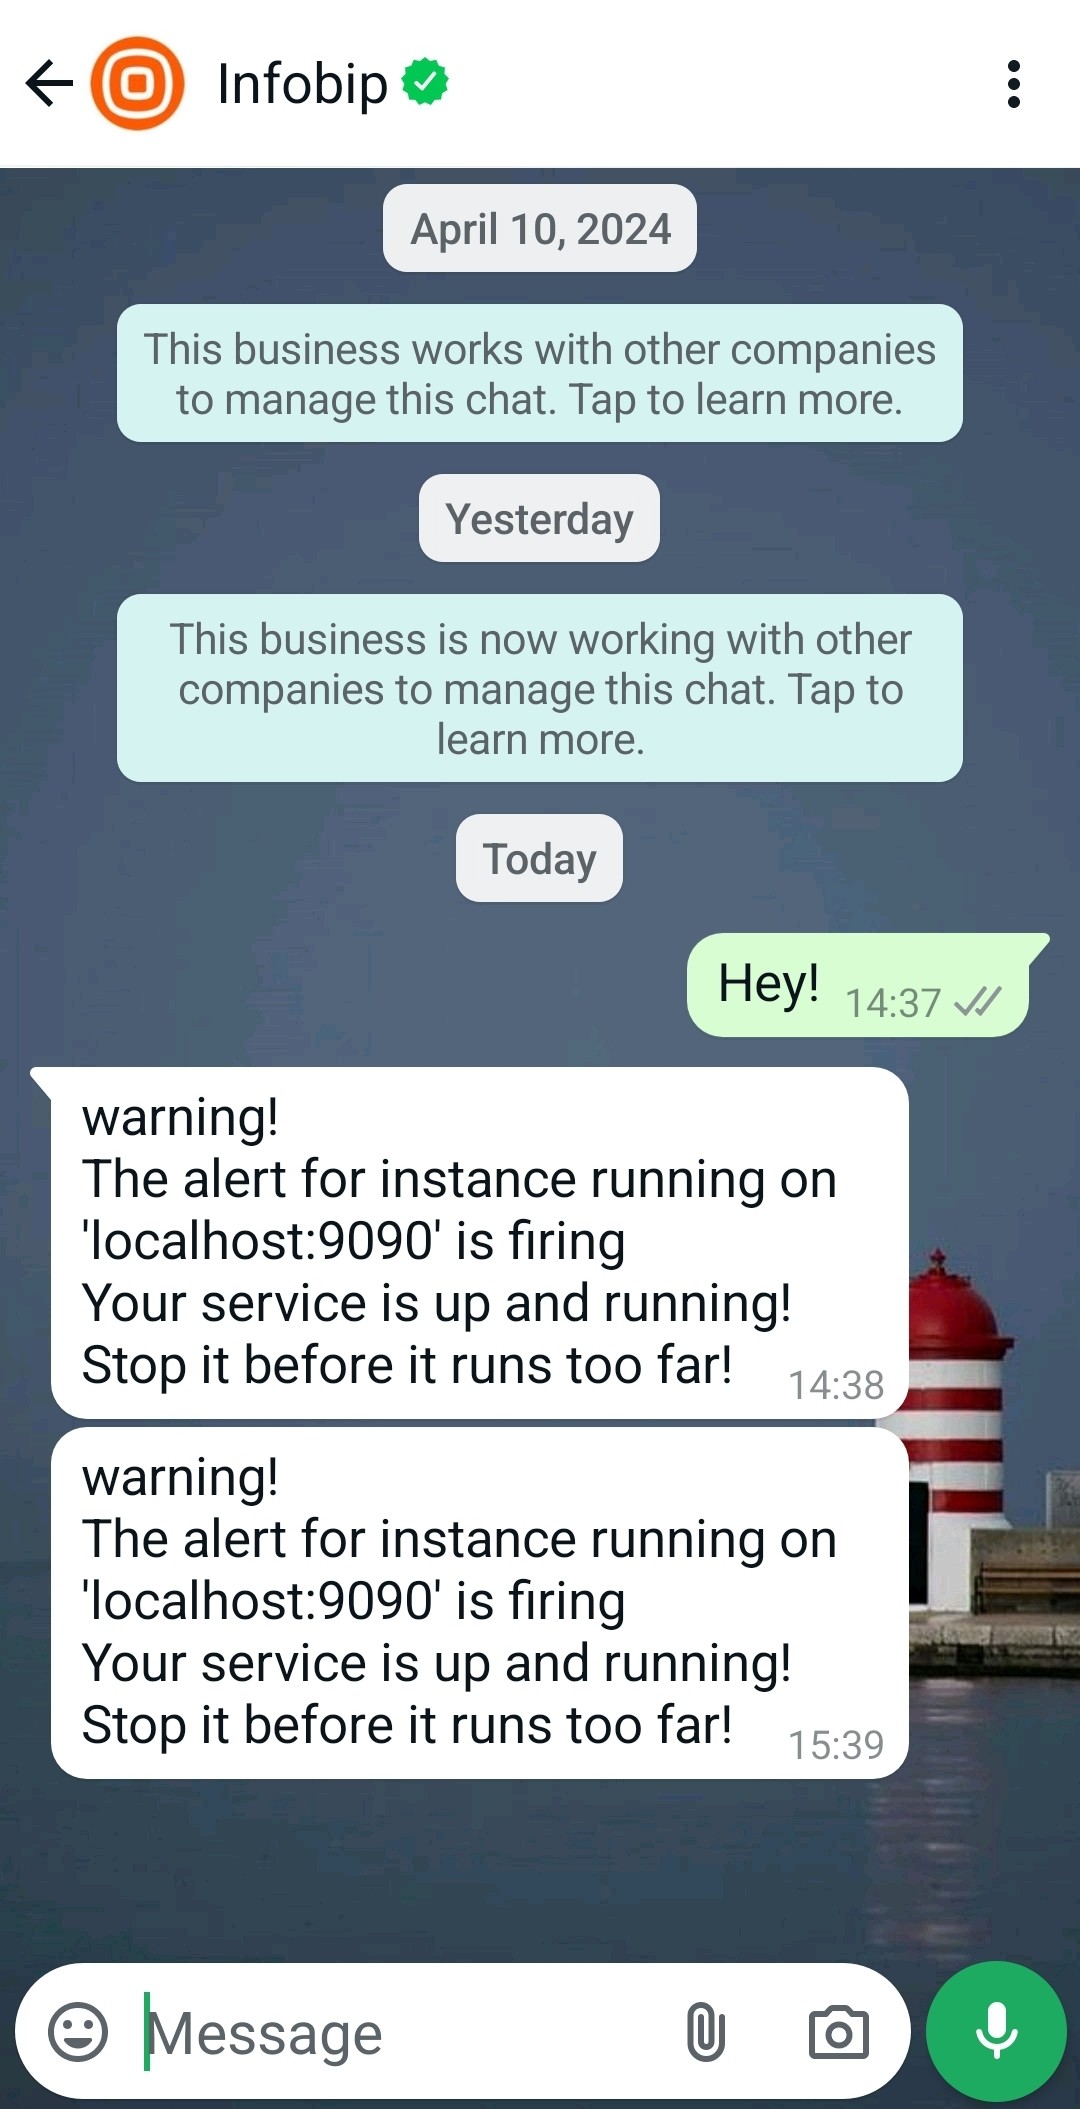
return """
%s!
The alert for instance running on '%s' is %s
%s
""".formatted(severity, instance, status, summary).replace("\n", "\\n");
}
}
}The format of the alert sent by Alertmanager can be seen here (opens in a new tab).
After the application receives the alert, it will send it over Infobip's WhatsApp API. The response from Infobip API will be automatically rendered on the http://localhost:8080/index.html page.
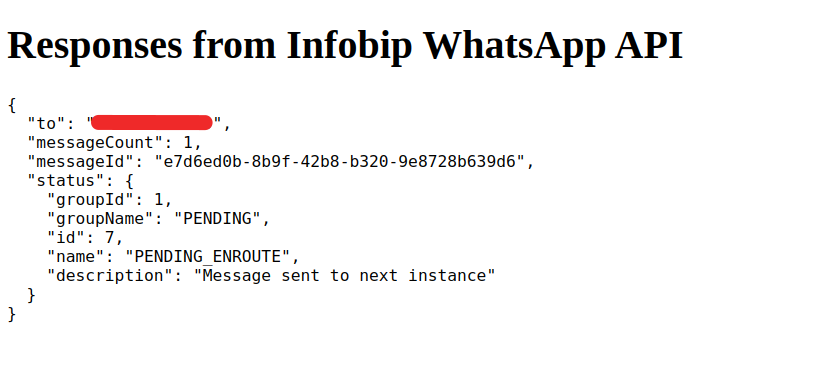
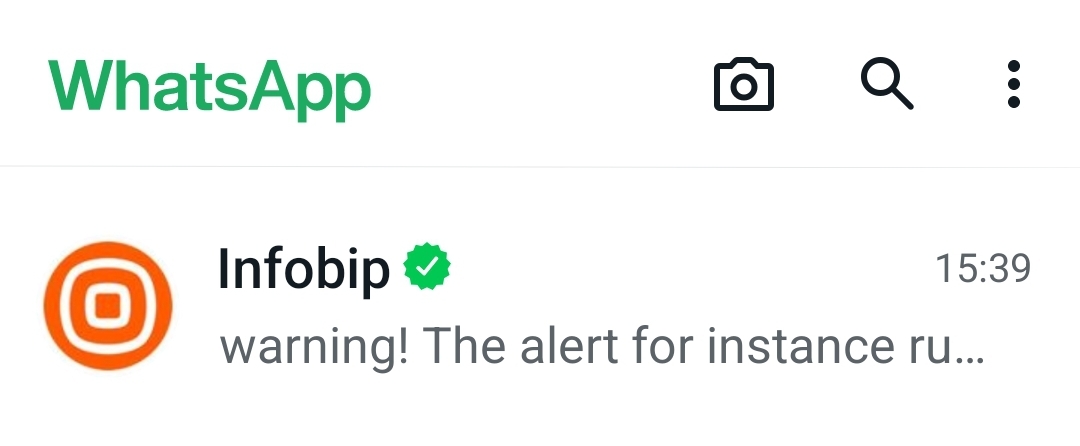
Shortly after the alert is sent, you should receive a message on your phone.
Troubleshooting
In case the message is not delivered, you can inspect the message status by logging in to your Infobip account (opens in a new tab) and navigate to Analyze → Logs (opens in a new tab) where you can use the messageId from the response to check the delivery status.
Next steps
This example can be extended by looking into various options Infobip offers for sending WhatsApp messages (opens in a new tab) and expanded by integrating other communication channels (opens in a new tab).